Tasmania | Australia
In midst of covid times and risk of quarantine, Elaine and I took the plunge and booked a trip around the southern island state of Tasmania. Fortunately, we had no issues and experienced one of the best holidays.
We spent 14 days exploring the state and fell in love with the landscape. The diversity of landscapes is stunning, from lush rainforests to rugged mountains. We visited many amazing places including Cradle Mountain, Strahan, Freycinet National Park, Bay of Fires and more.
“I love exploring new places with Elaine. There is nothing better in life than to make amazing experiences and interpreting the nature that makes Tasmania famous through my photography.”
If this is the first time you are following me, welcome. You will realize that I base all our trips around photography and opportunity for nature hikes. Tasmania is a gold mine for the two.
Day 1:
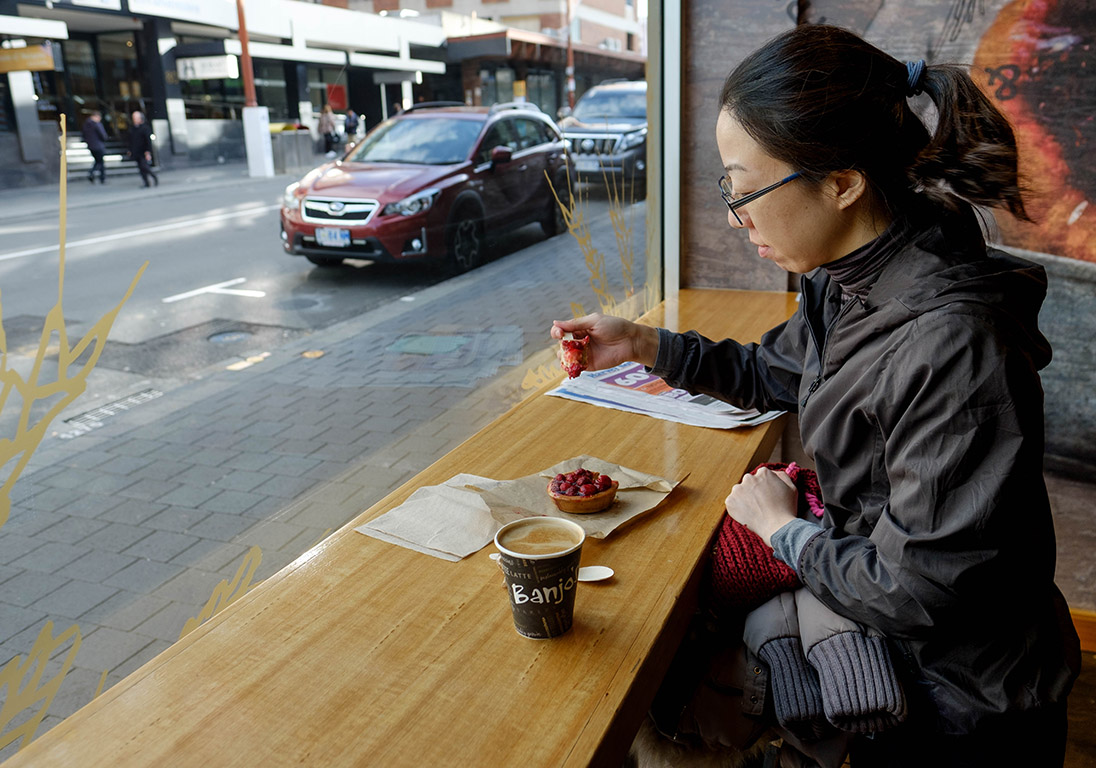
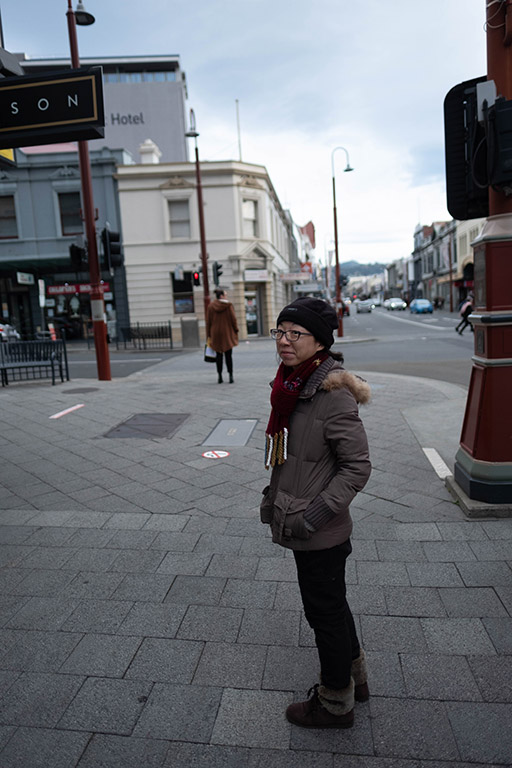
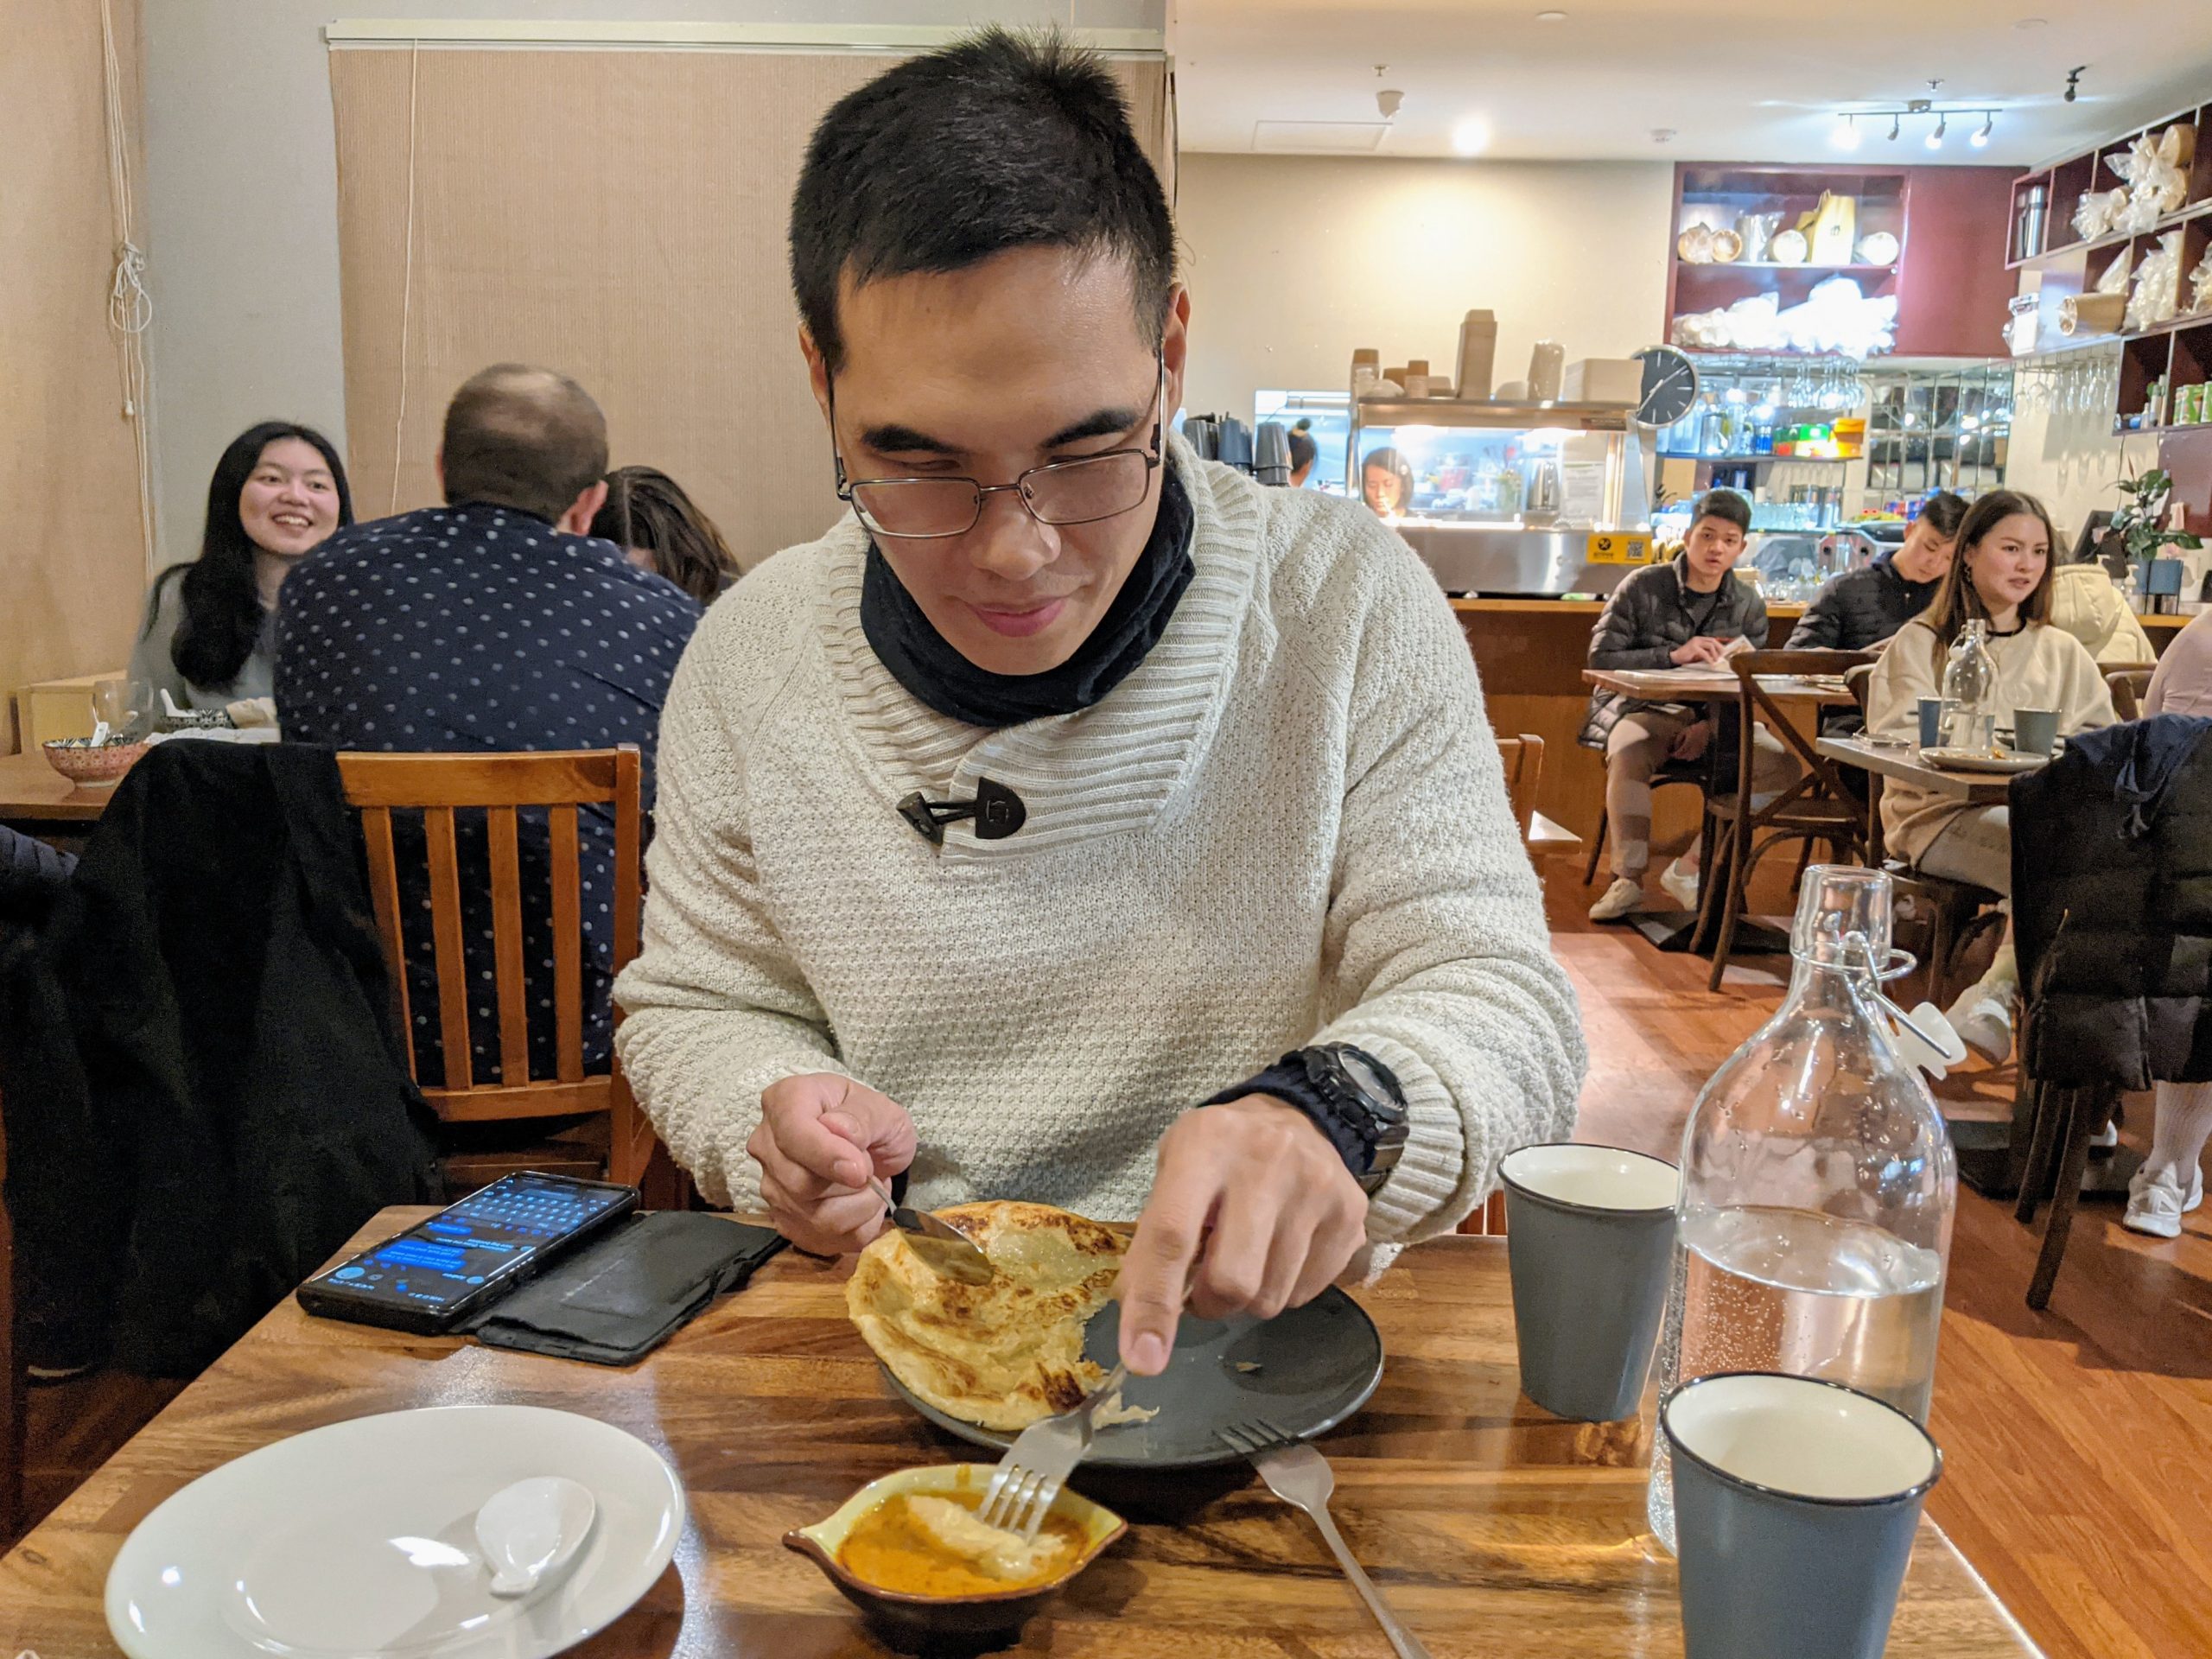
We started our trip with a 2 night settle in the Capital city of Hobart. From refining our previous trips, I have come to realize that a 2 night stay is optimal when entering a new place. In the past I use to rush from the airport to a photographic location that could be in another part of the country. I.E New Zealand 2016. This causes a lot of stress to both myself and Elaine.
The 2 nights allows us to relax after a long flight and give us a well-paced day to find our accommodation, refresh with a shower, find some food and explore the local area.
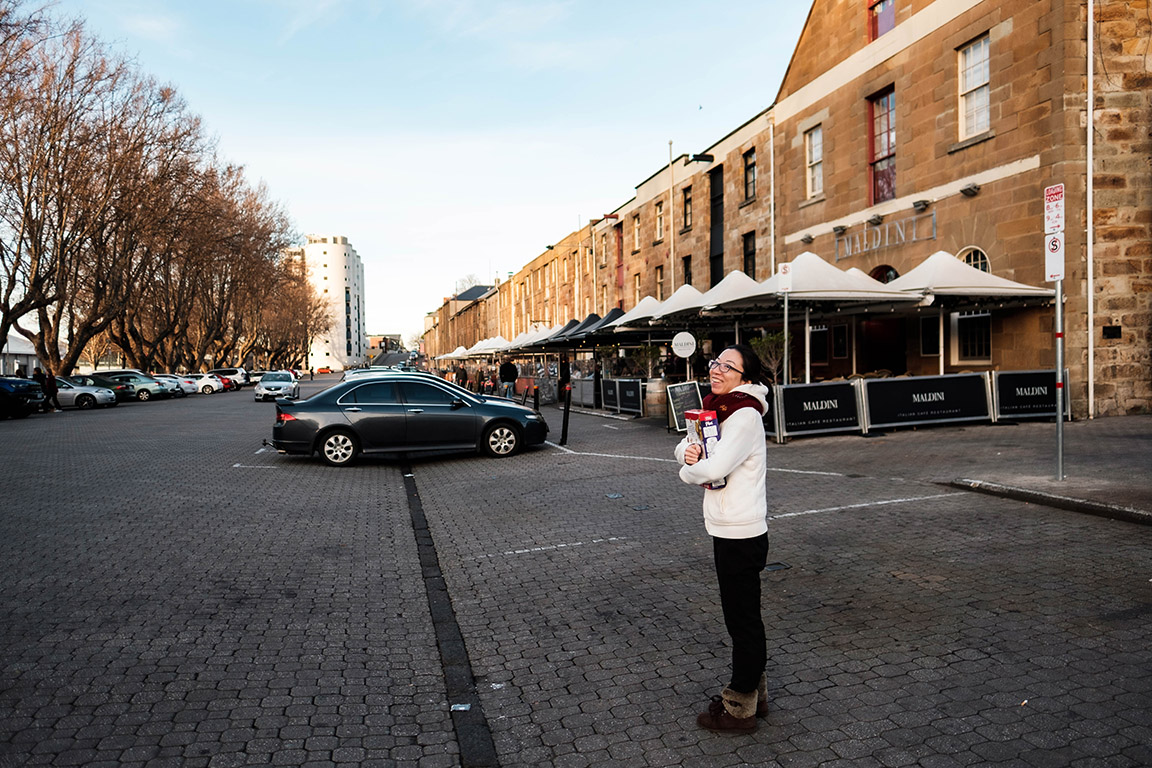
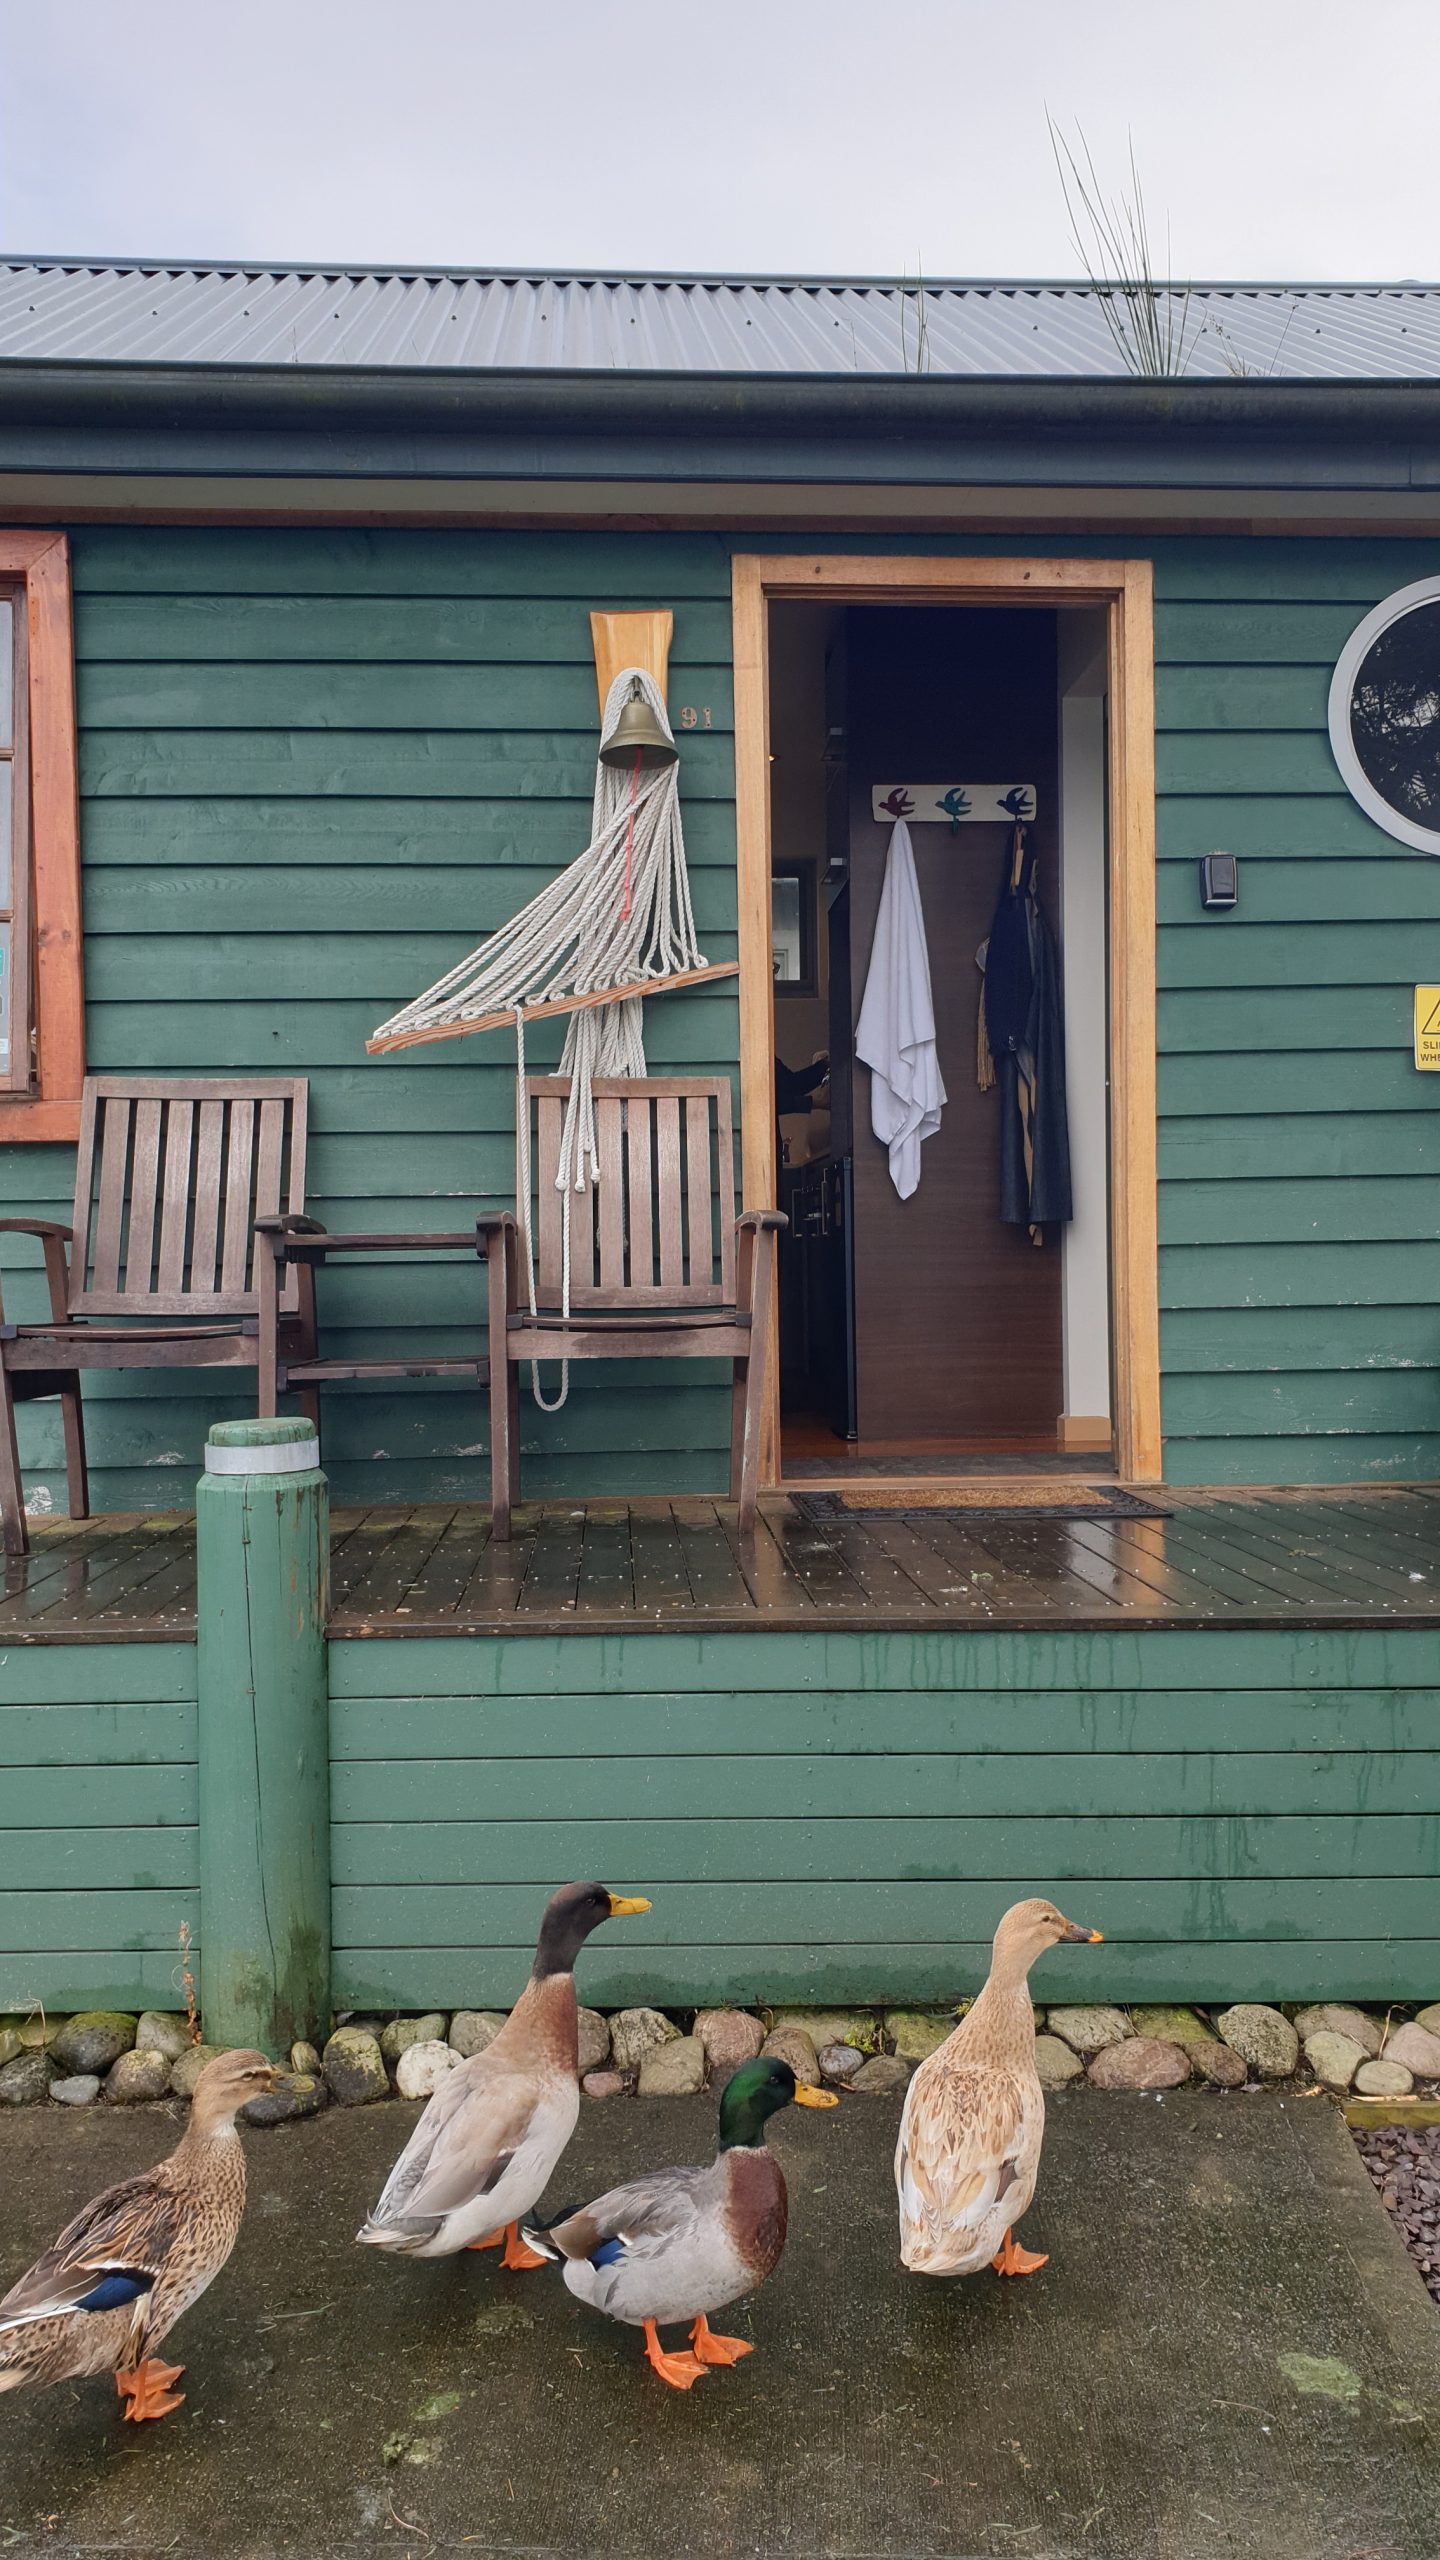
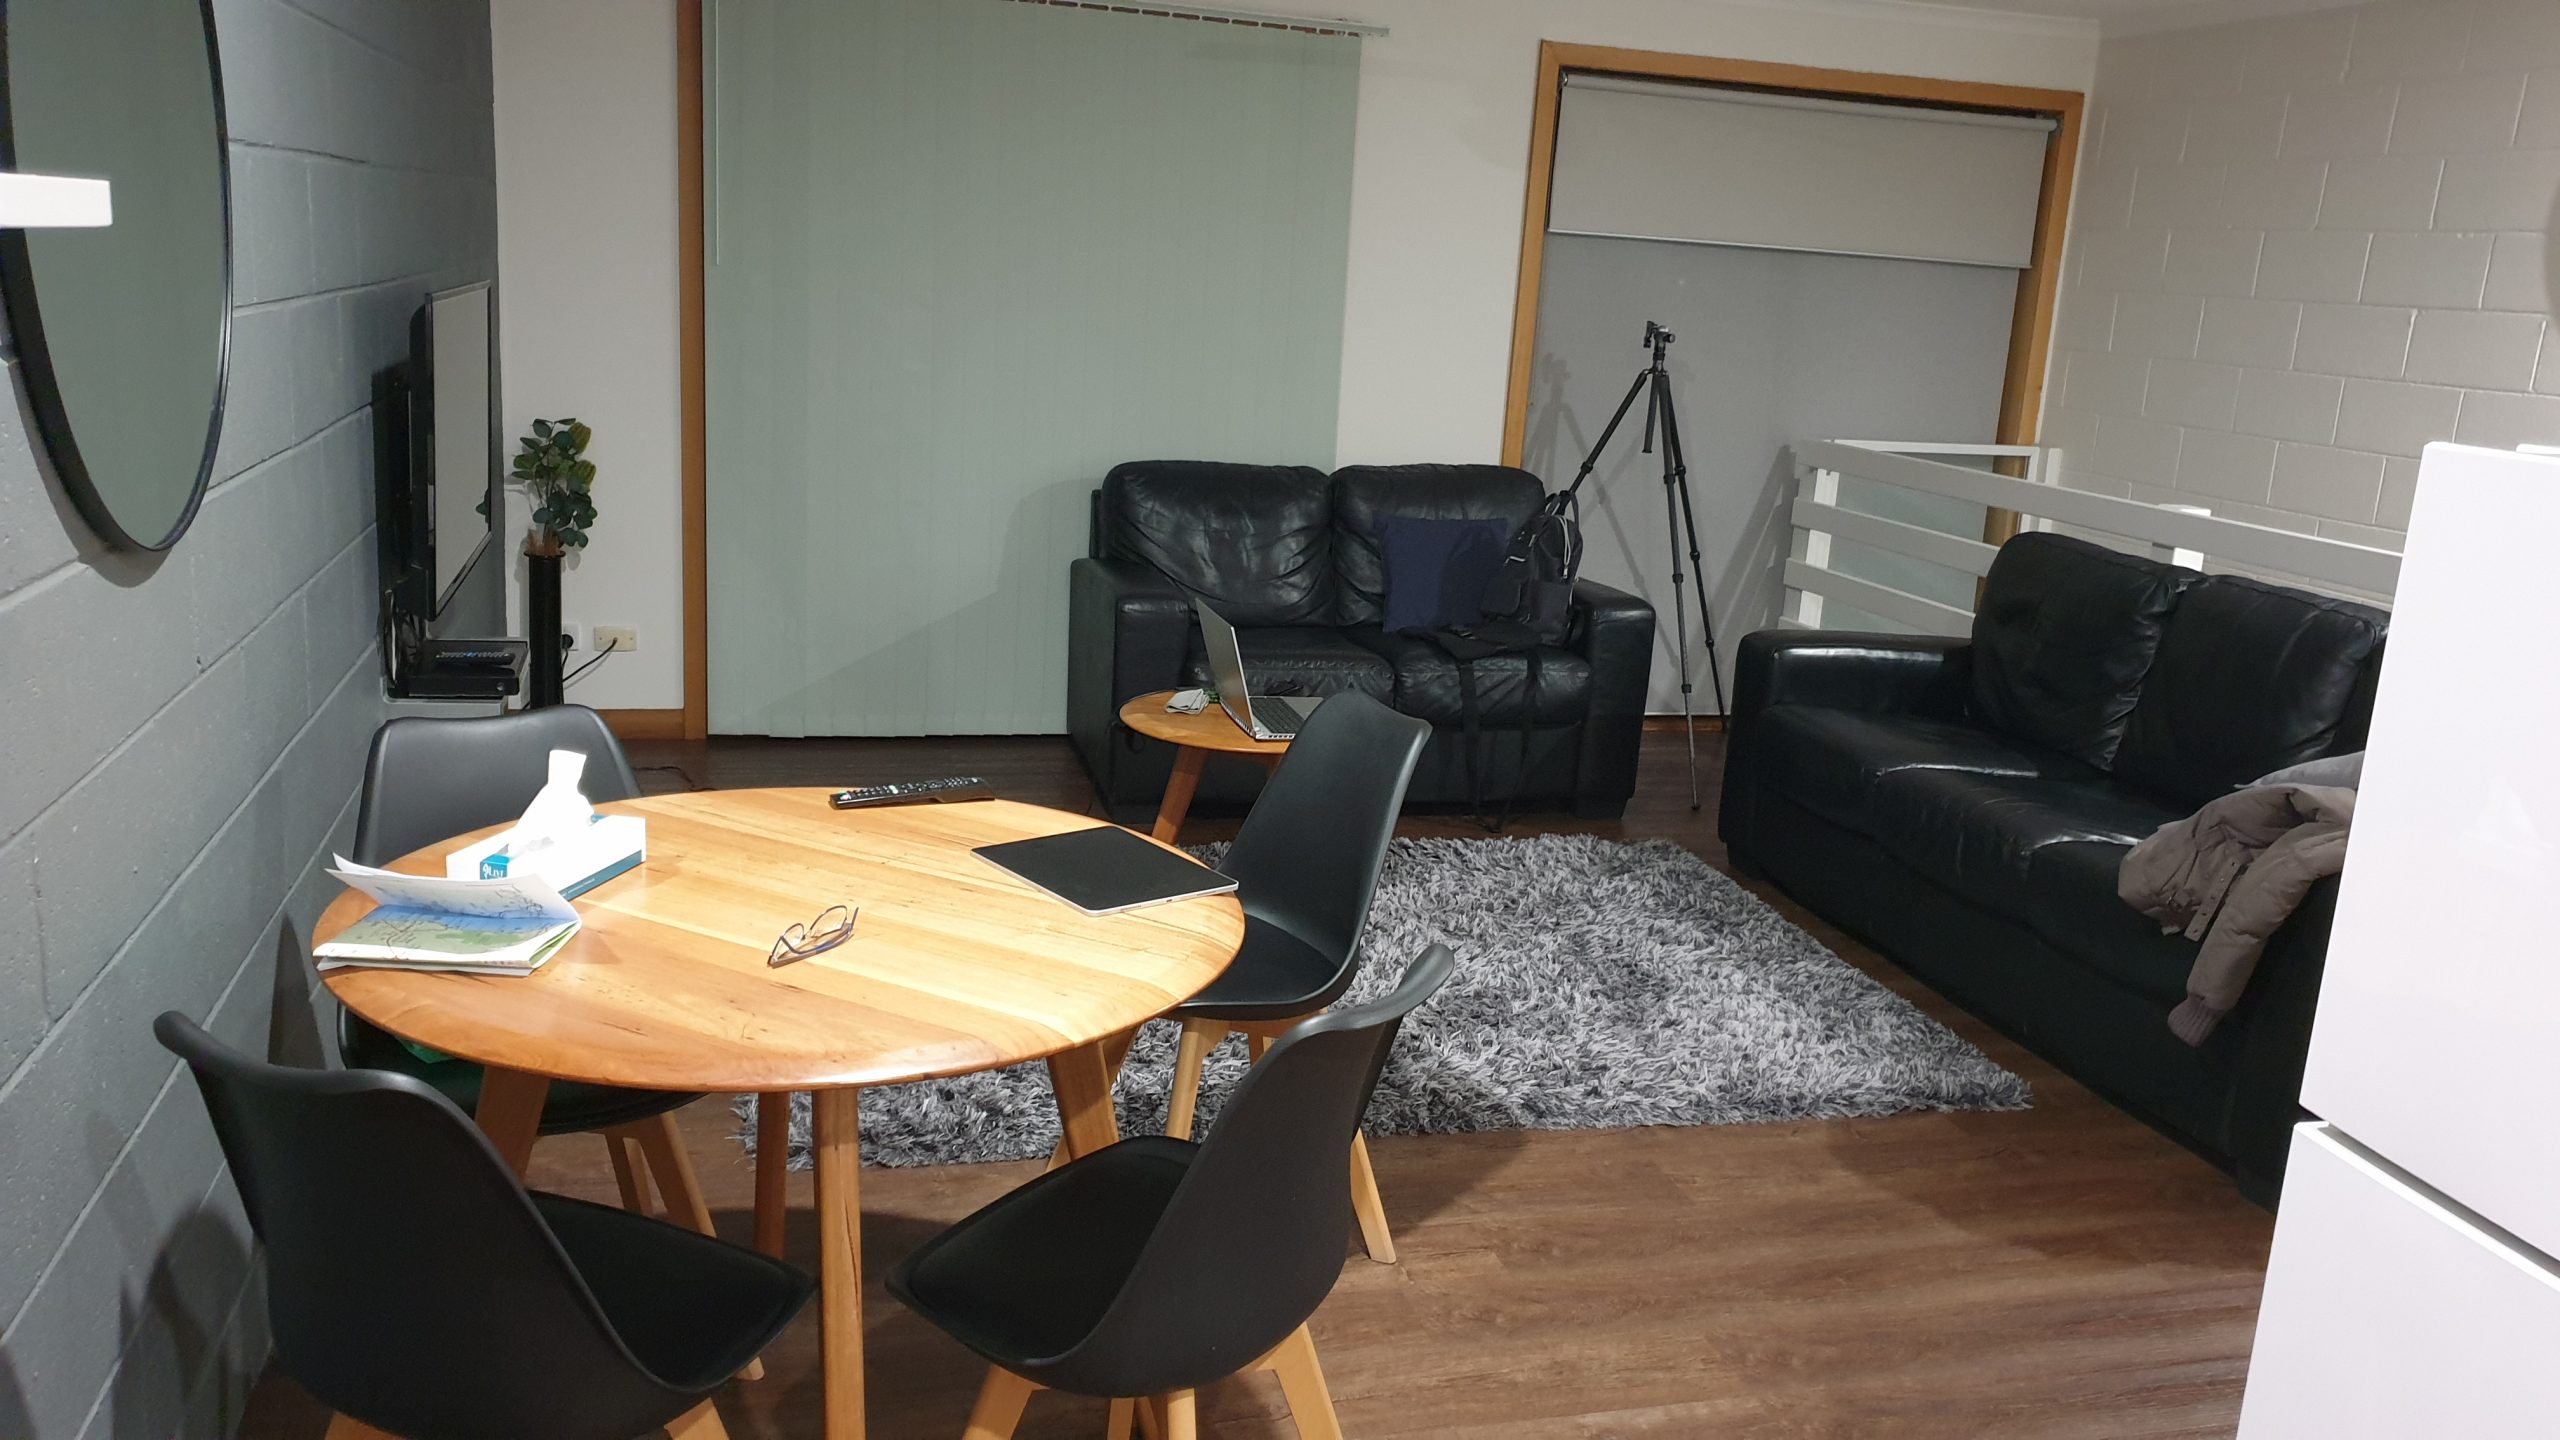
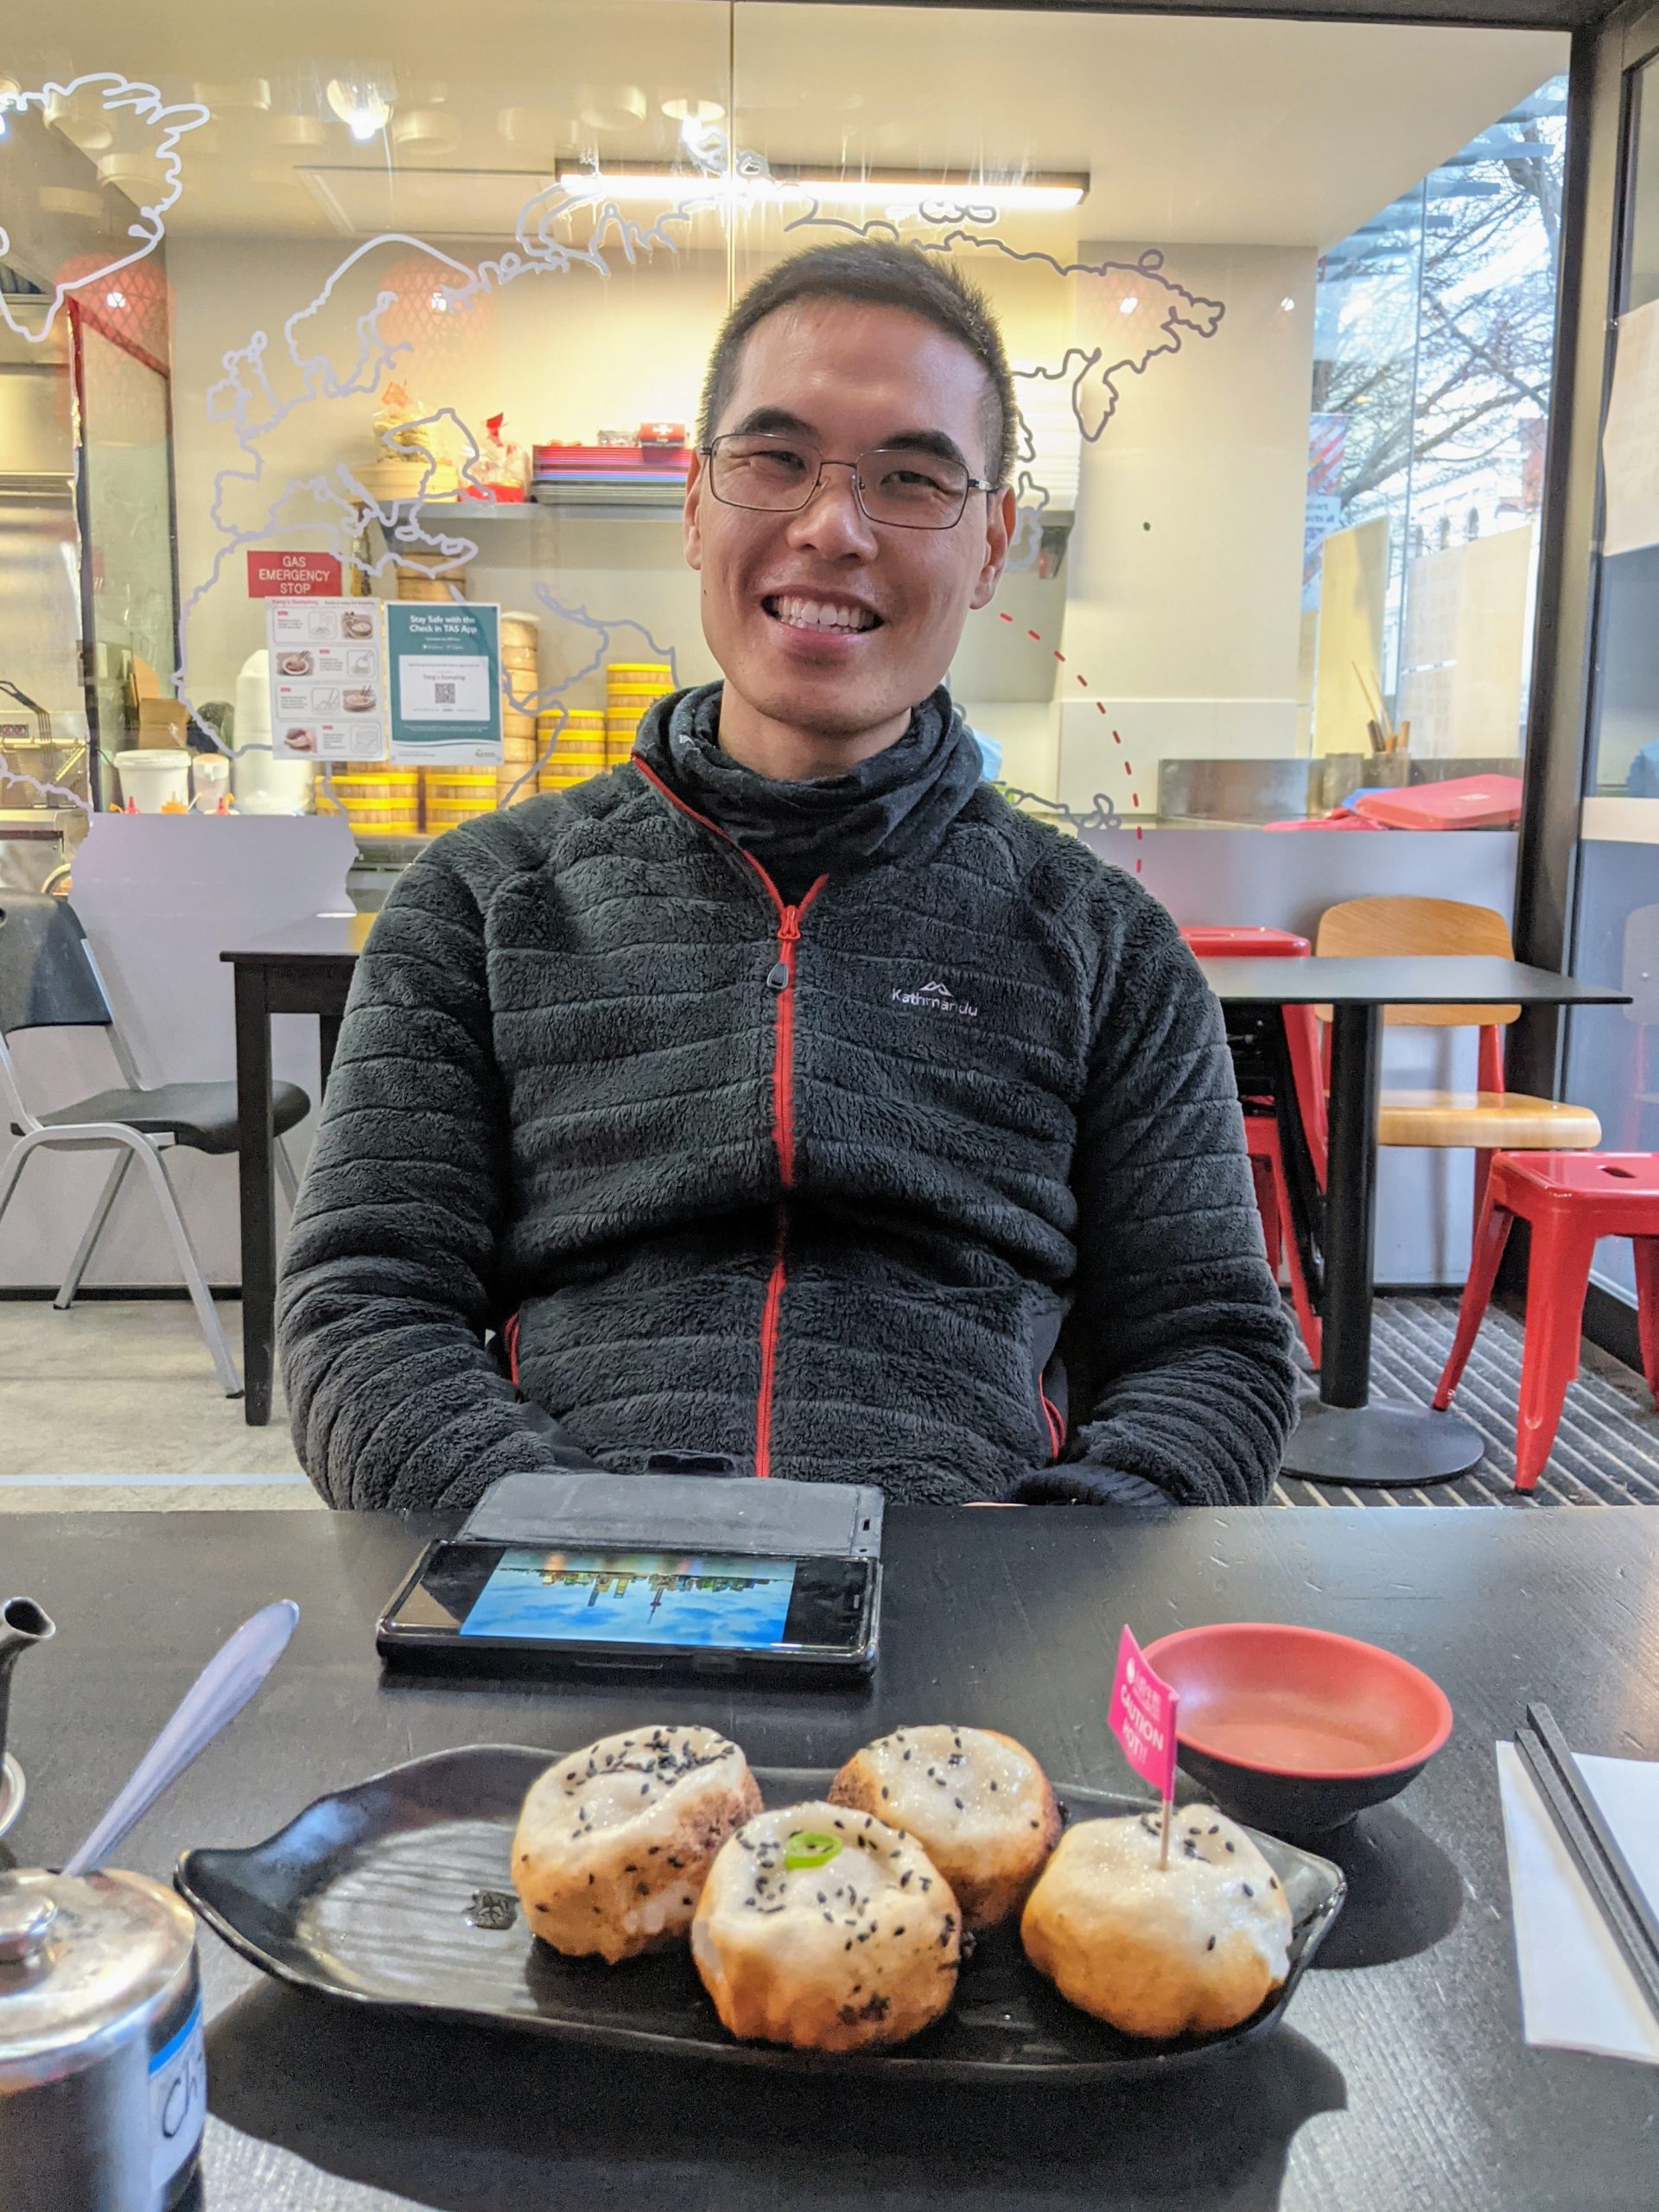
Our accommodation was at the Salamanca Suites in Salamanca. This location was excellent as it offered a convenient food outlets and was walking distance to the CBD. It was an added bonus that the sister accommodation, Lenna offered a cityscape view from its lookout room.
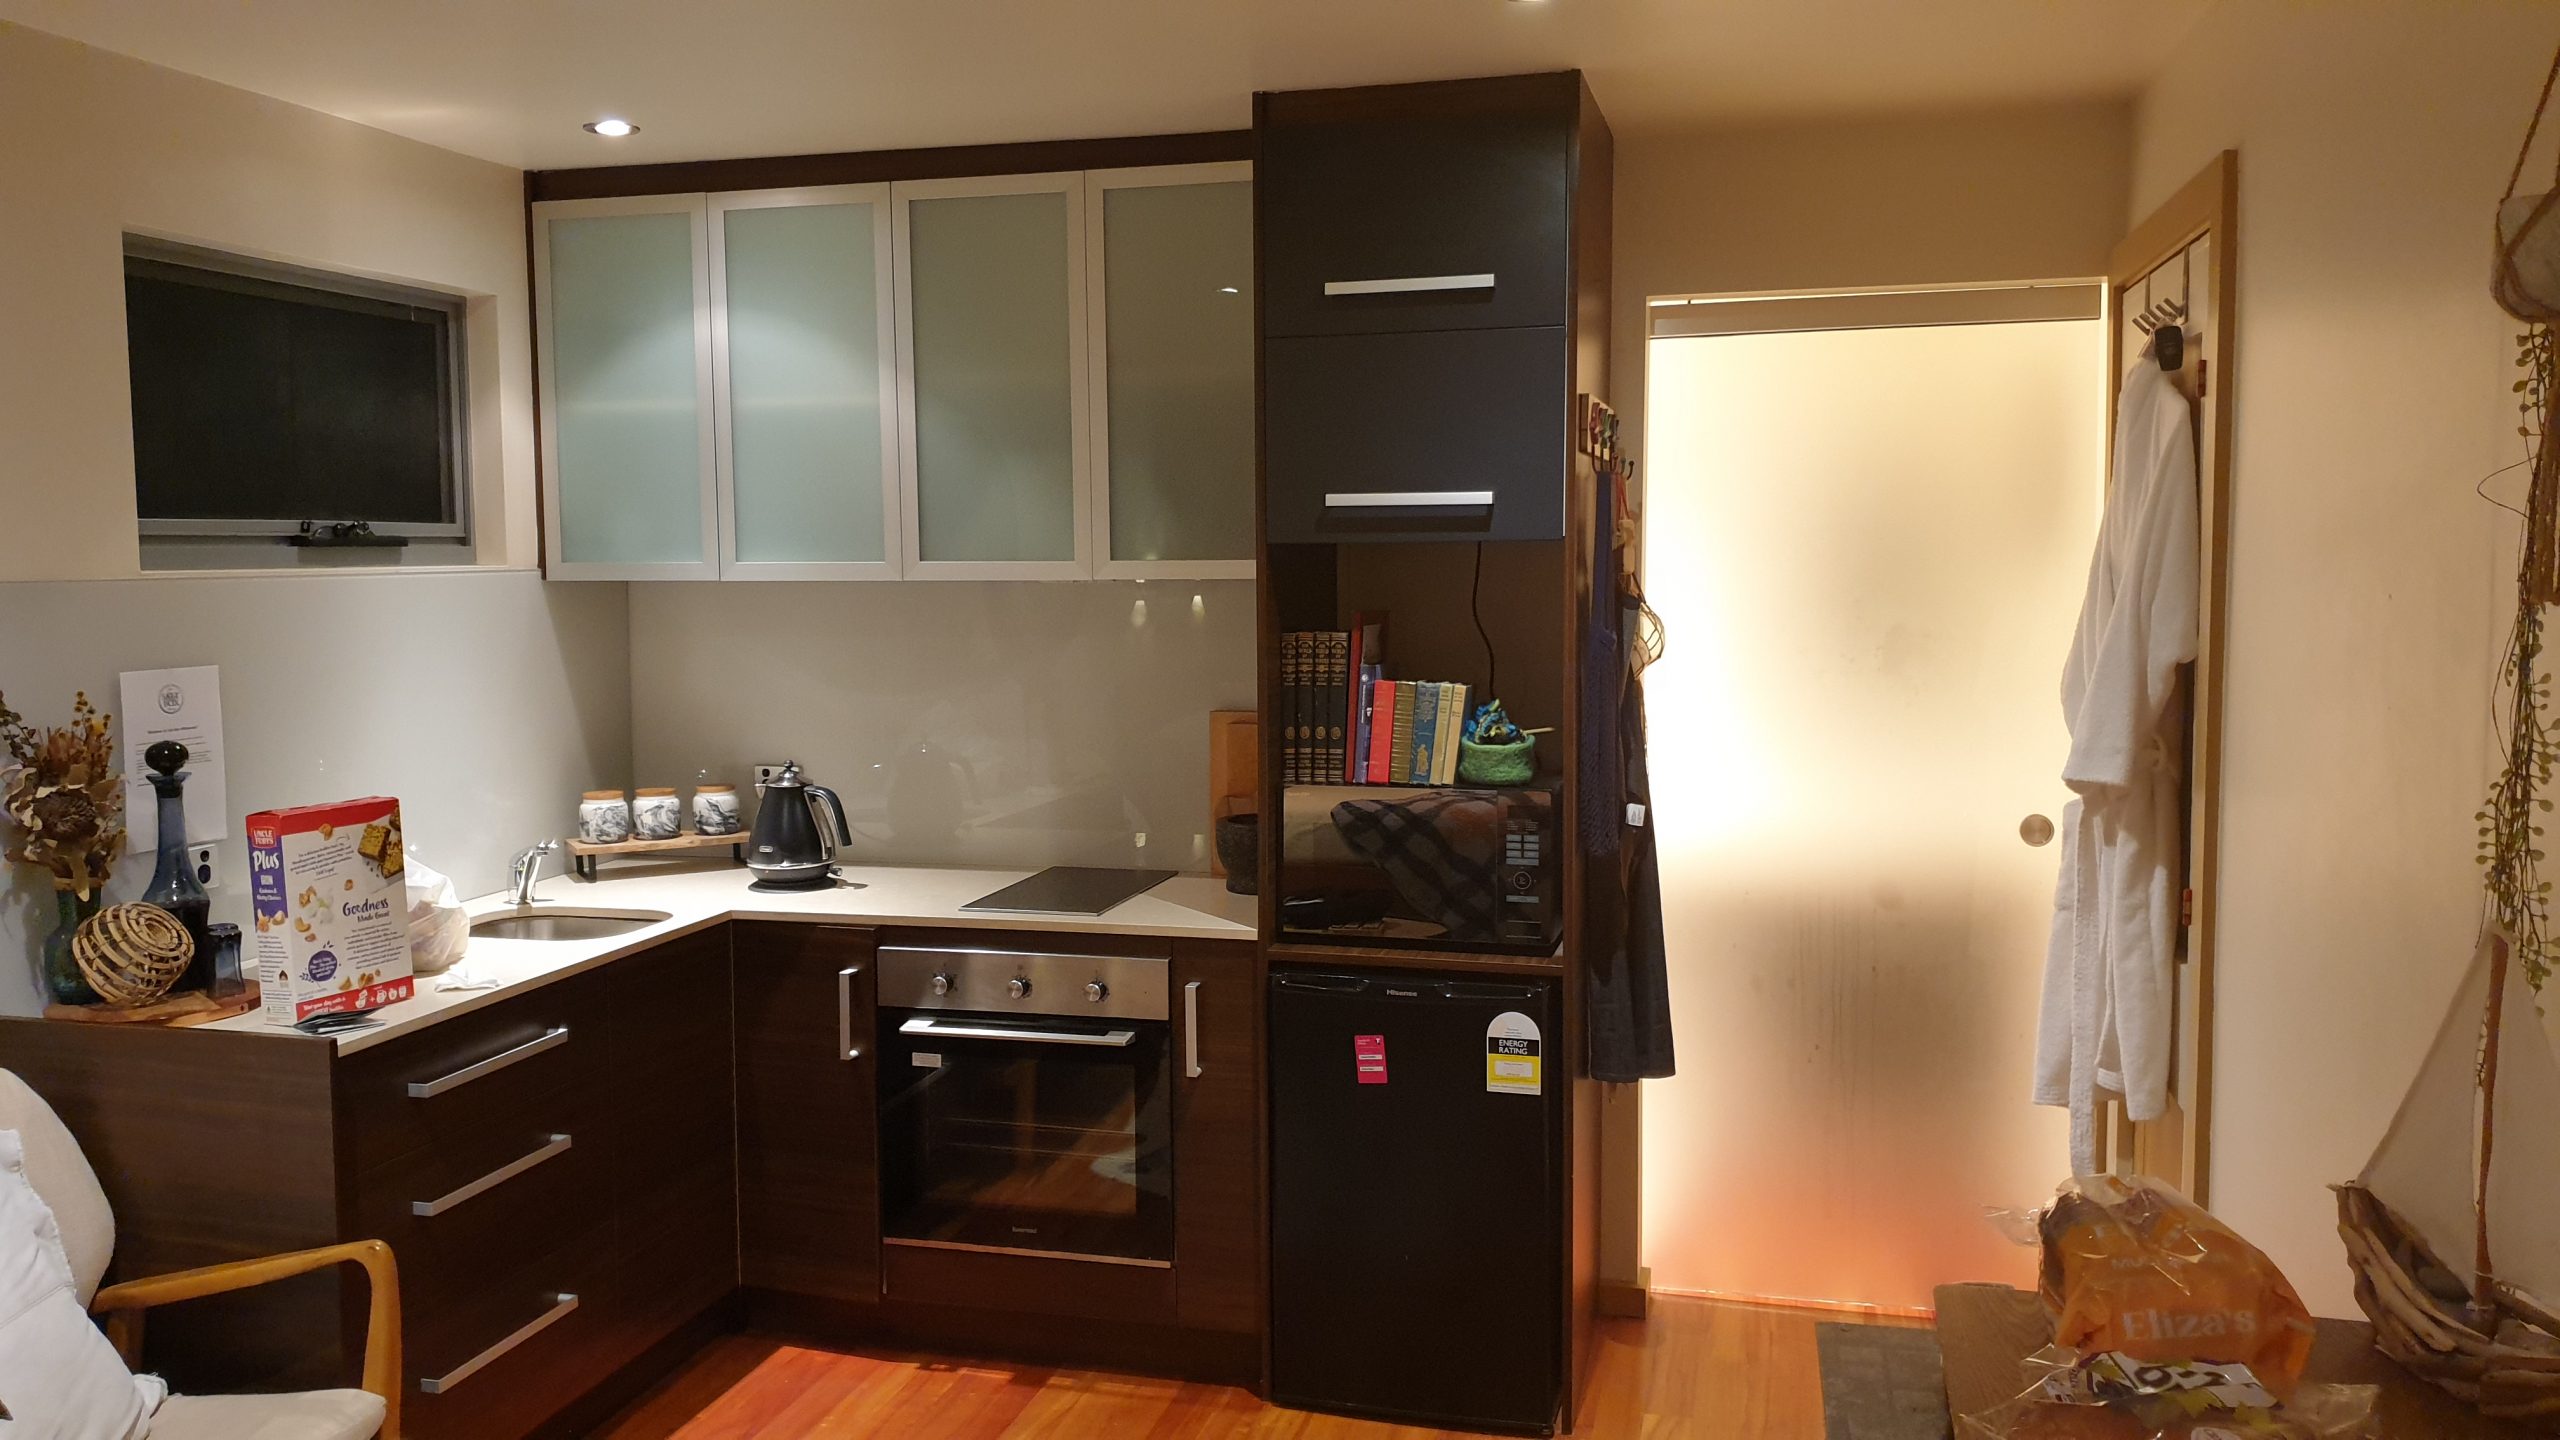
We prefer Apartment style accommodations over hotels when we want comfort and space. Apartments allow us to use the kitchen facilities if we prefer breakfast by own means and in-house laundry. Hotels are often used when it is a specific place with a unique view, amenities, or wanting that extra touch of luxury.
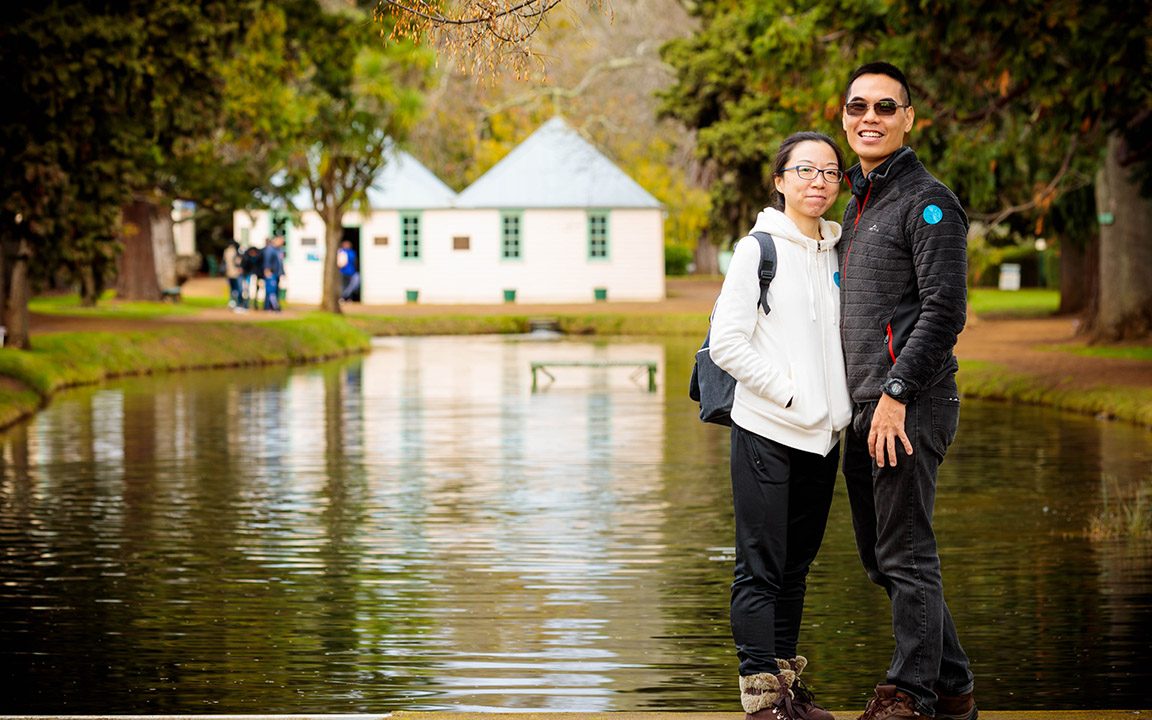
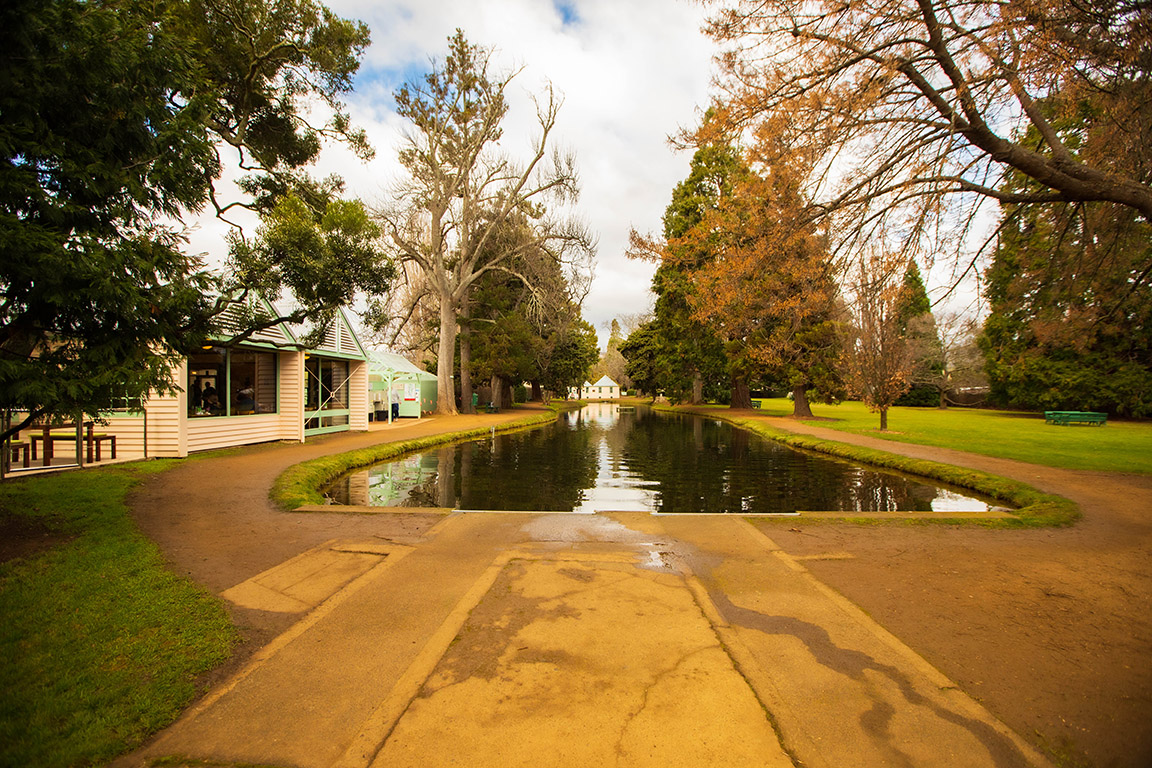
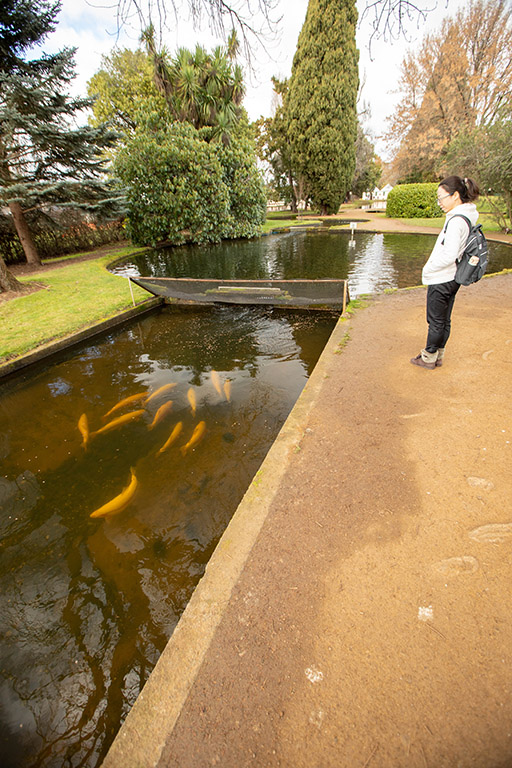
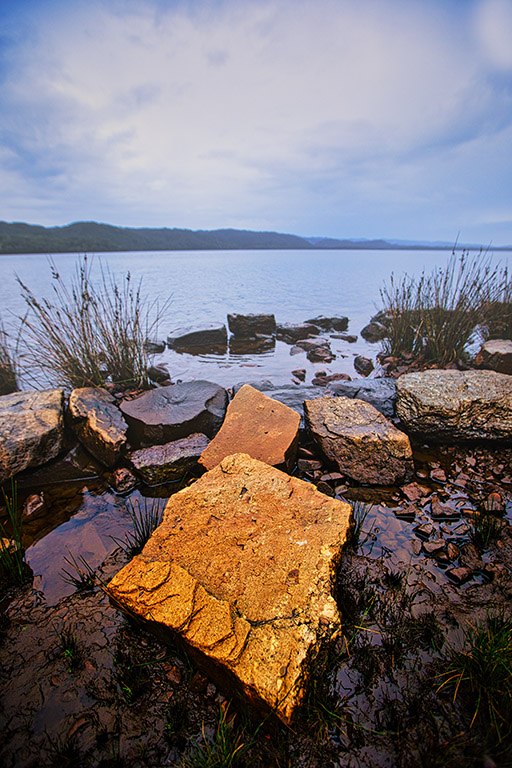
Salmon Ponds and Strahan
Day 3
We picked up our car, a Toyota Rav 4 a medium SUV and began the 10-day road trip around that state. The total distance of the trip was 1970km.
Our first stop was 35minutes from the accommodation at Salmon Ponds in Plenty. This was a good stop over visit for about 90 minutes and lunch.
Best time to visit Salmon Ponds.
This is one of the few areas when cloudy weather will work in your advantage. Cloudy conditions provide soft, flat even light across the scene. Be sure to fit your circular polarizer on your lens when shooting through the ponds to photograph the fish.
Areas where you can set up for photos are along the short end of the ponds. You can use the greenery to your advantage to complement the scene. If you are courteous and have long lens. You can capture some spontaneous moments with families being intrigued by the fishes.
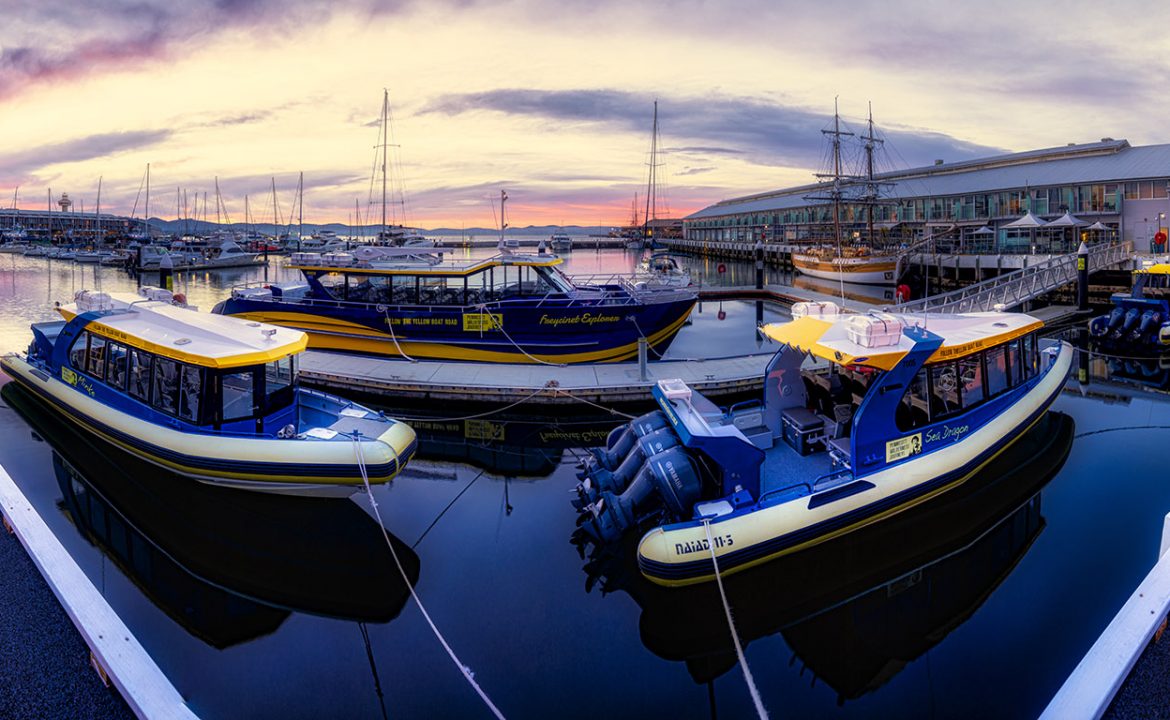
Strahan
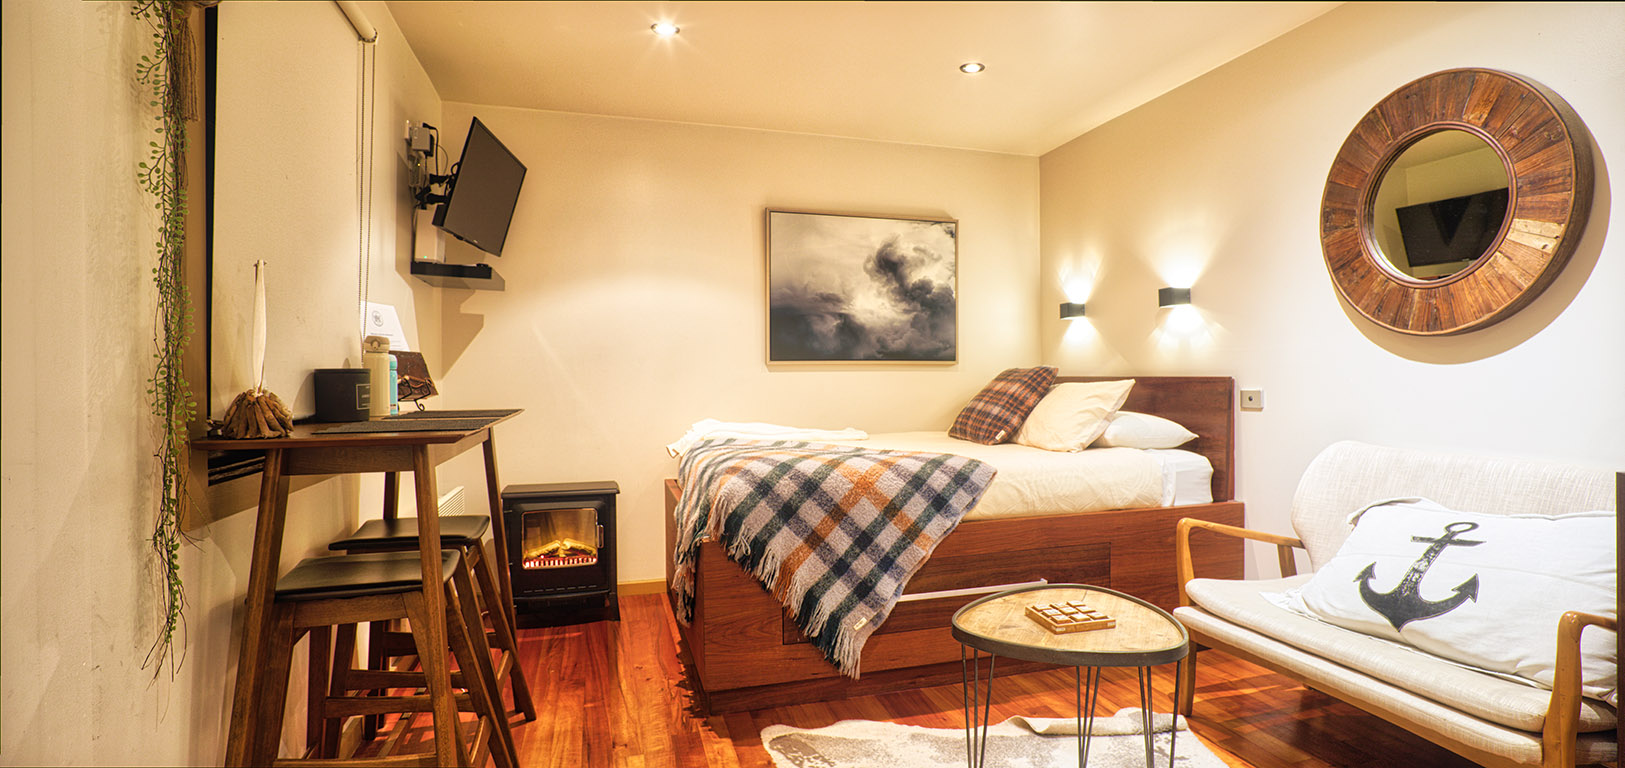
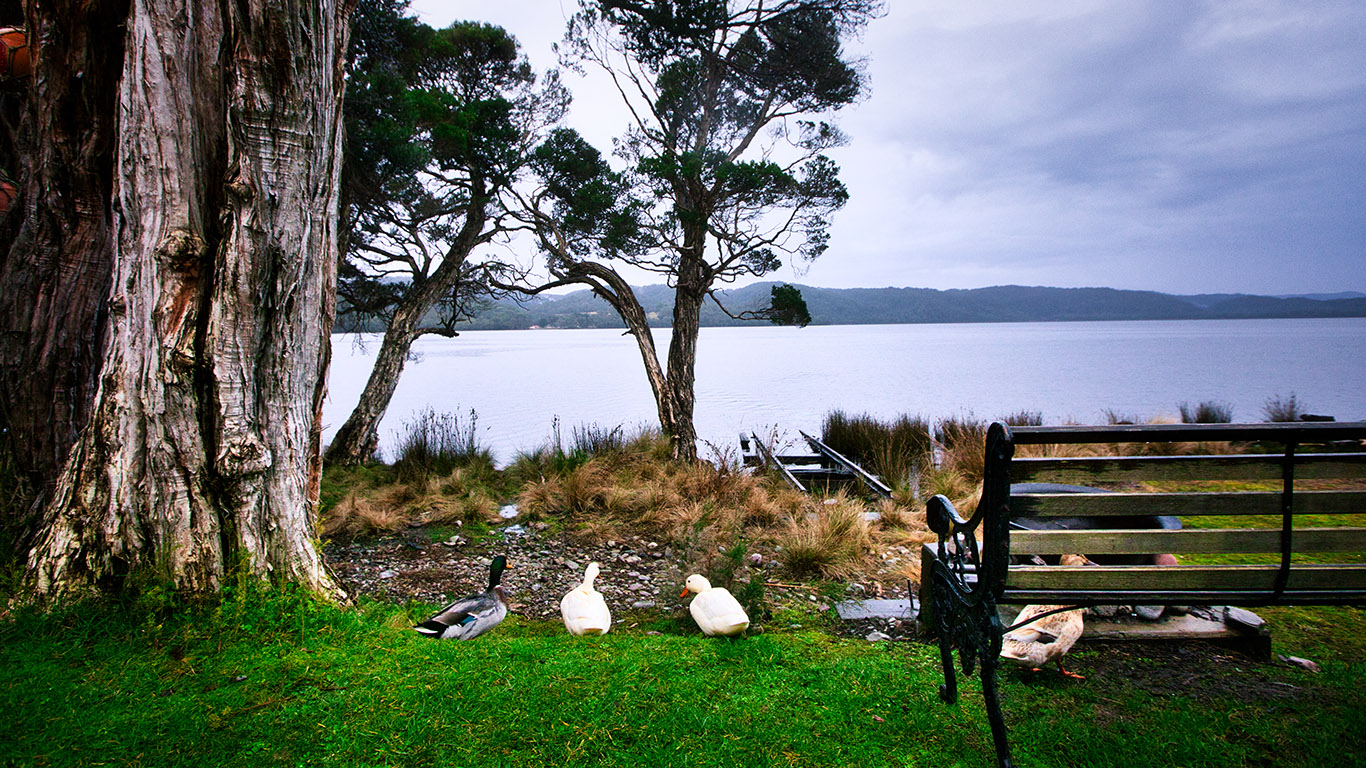
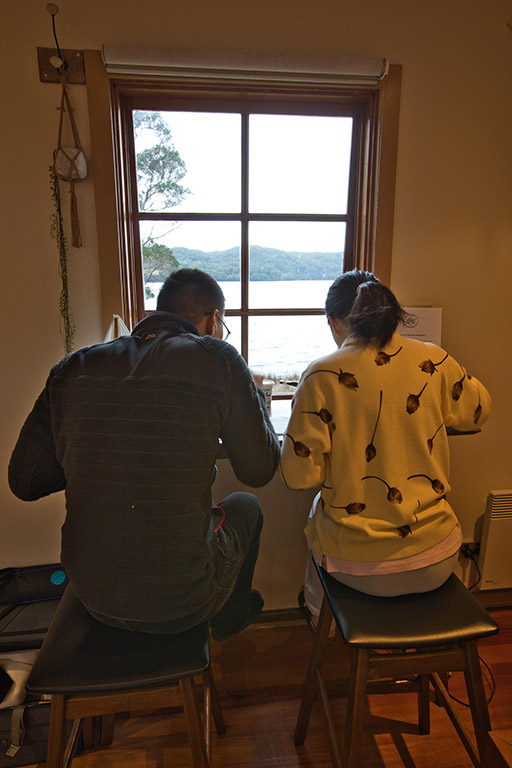
Our first stop for accommodation was the Salt Box Hideaway in Strahan. Now, I want to mention that, it was not only after finishing this drive; I had wished I have reversed the order of our 10 day drive. I believe that going East first would have been better for the driving and time. The reason being was the trip from Hobart to Strahan was nearly 5 hours long. It stretched out over 300km and a lot of it was through slow and winding mountainous roads. We didn’t arrive in Strahan till after dark. (Which is not ideal).
Arriving late the night before caused us to forfeit the photo location. The morning of our 1 night stay was wet and gloomy. However I did manage to capture some images around the accommodation area.
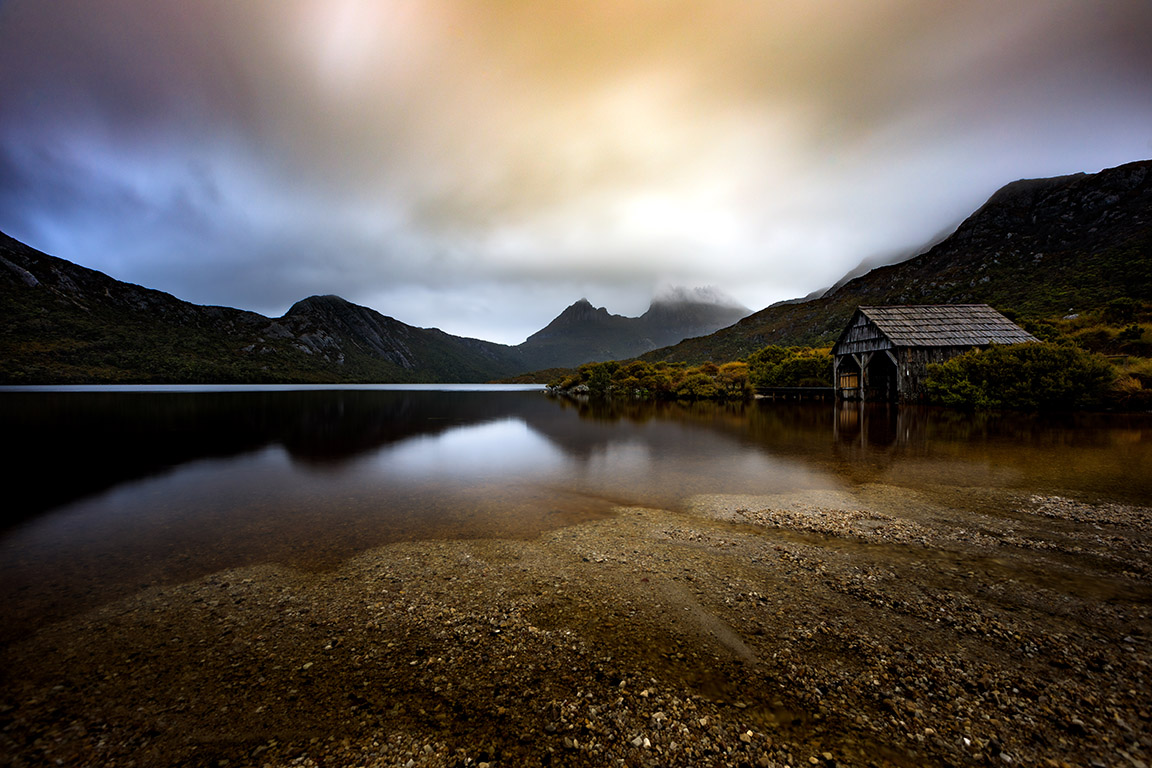
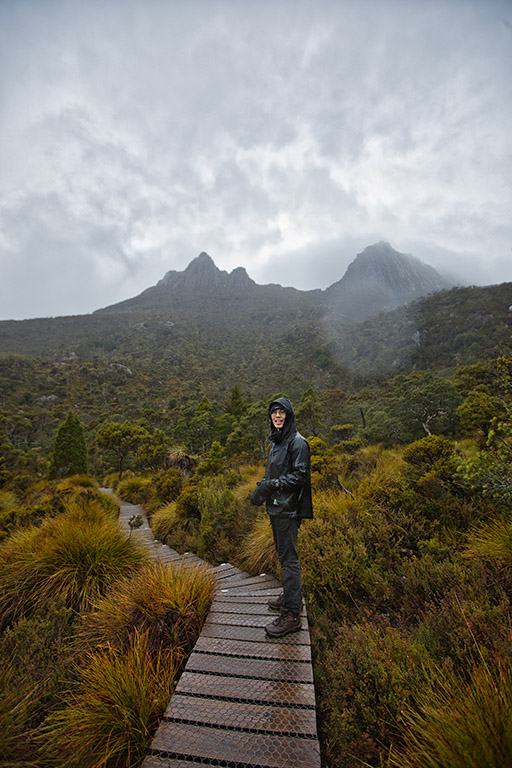
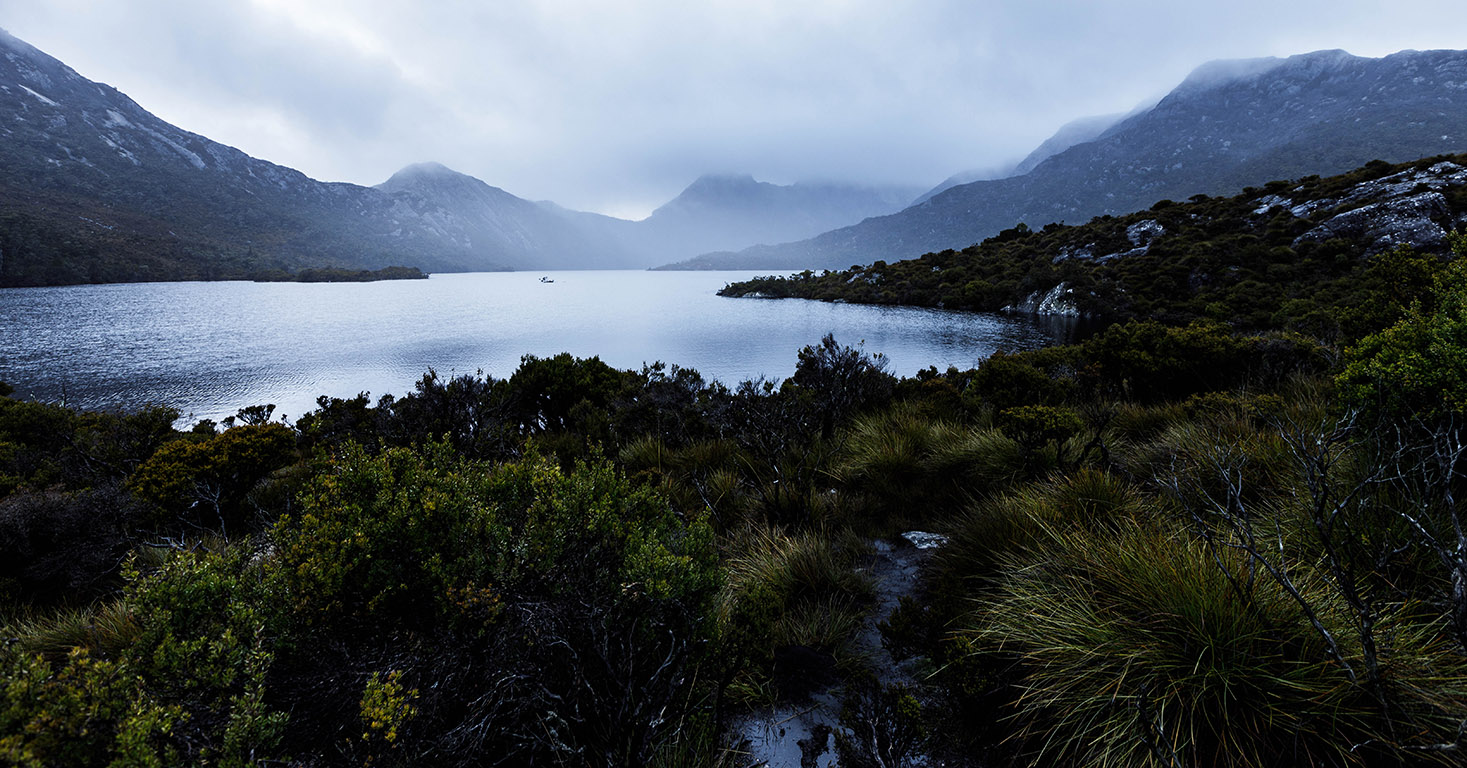
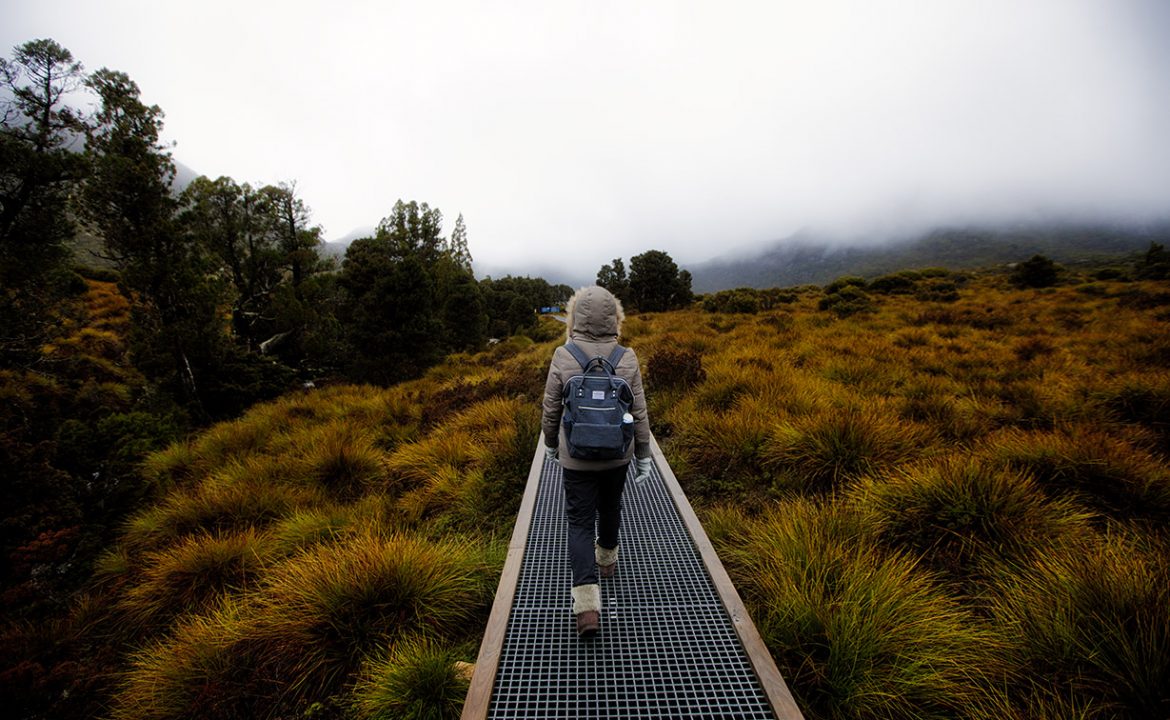
Cradle Mountain
Day 4-5
Slightly beaten by missing out last night’s photo opportunity, we wanted to make haste to our next location in Cradle Mountain. Fortunately, Yesterday’s drive was the longest out of the whole trip and the rest that followed was average around 2 hours.
Our accommodation for Cradle Mountain was the Wilderness Village. This accommodation offered a lovely 2 bedroom cottage style and only minutes away from the visitor centre. For our trip we purchased a Holiday National Park Pass $80 that granted both Elaine and I complimentary Shuttle bus service from Visitor Centre to Dove Lake, and all the stops in between. The Pass also gave us access to Freycinet as well, which we had to display on our car’s dash for pre-paid access. The Holiday pass was valid for 2 months from the time of purchase and can allow up to 1 vehicle with 8 people.
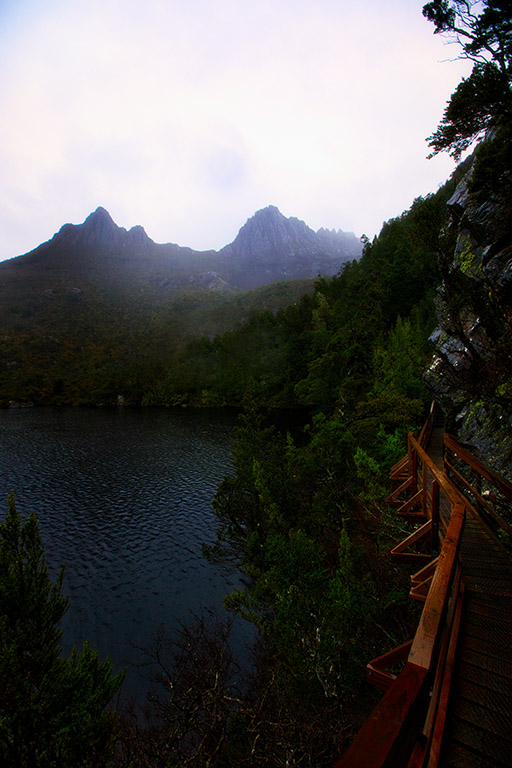
Photographing Cradle Mountain
If you are after the iconic boat shed view with Cradle Mountain you want to take the shuttle bus to Dove Lake, 20 minutes, 10km bus ride. With the Park Pass you are able to drive up as far as Ronny Creek. If you are interested in driving your vehicle check the following site for Conditions and times. https://parks.tas.gov.au/
To get to the boat shed, is about a 10-15 minute by foot from the bus stop of Dove Lake. At around 200 meters of the track you will approach a T-Intersection, Turn right town as shown on the signage. You are about 5 minutes on foot away.
The location was calm and was easy to set up the tripod on the sand. Depending on the conditions, you could use a polarizer to get a clear shoot through water. Neutral Density filters could prove useful if you wish to smoothen out the water and any cloud movement above. Typically i shot wide with the boat shed on the right side vertical third. If you have Panoramic equipment this could prove to be useful.
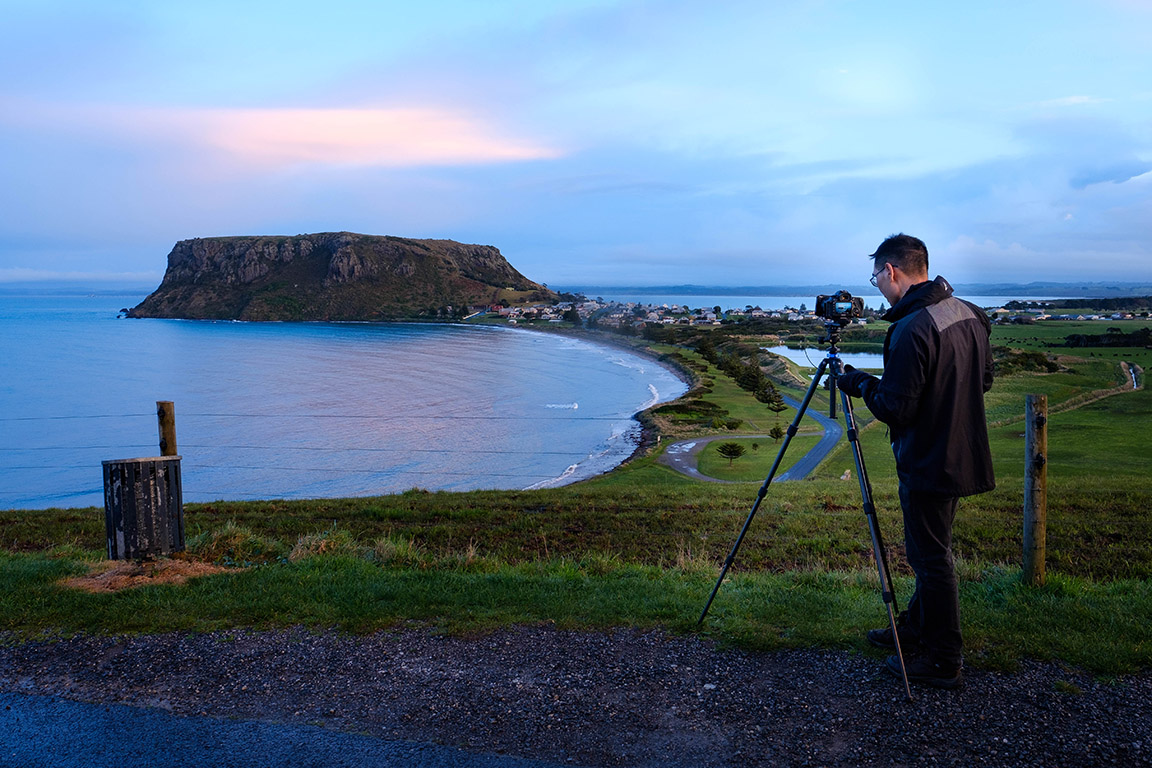
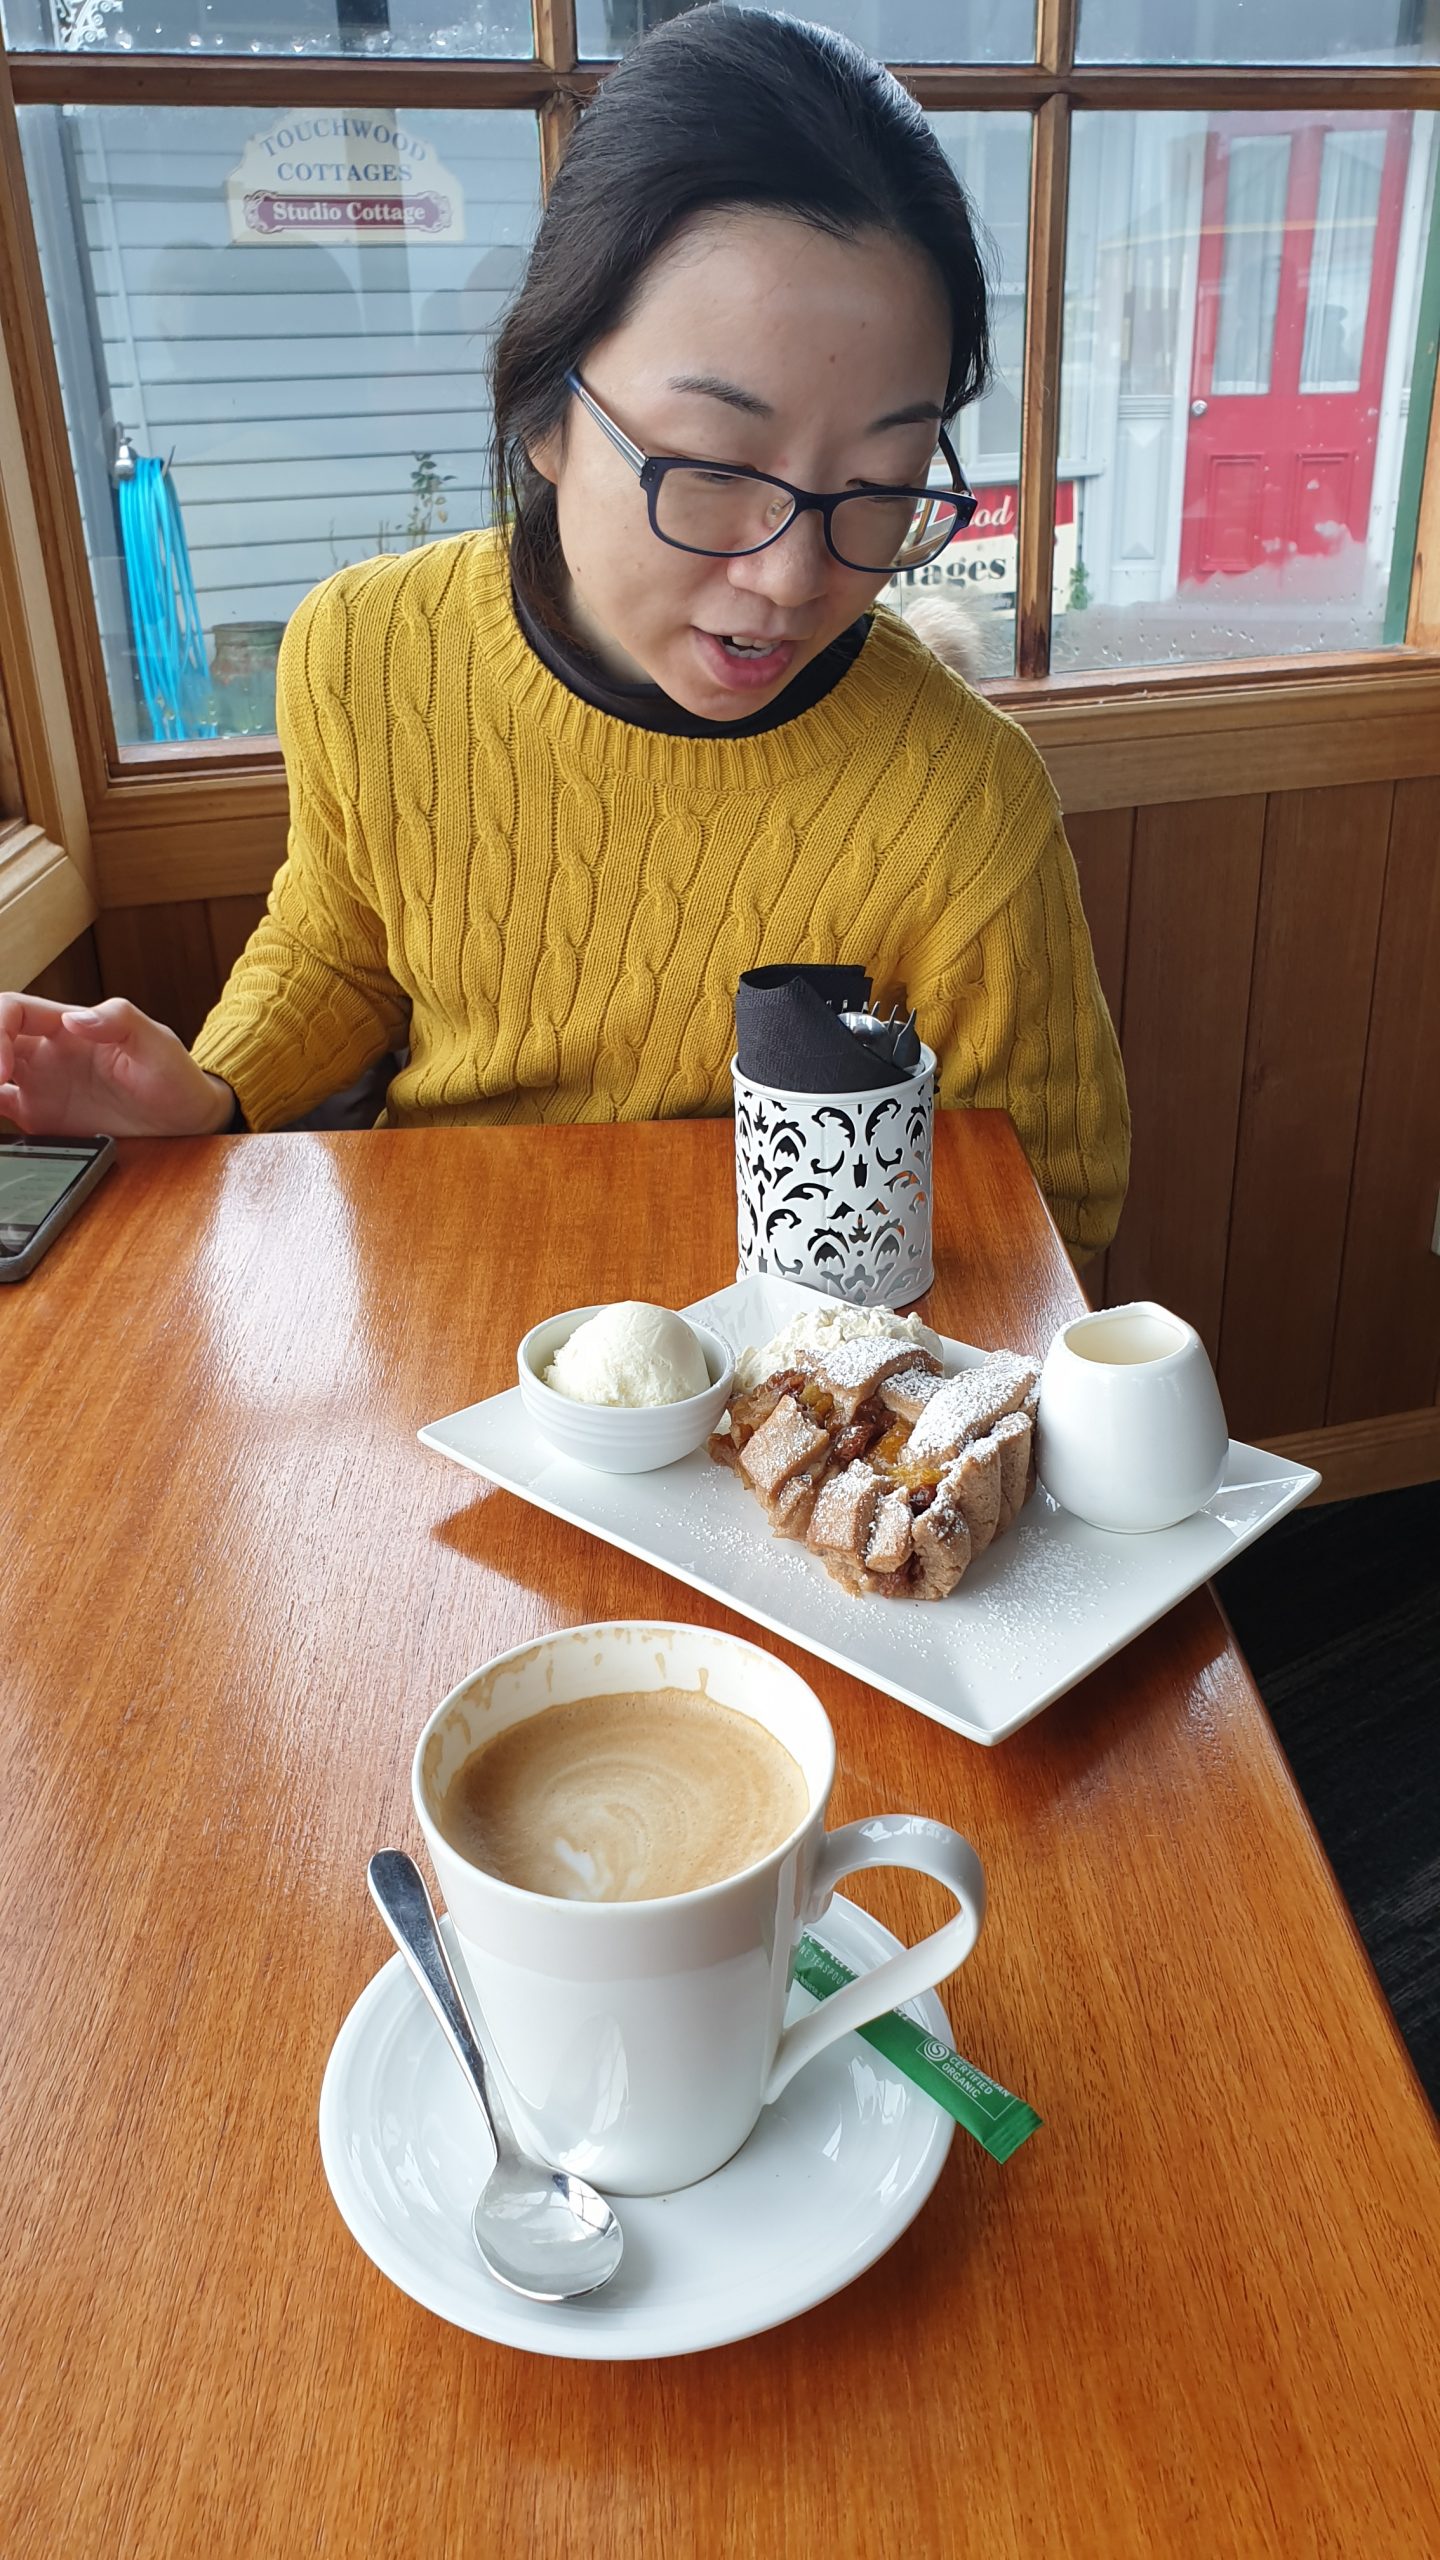
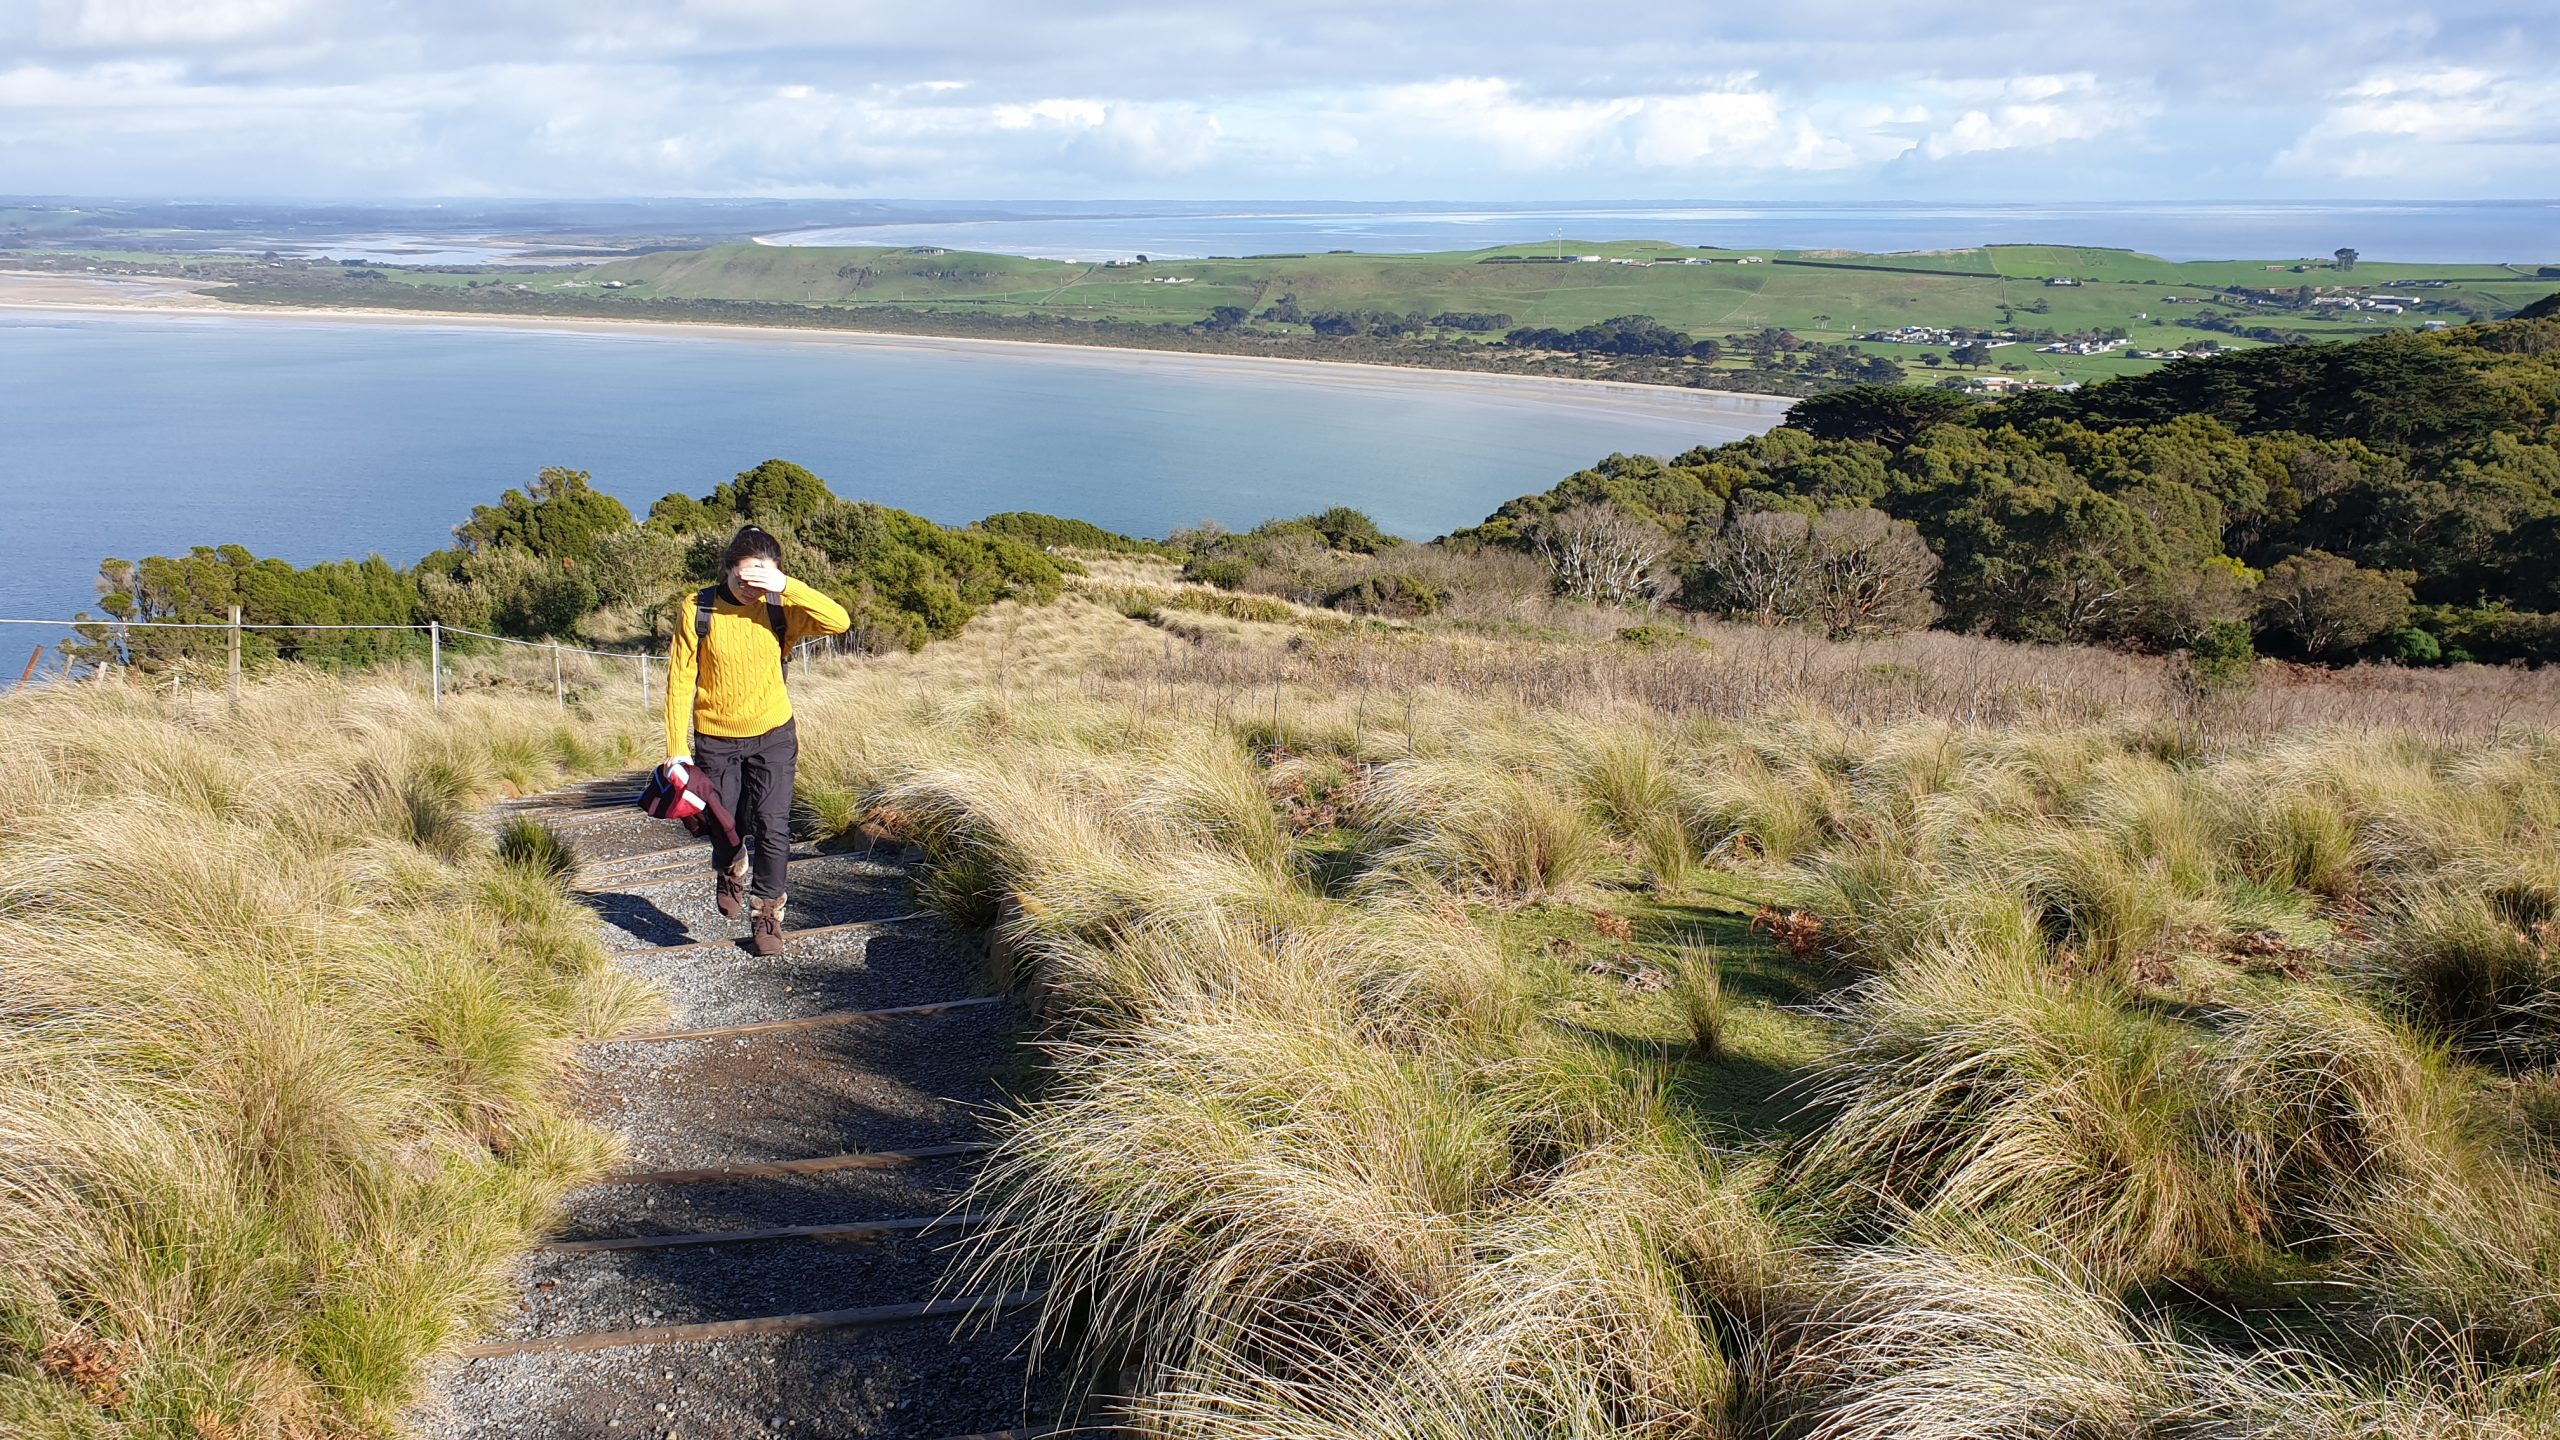
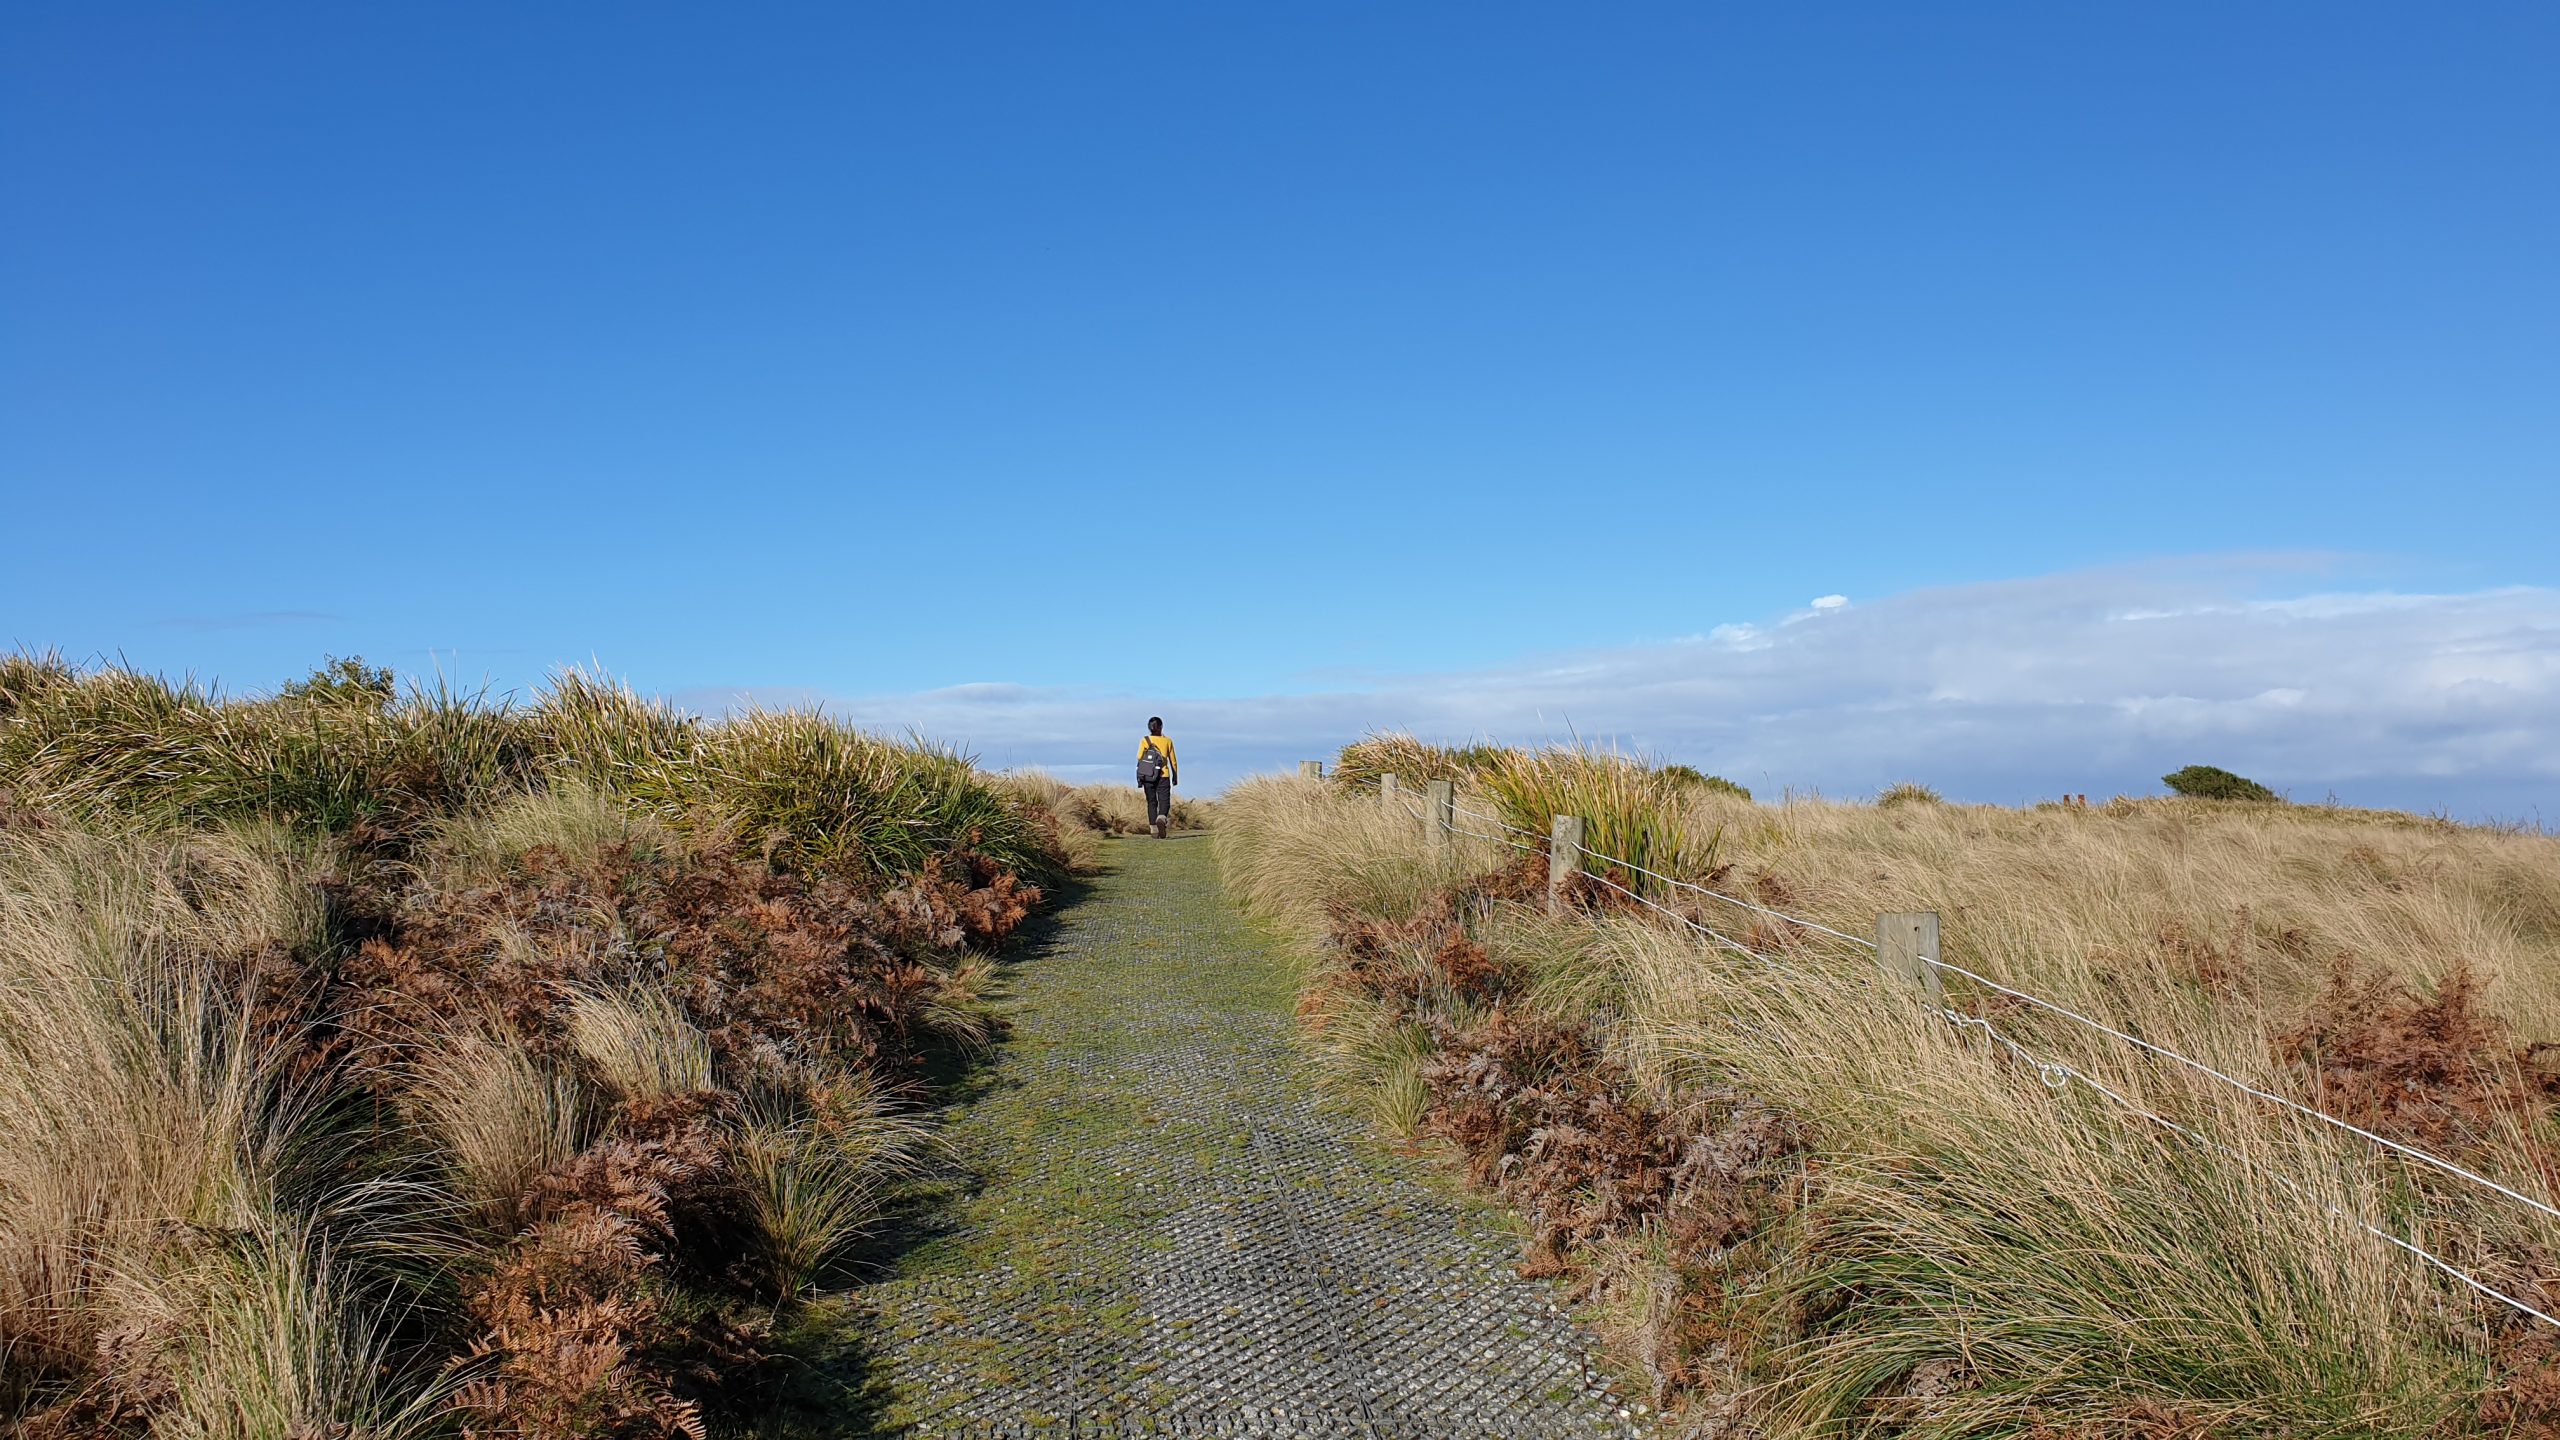
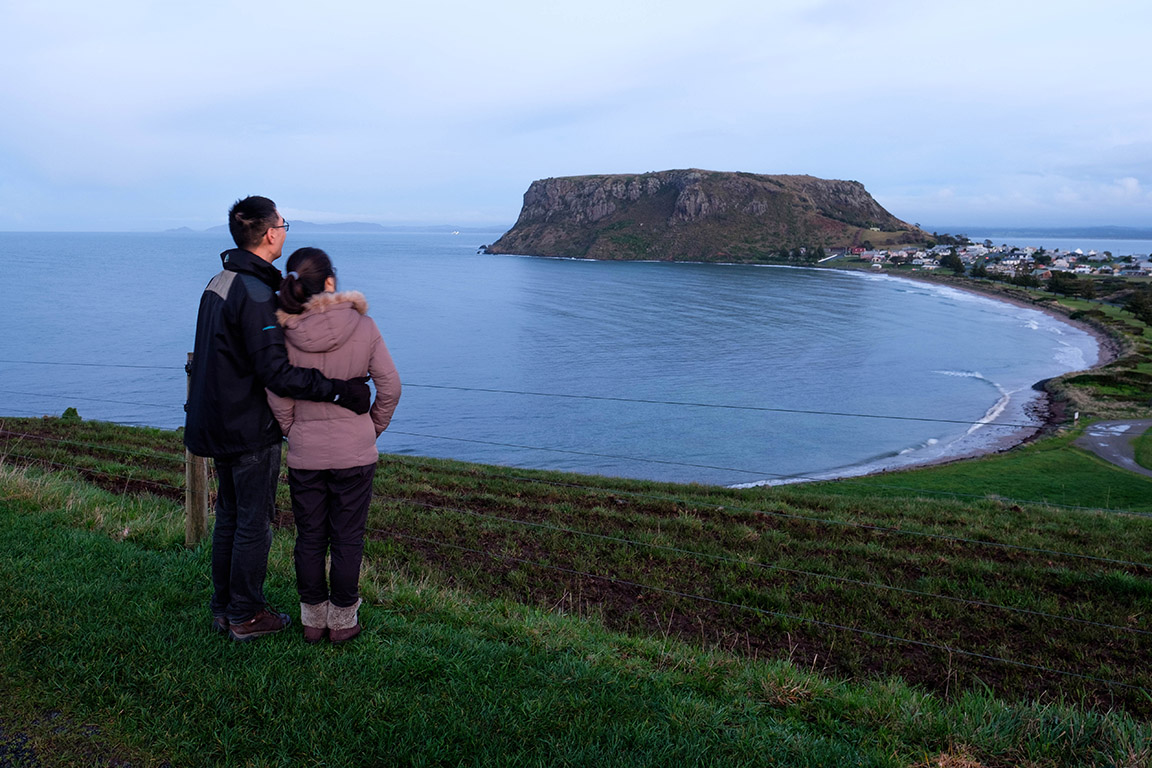
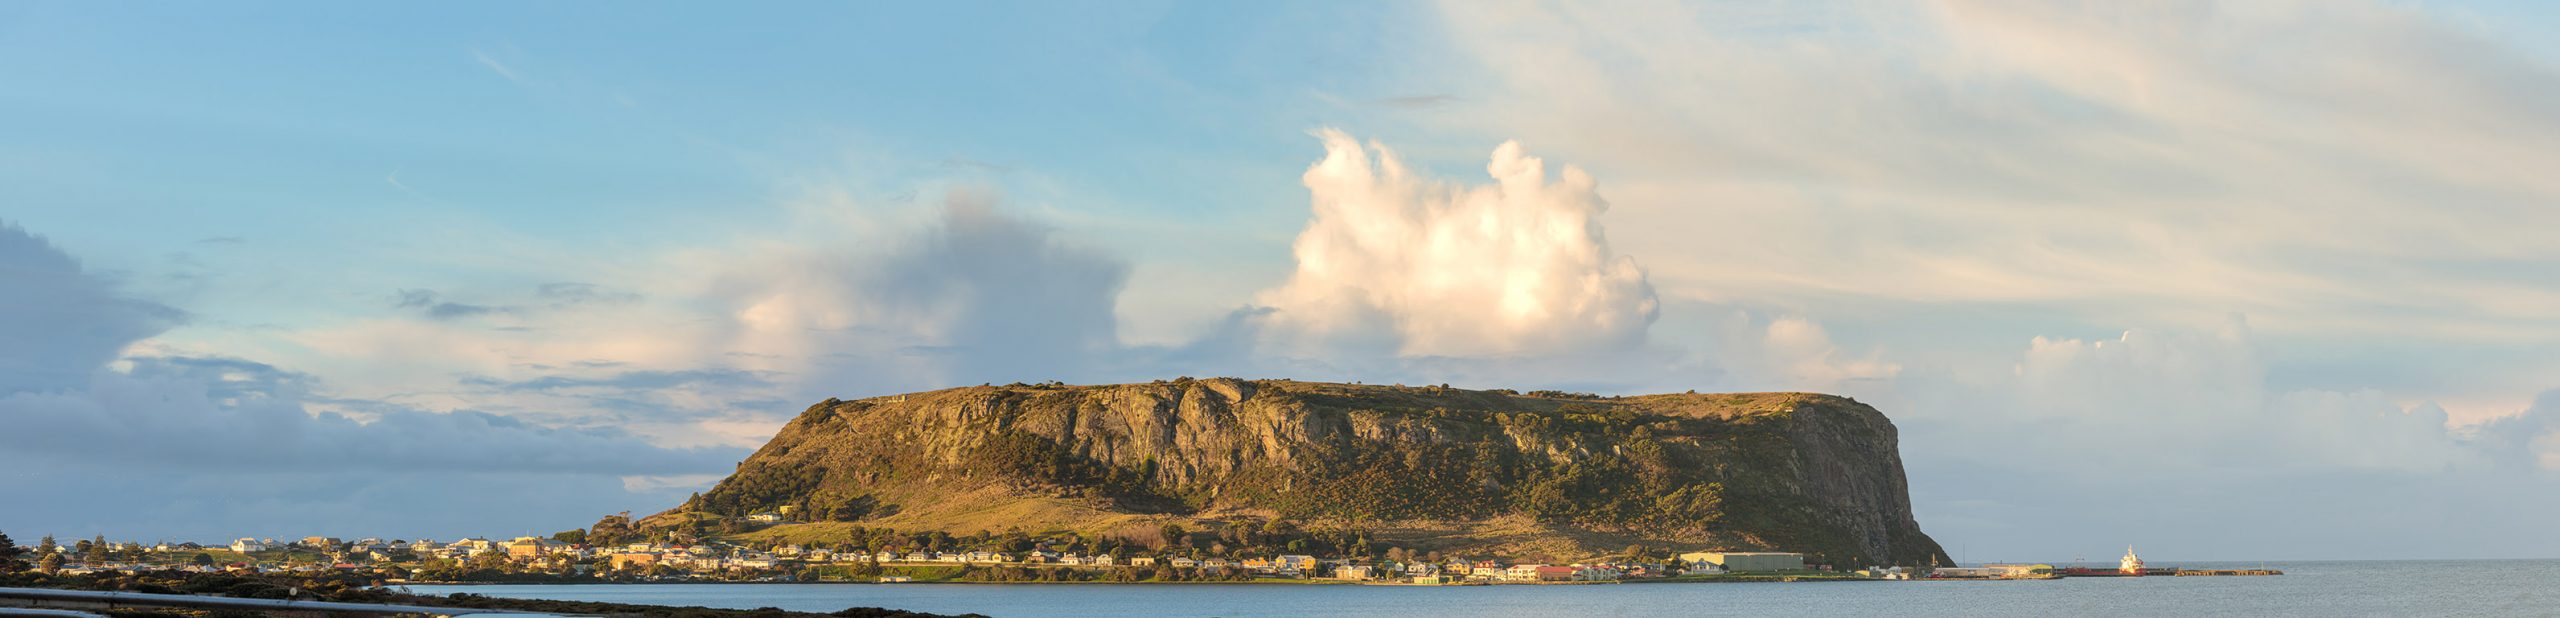
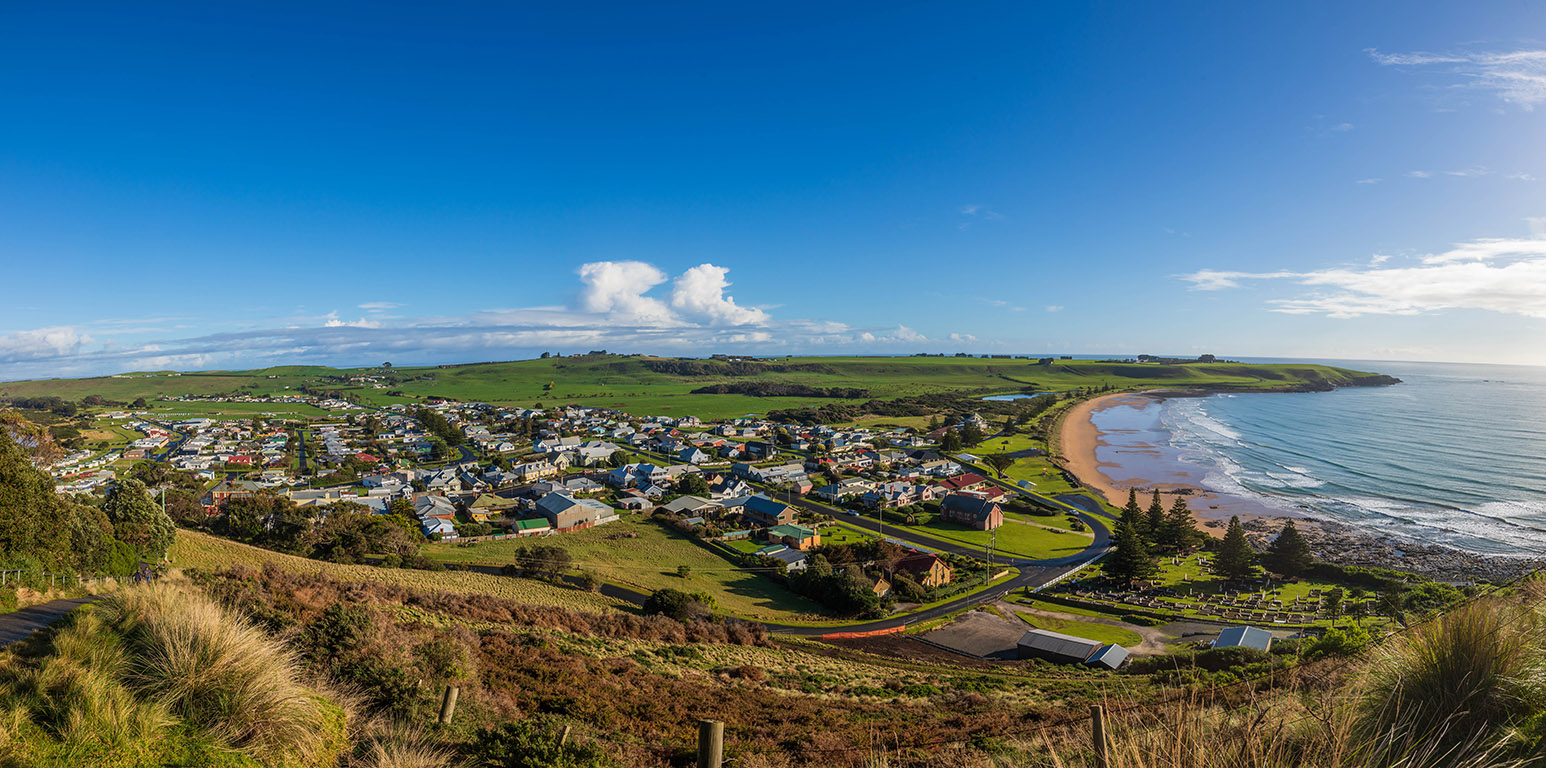
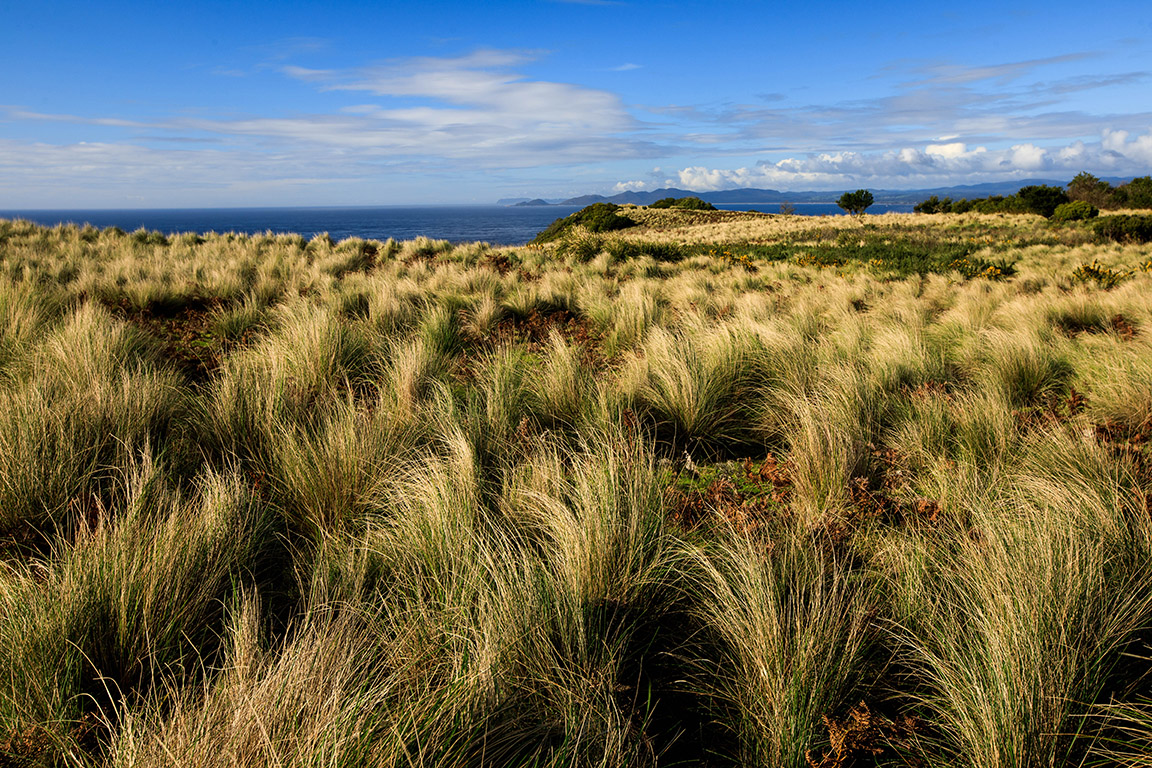
Stanley
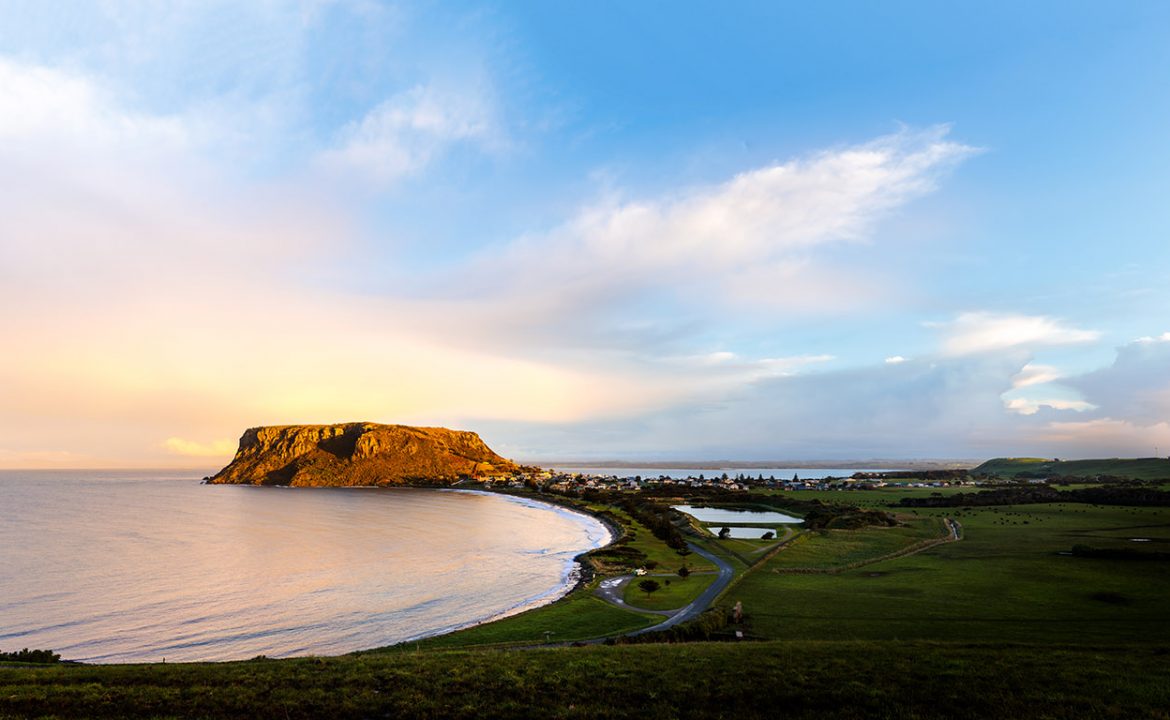
Day 6
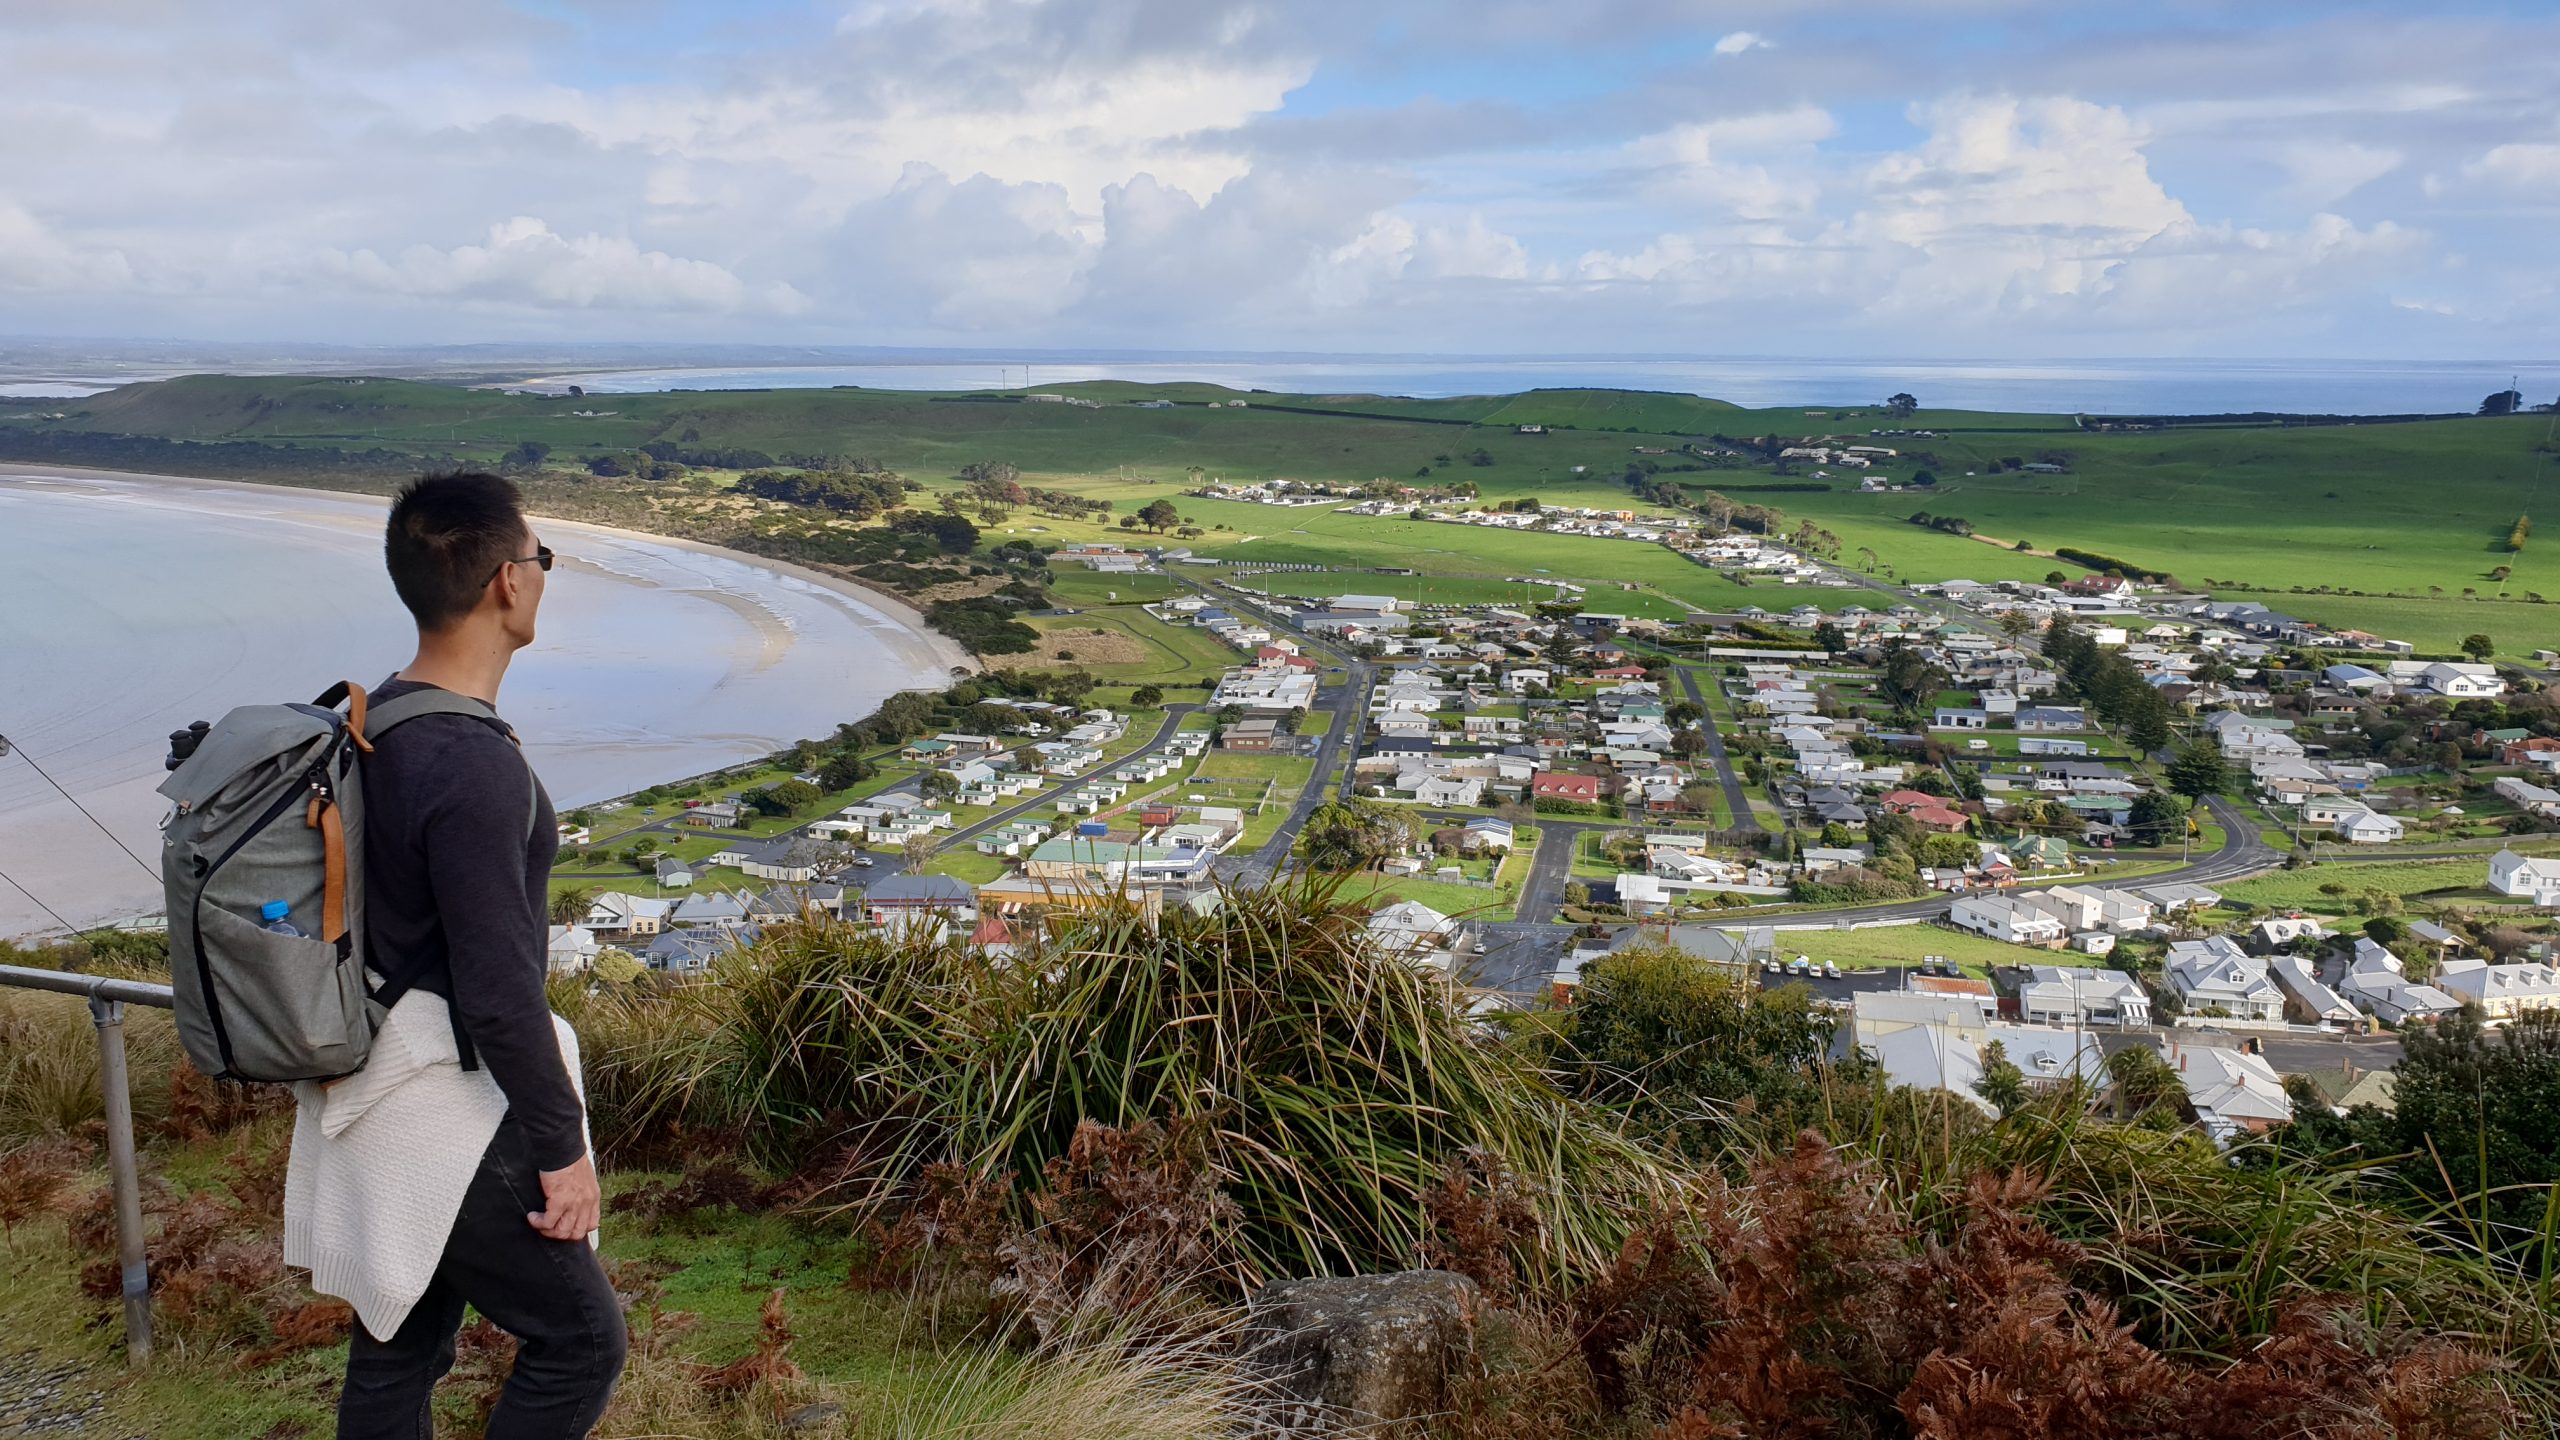
On the sixth day of the trip we drove to the northwest town of Stanley and stayed at the Touchwood Cottages. We only spent one night here and we had good weather for the photographs. If you are fortunate like us, you can do this town with a single night.
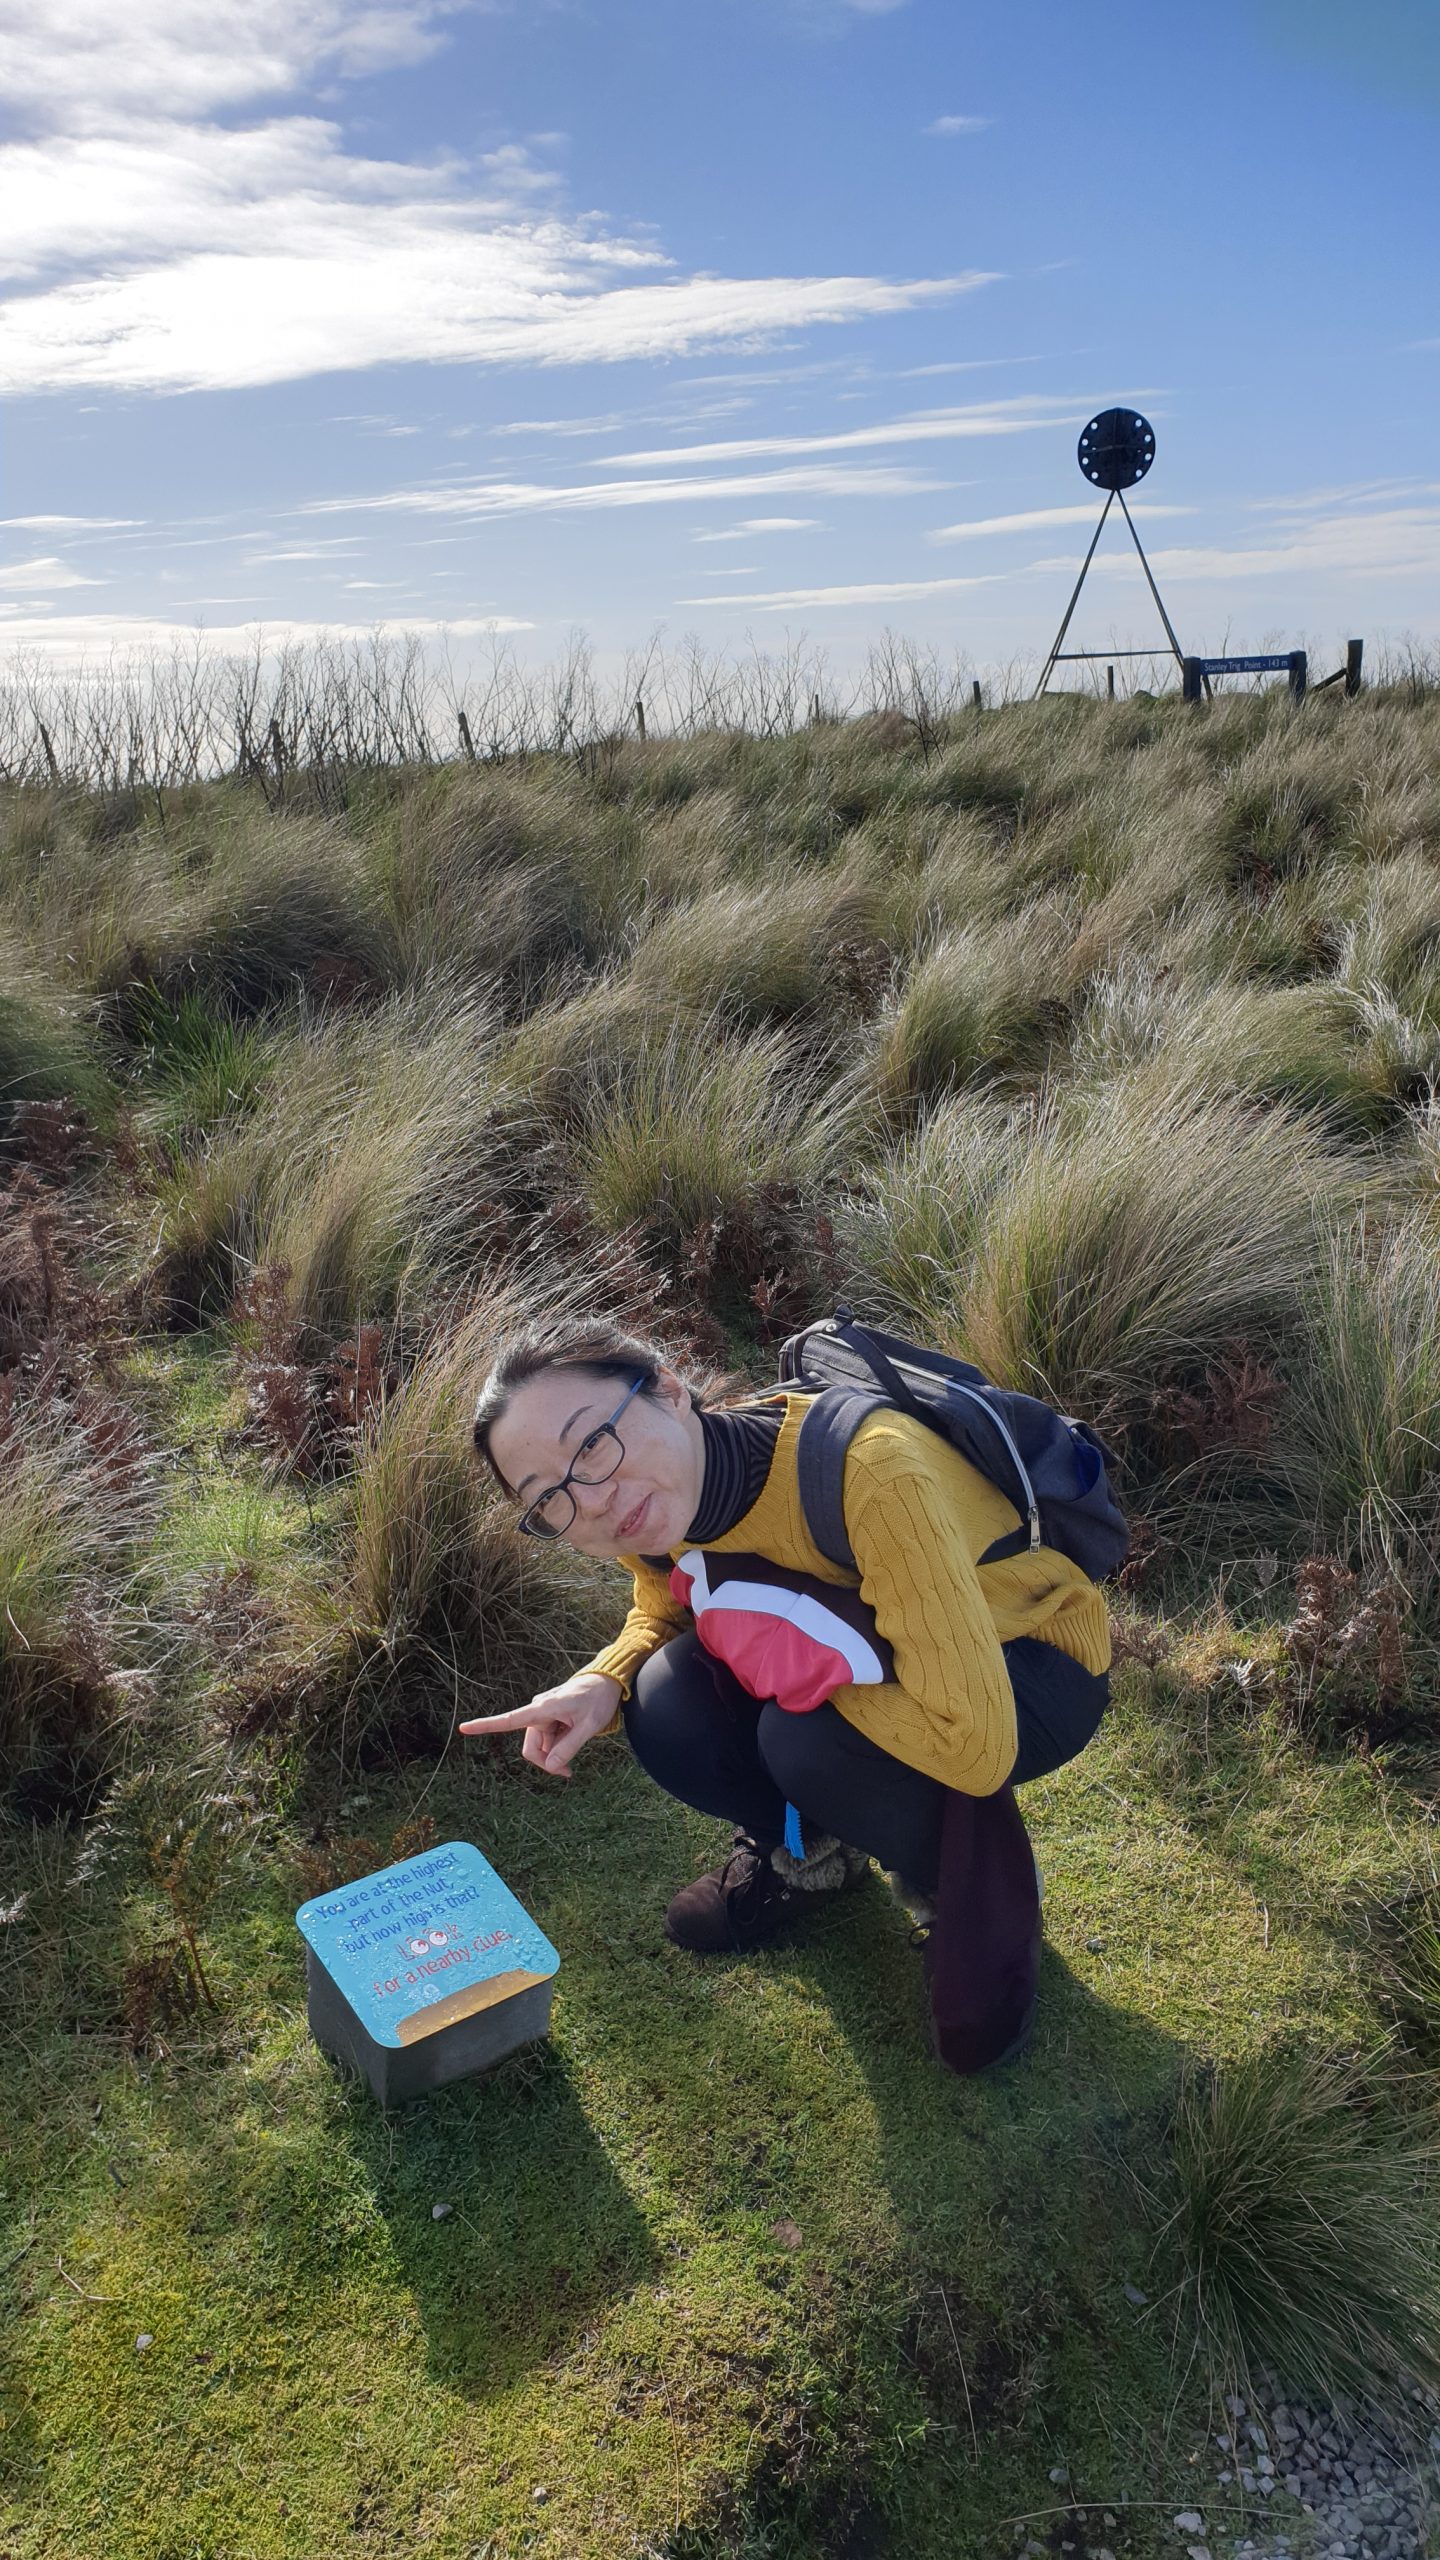
The iconic feature of Stanley is the Nut. The Nut is the remains of an ancient volcanic plug with a large, mostly flat surface that can be hiked around on foot. To hike the top is about 2km and about 35 whilst stopping at the different lookout points. There are 2 options to get to the top. A paid for use chair lift, or a very steep climb. We opted for the steep climb.
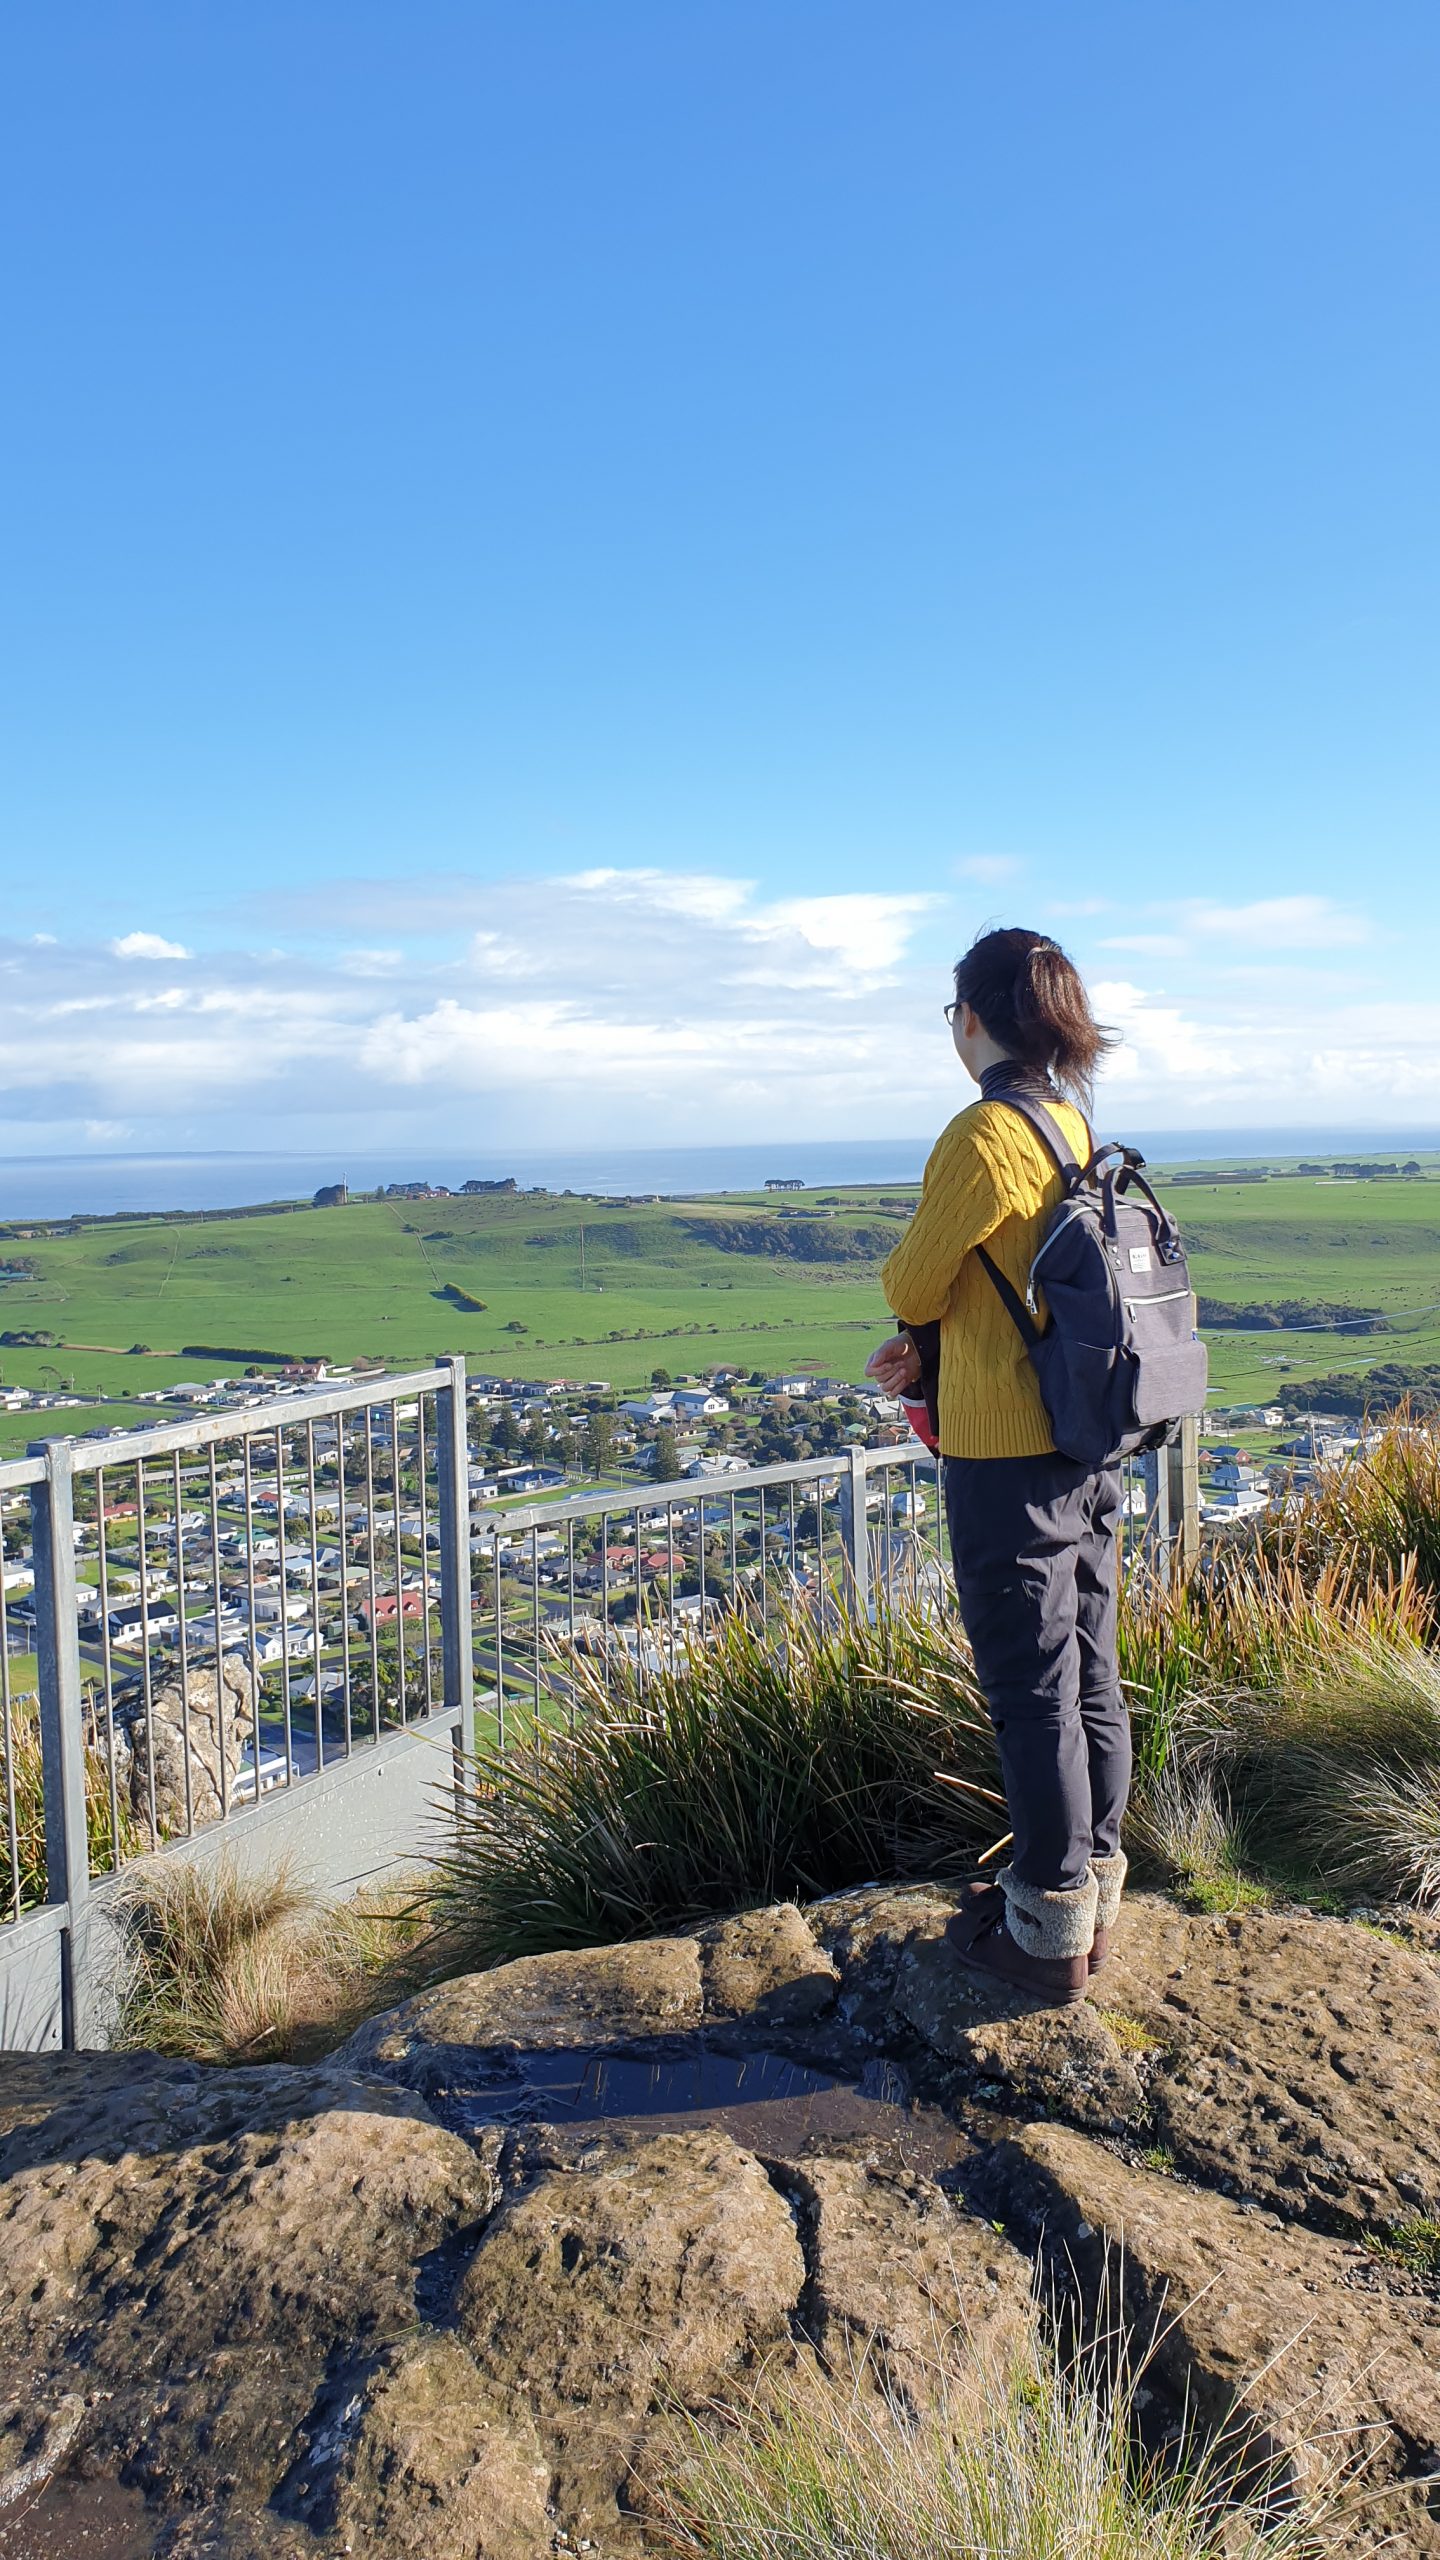
Photographing The NUT
We visited two look out points for the Nut, the first (Trethewies) which is along the highway as you enter the town. You will instinctively know when you arrive to this lookout but may miss the fact that its actually a width extension on the side of the road, just before the Welcome to Stanley sign. This is not the best view of the Nut and the second was much preferred.
Do be careful if you feel the urge to cross the highway to get pictures. Cars behind you (only meters away) will drive past at 100km/hr.
The second and preferred location is up on the hill at the end of Church street. Our accommodation was located on the same street and it only required about 5 minutes of driving. The road will come to a curve up towards the hill and has an area where you can safely park your car away from the road. The area can probably fit 4-5 cars comfortably so be courteous of others when you drive up here.
The view over looks the attraction with the small town on the bottom right. This site both suits sunrise and sunset. If you are an astro photographer, you could probably plan to have this site photographed with the galaxy positioned in a pleasing way.
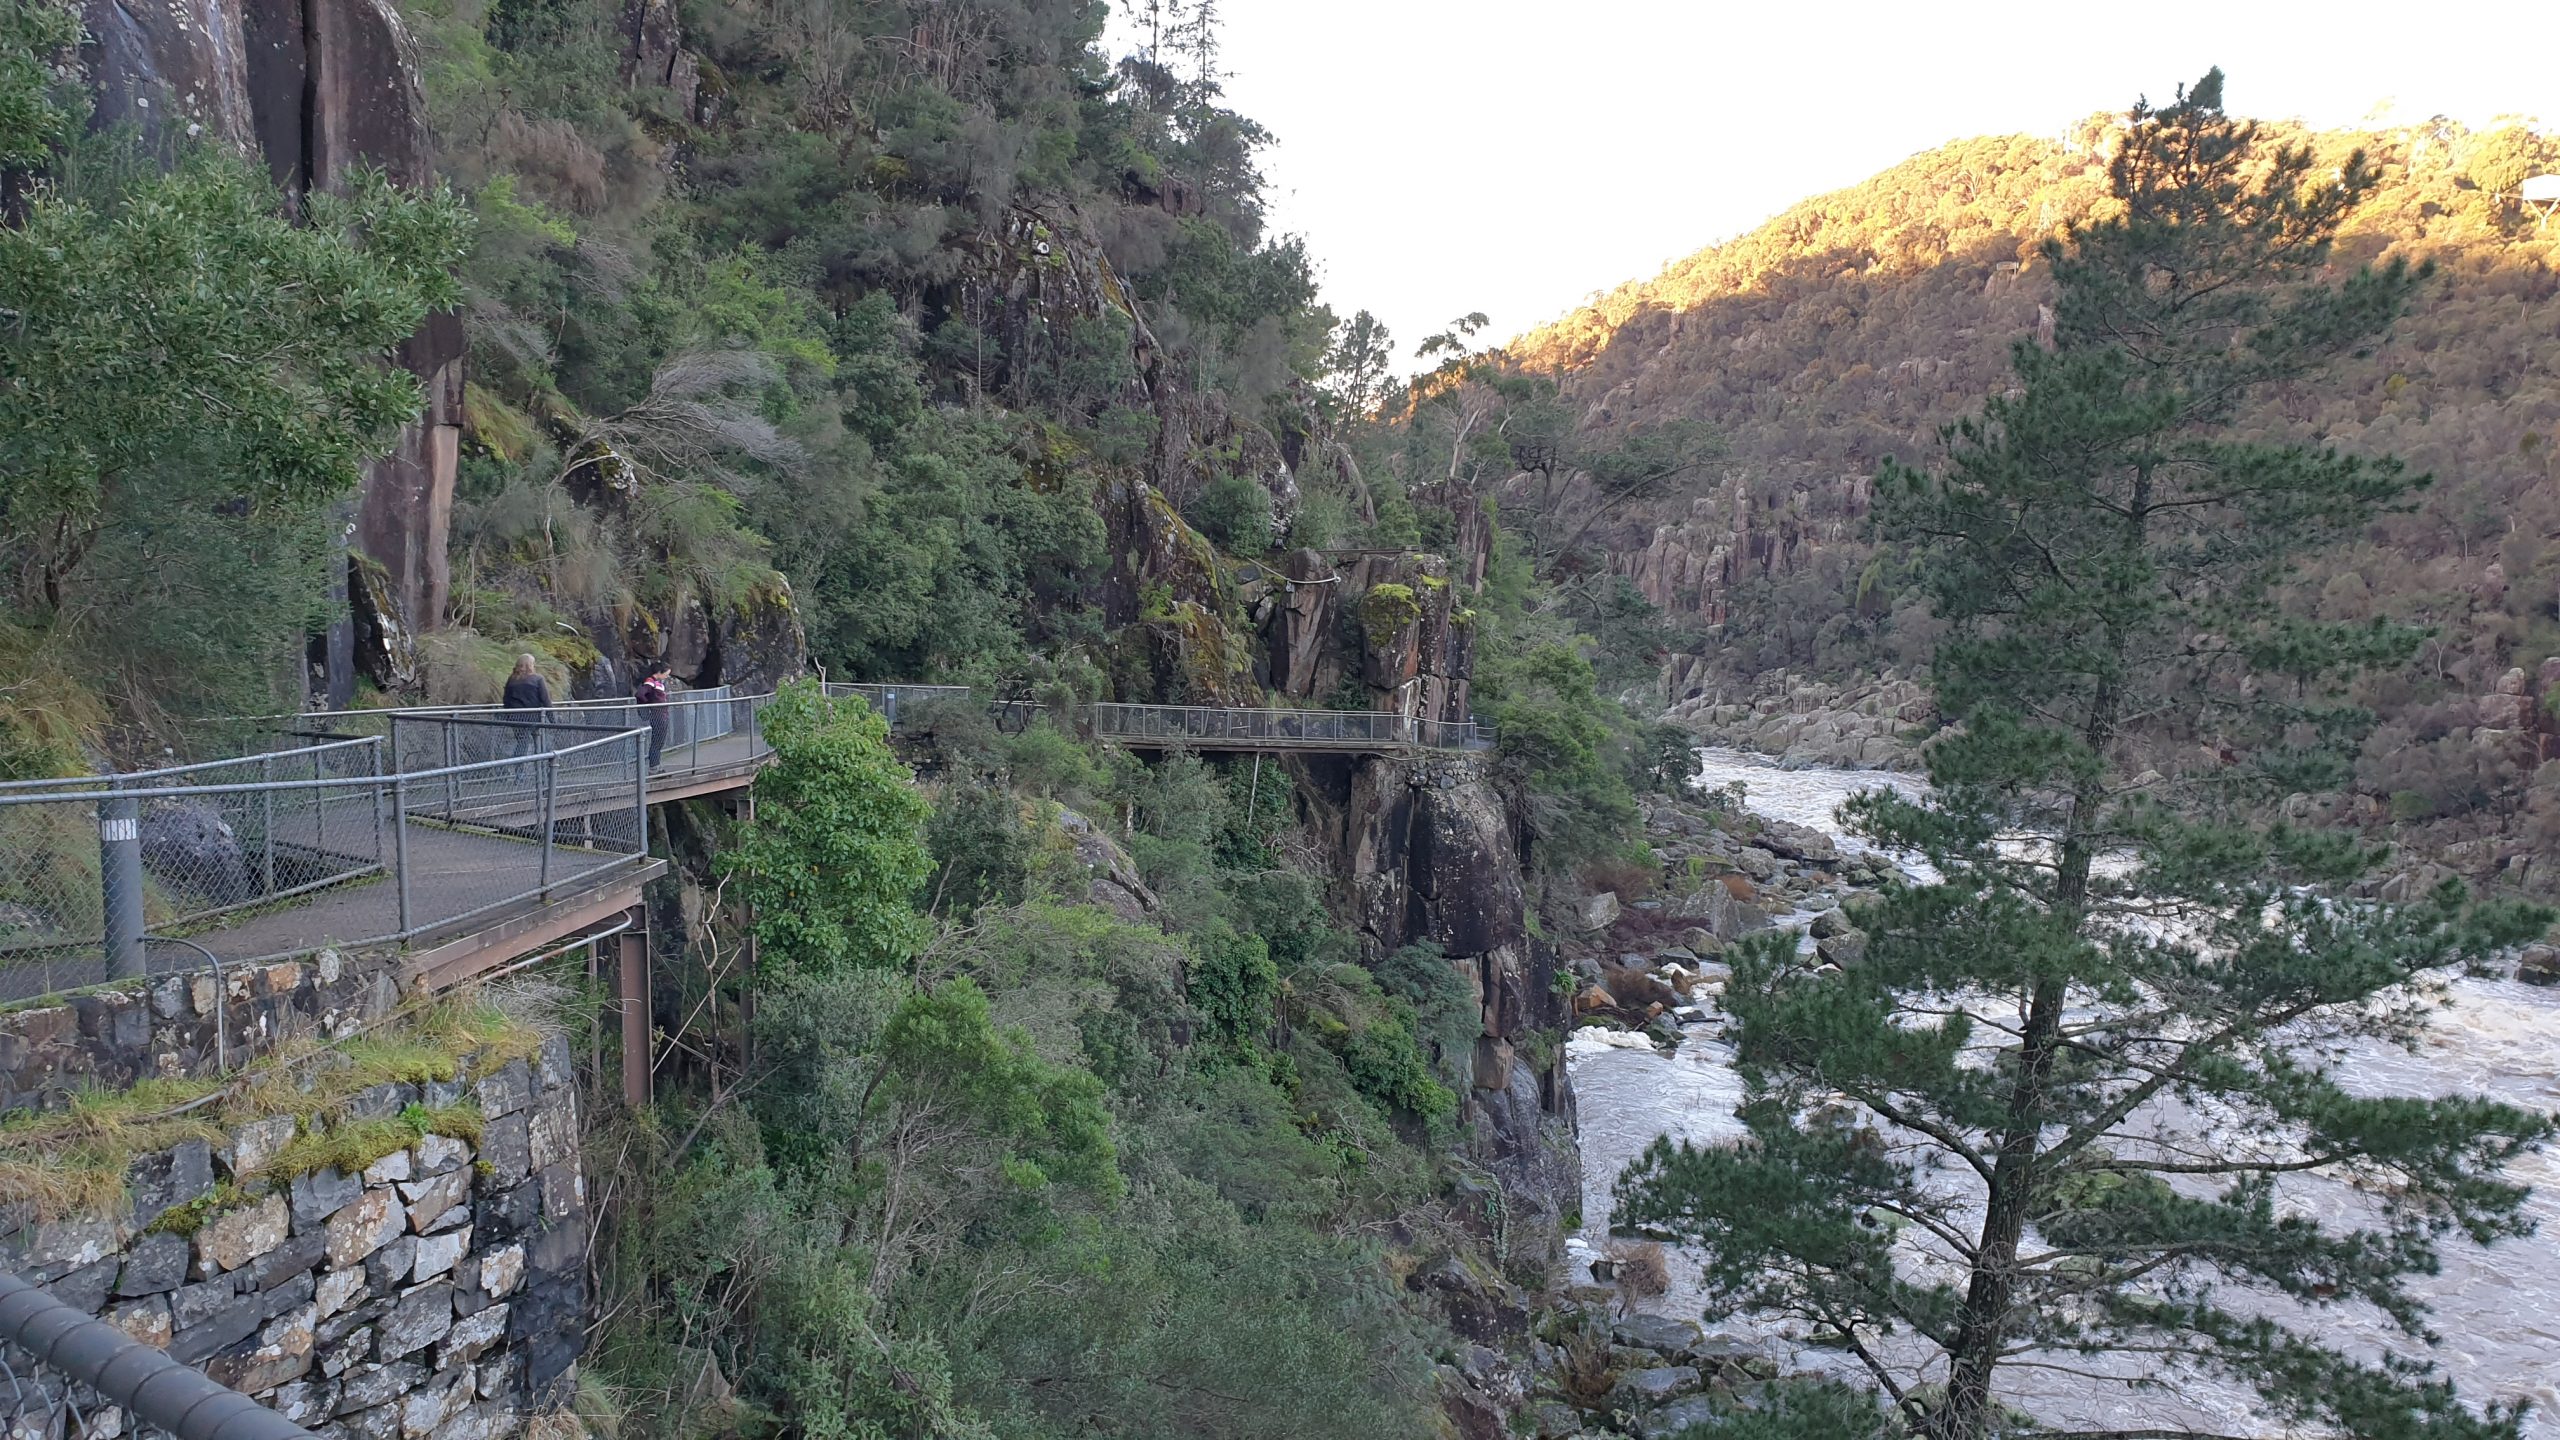
Launceston
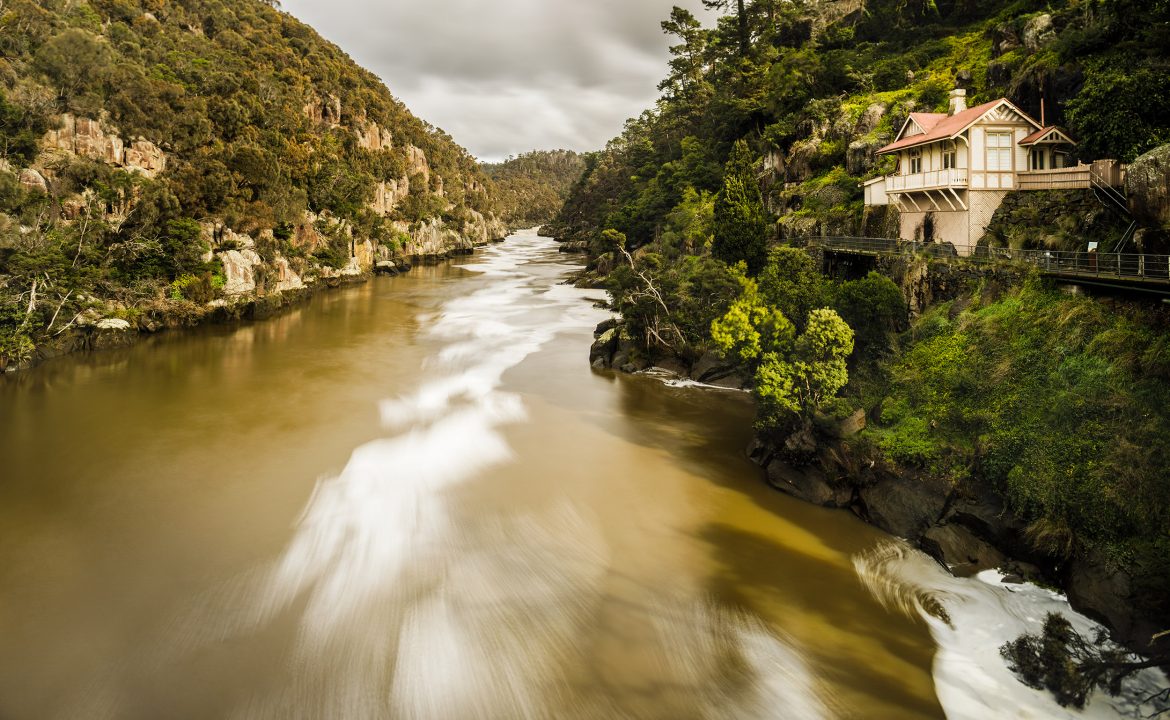
Day 7-8
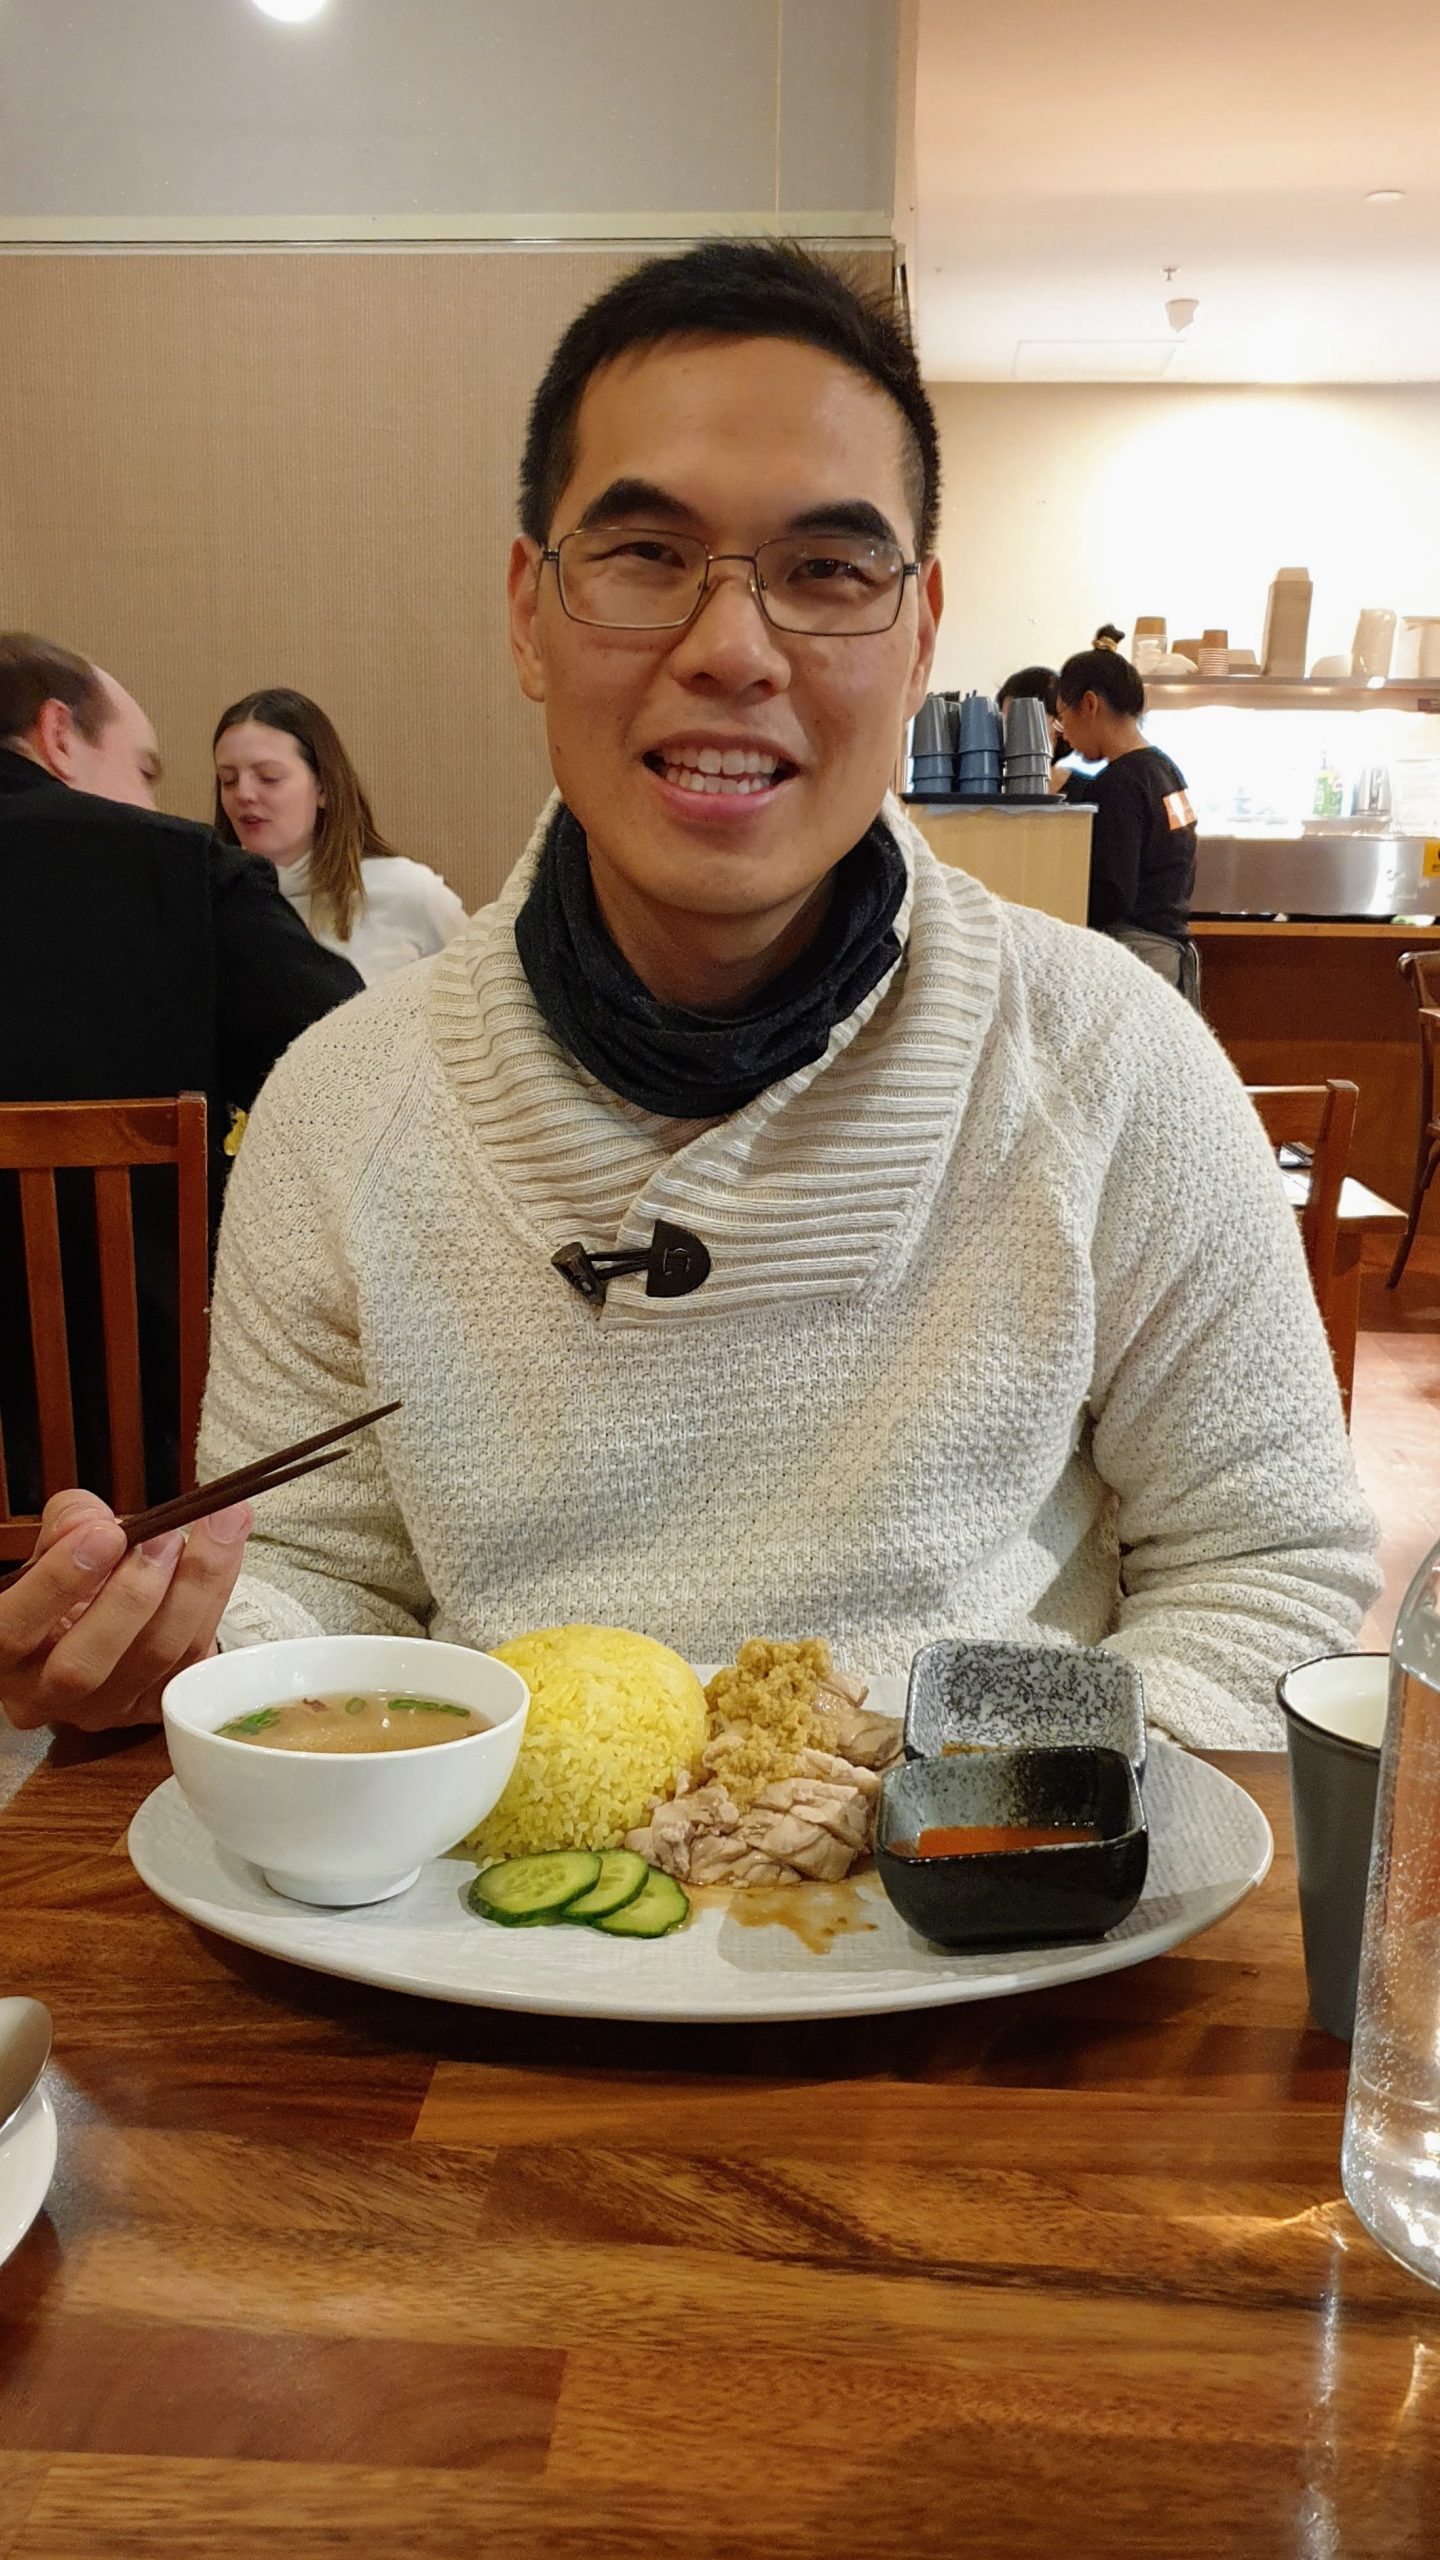
Launceston acted as a mid-way point for our road trip. It was the only other city we visited beside the Capital. I didn’t have much intention for photography here, as I didn’t mind a small break from the early mornings and the cold evenings outside. The city had good food amenities for shopping and restaurants.
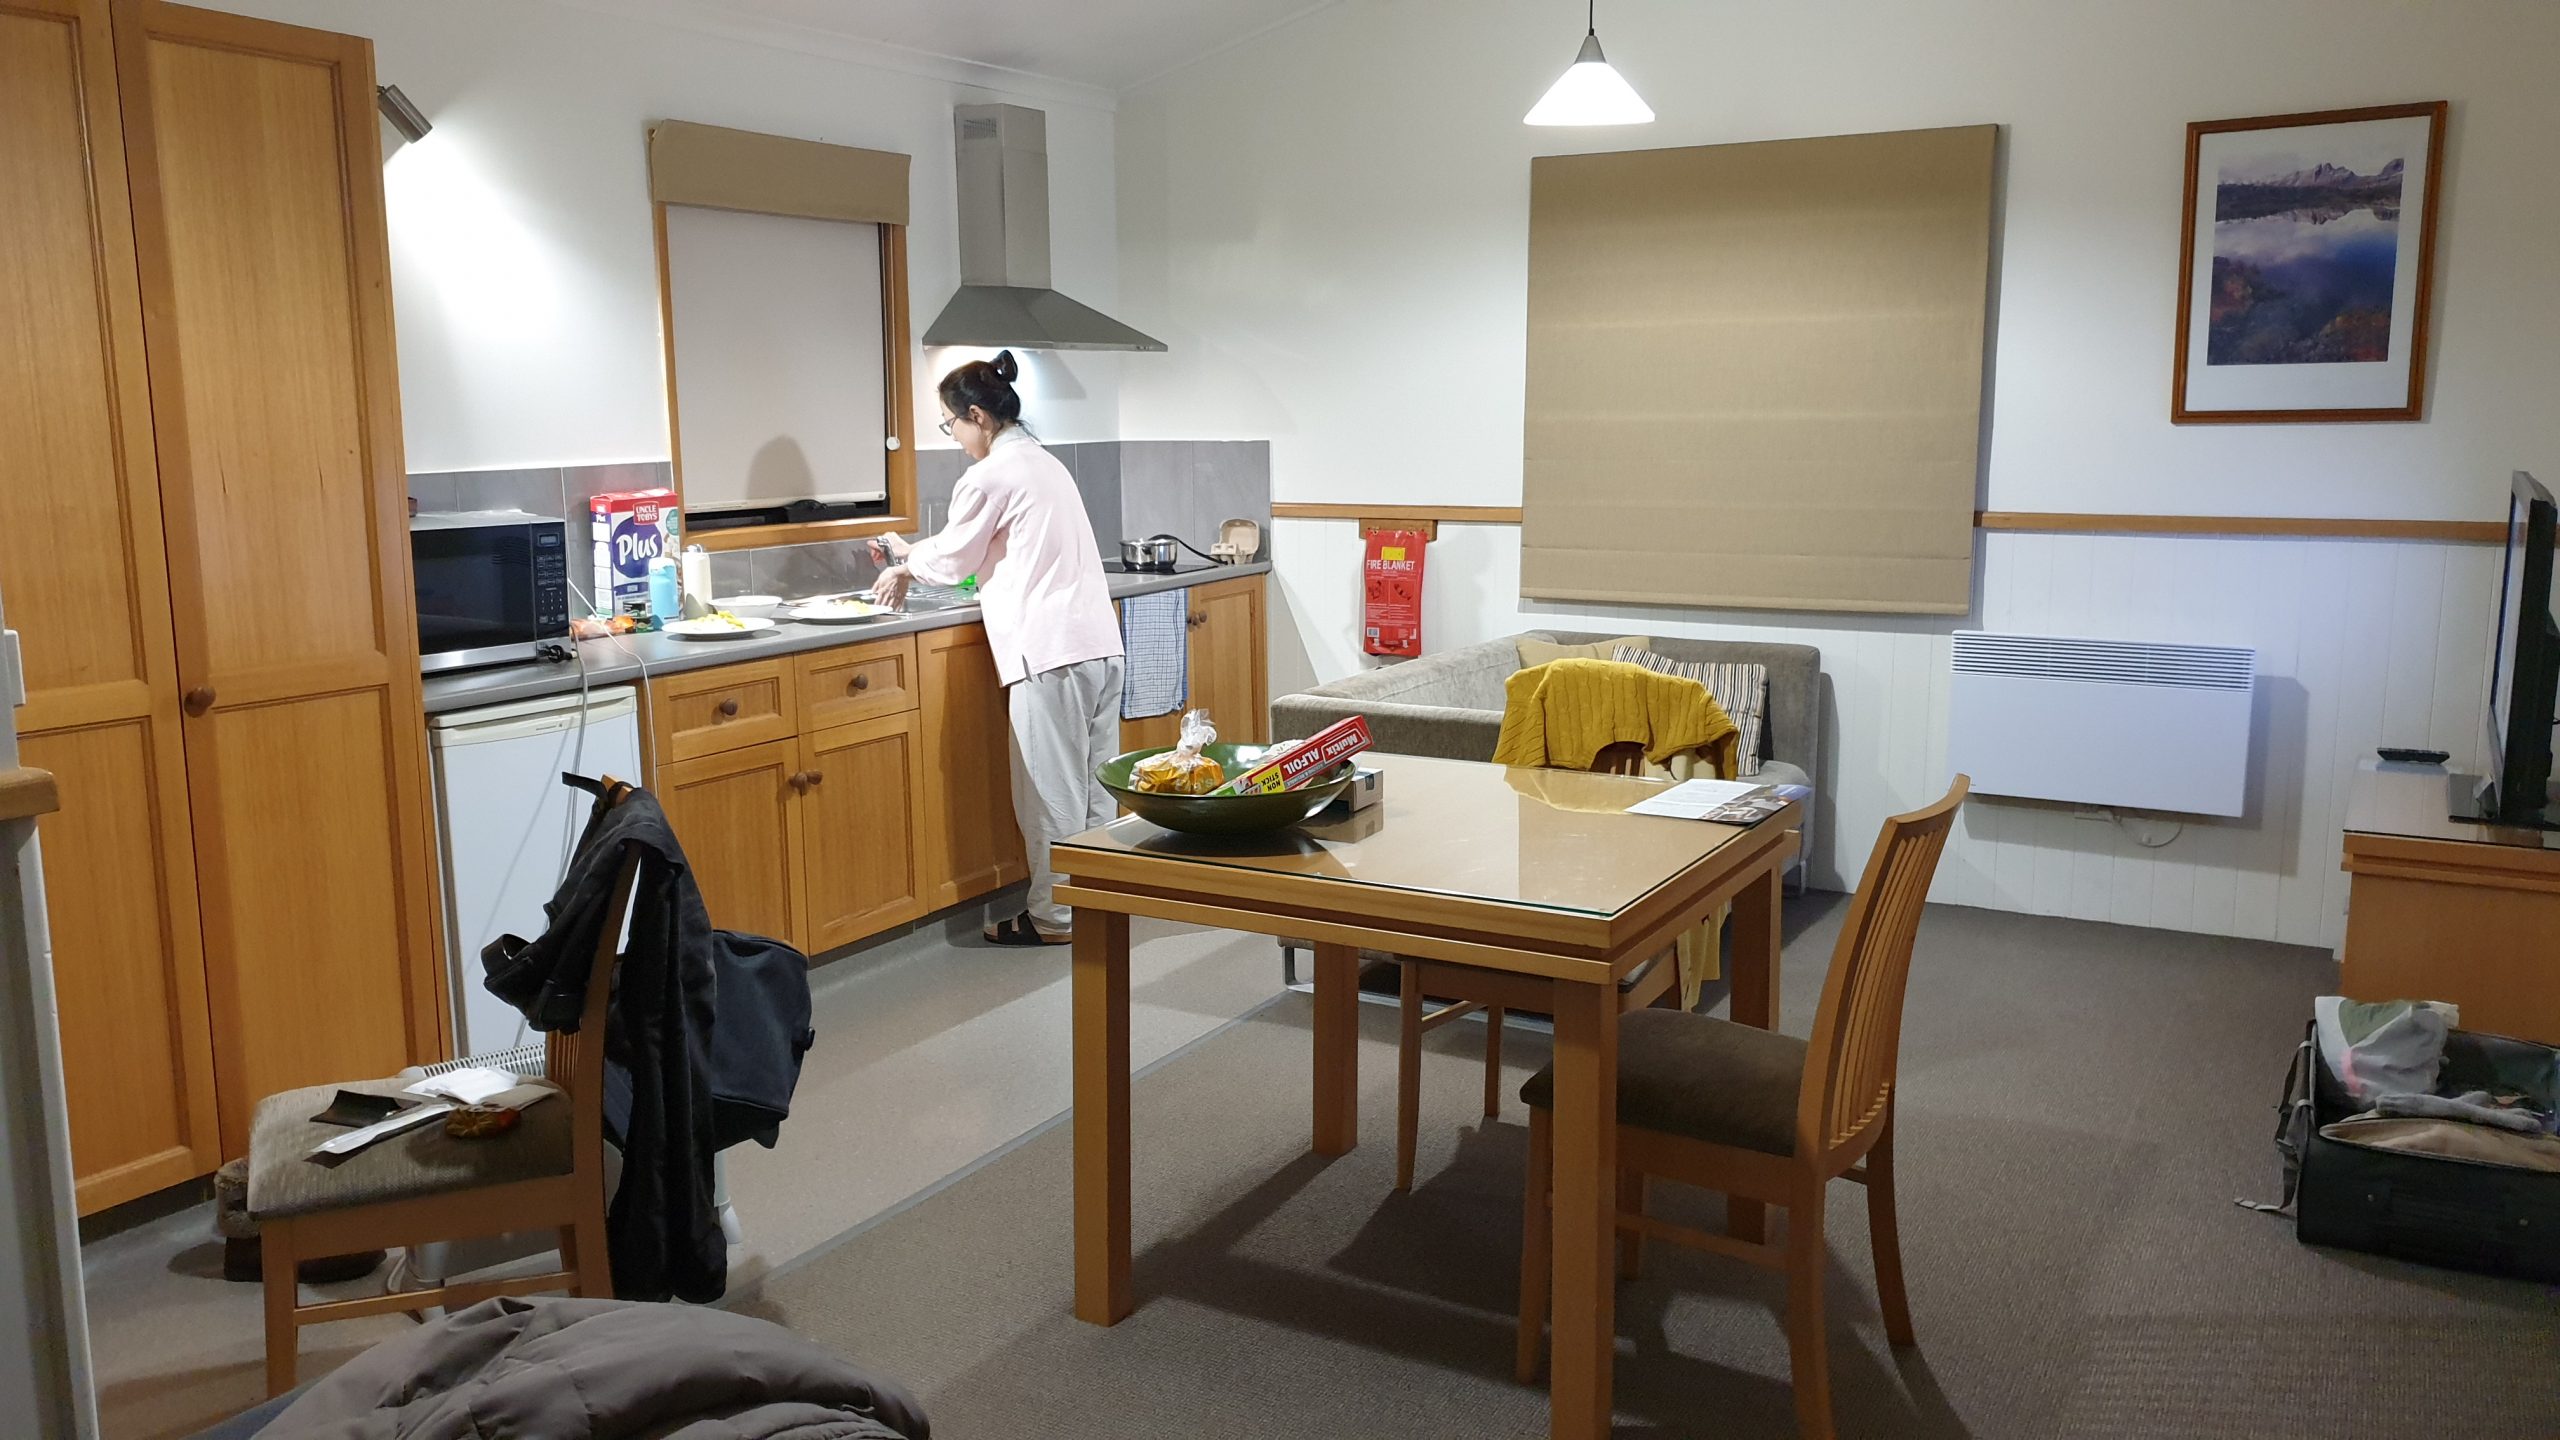
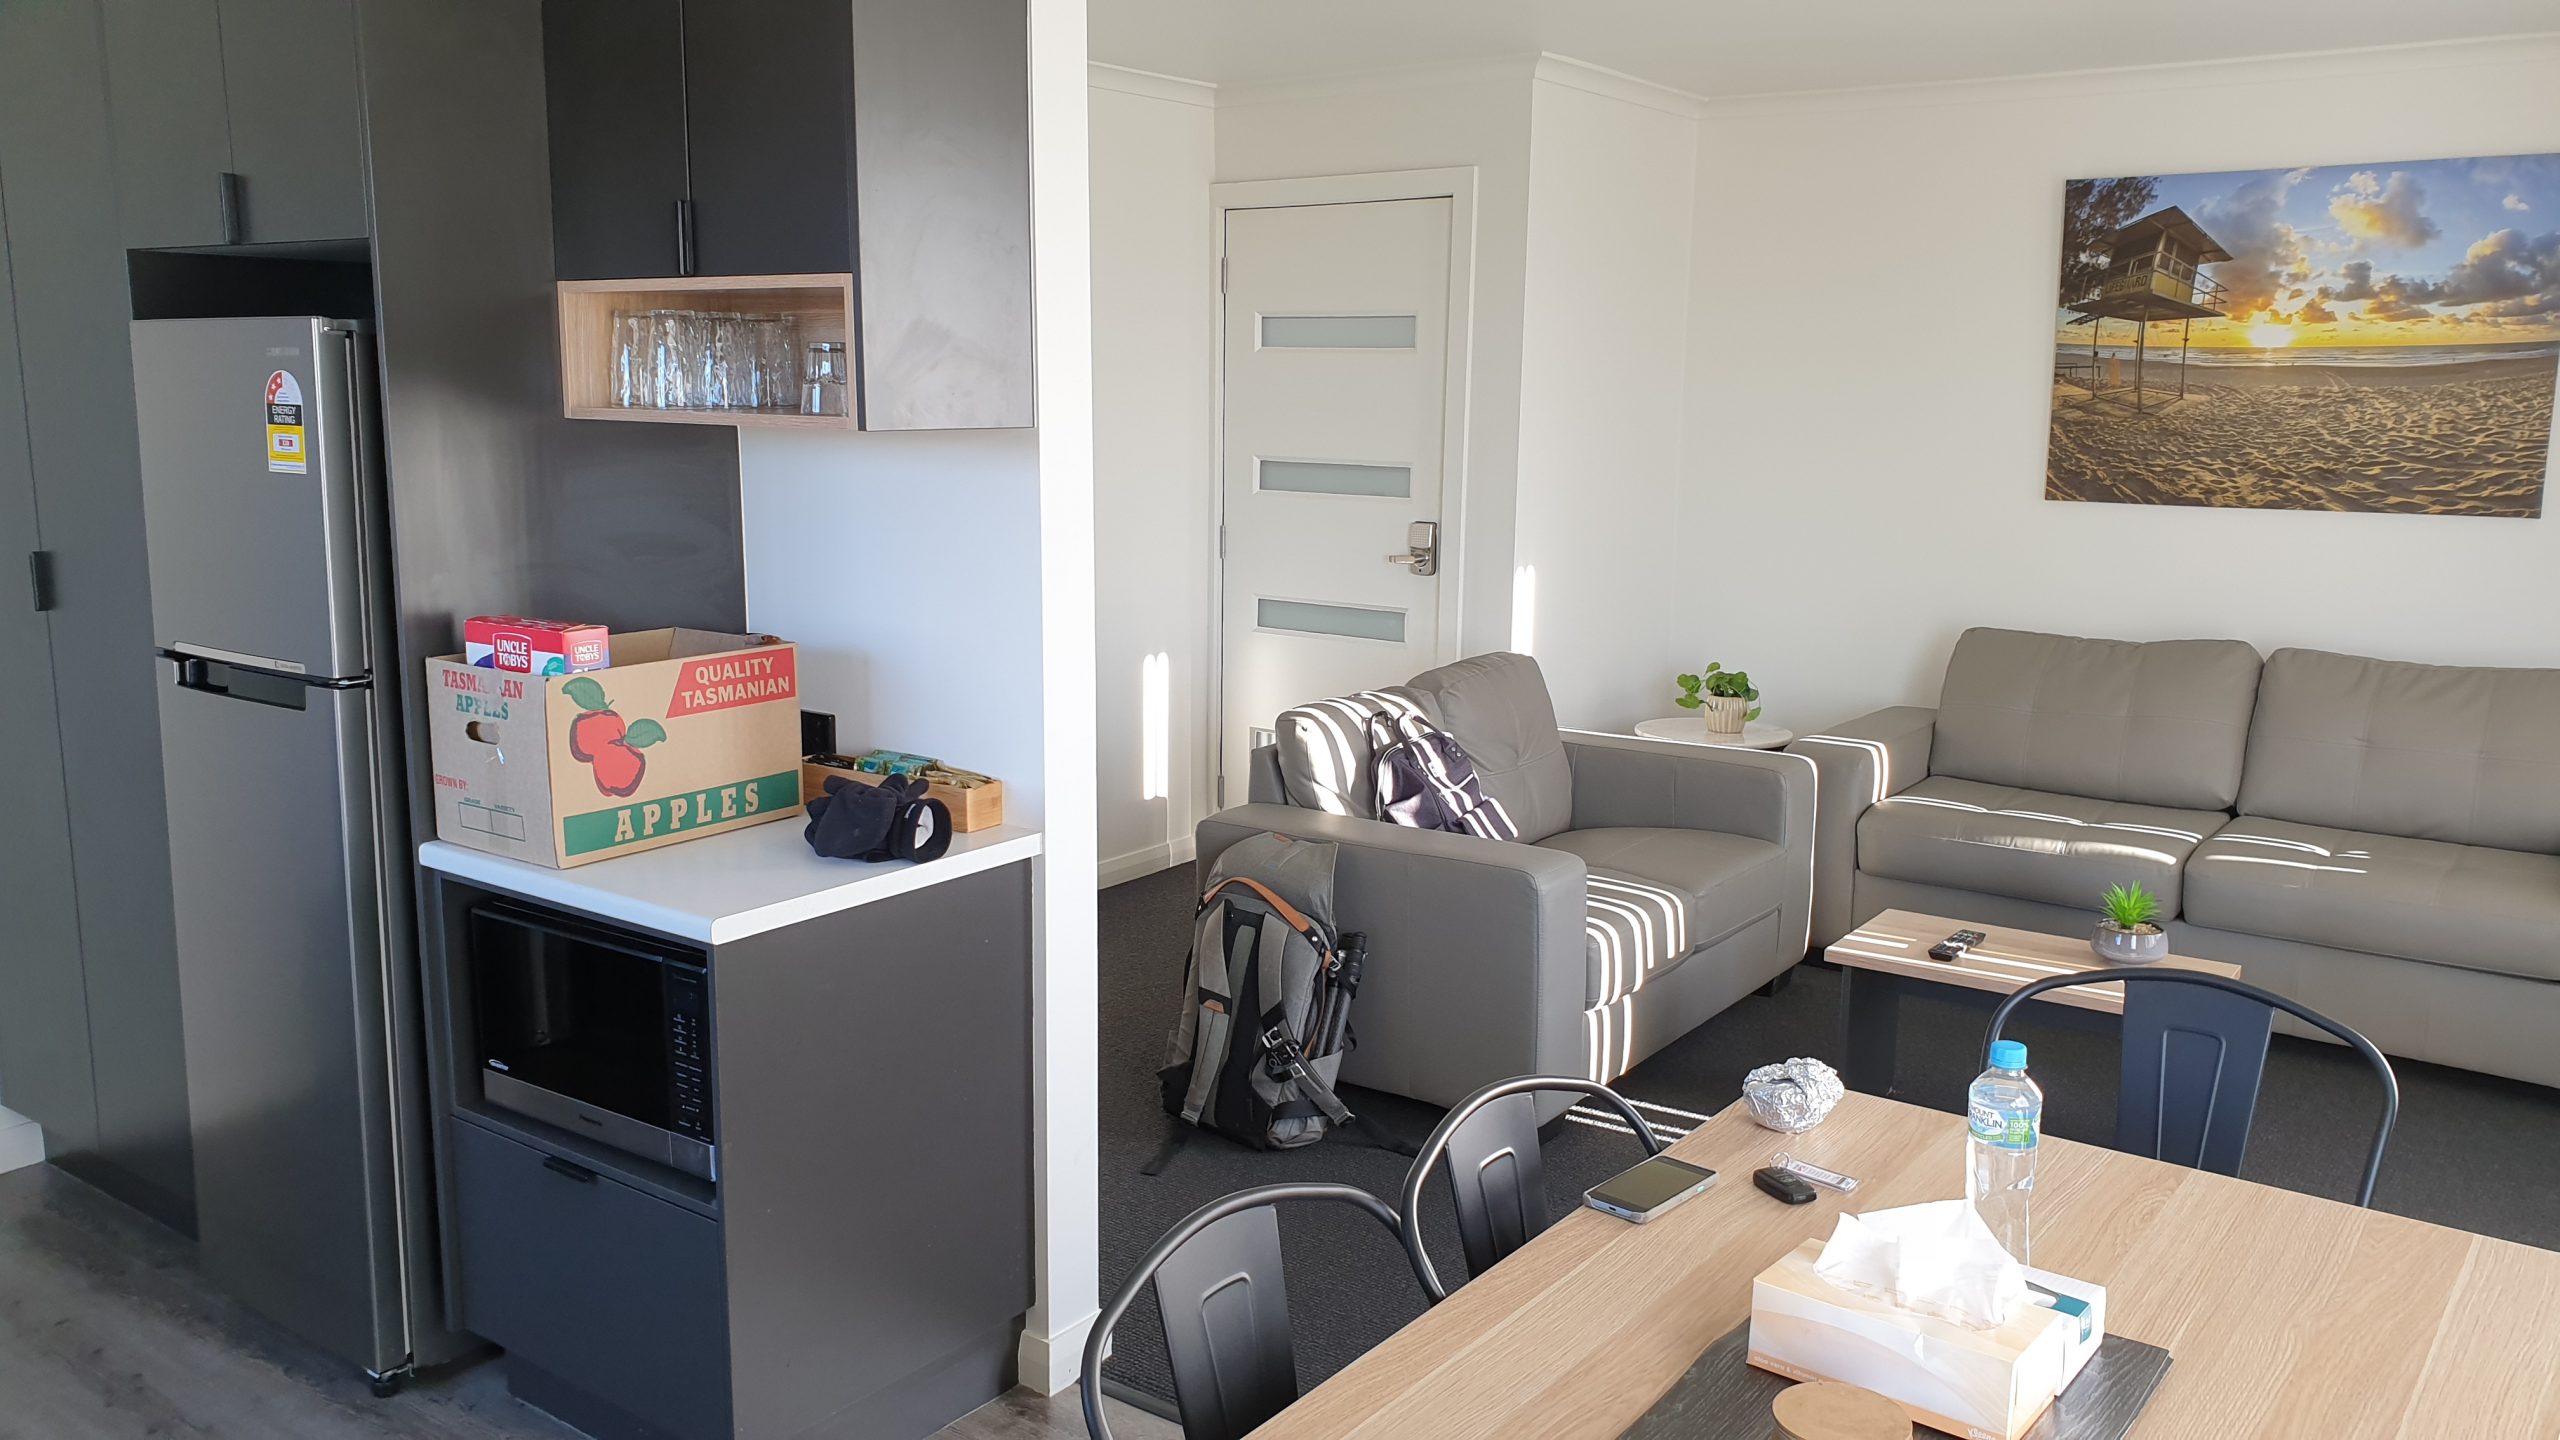
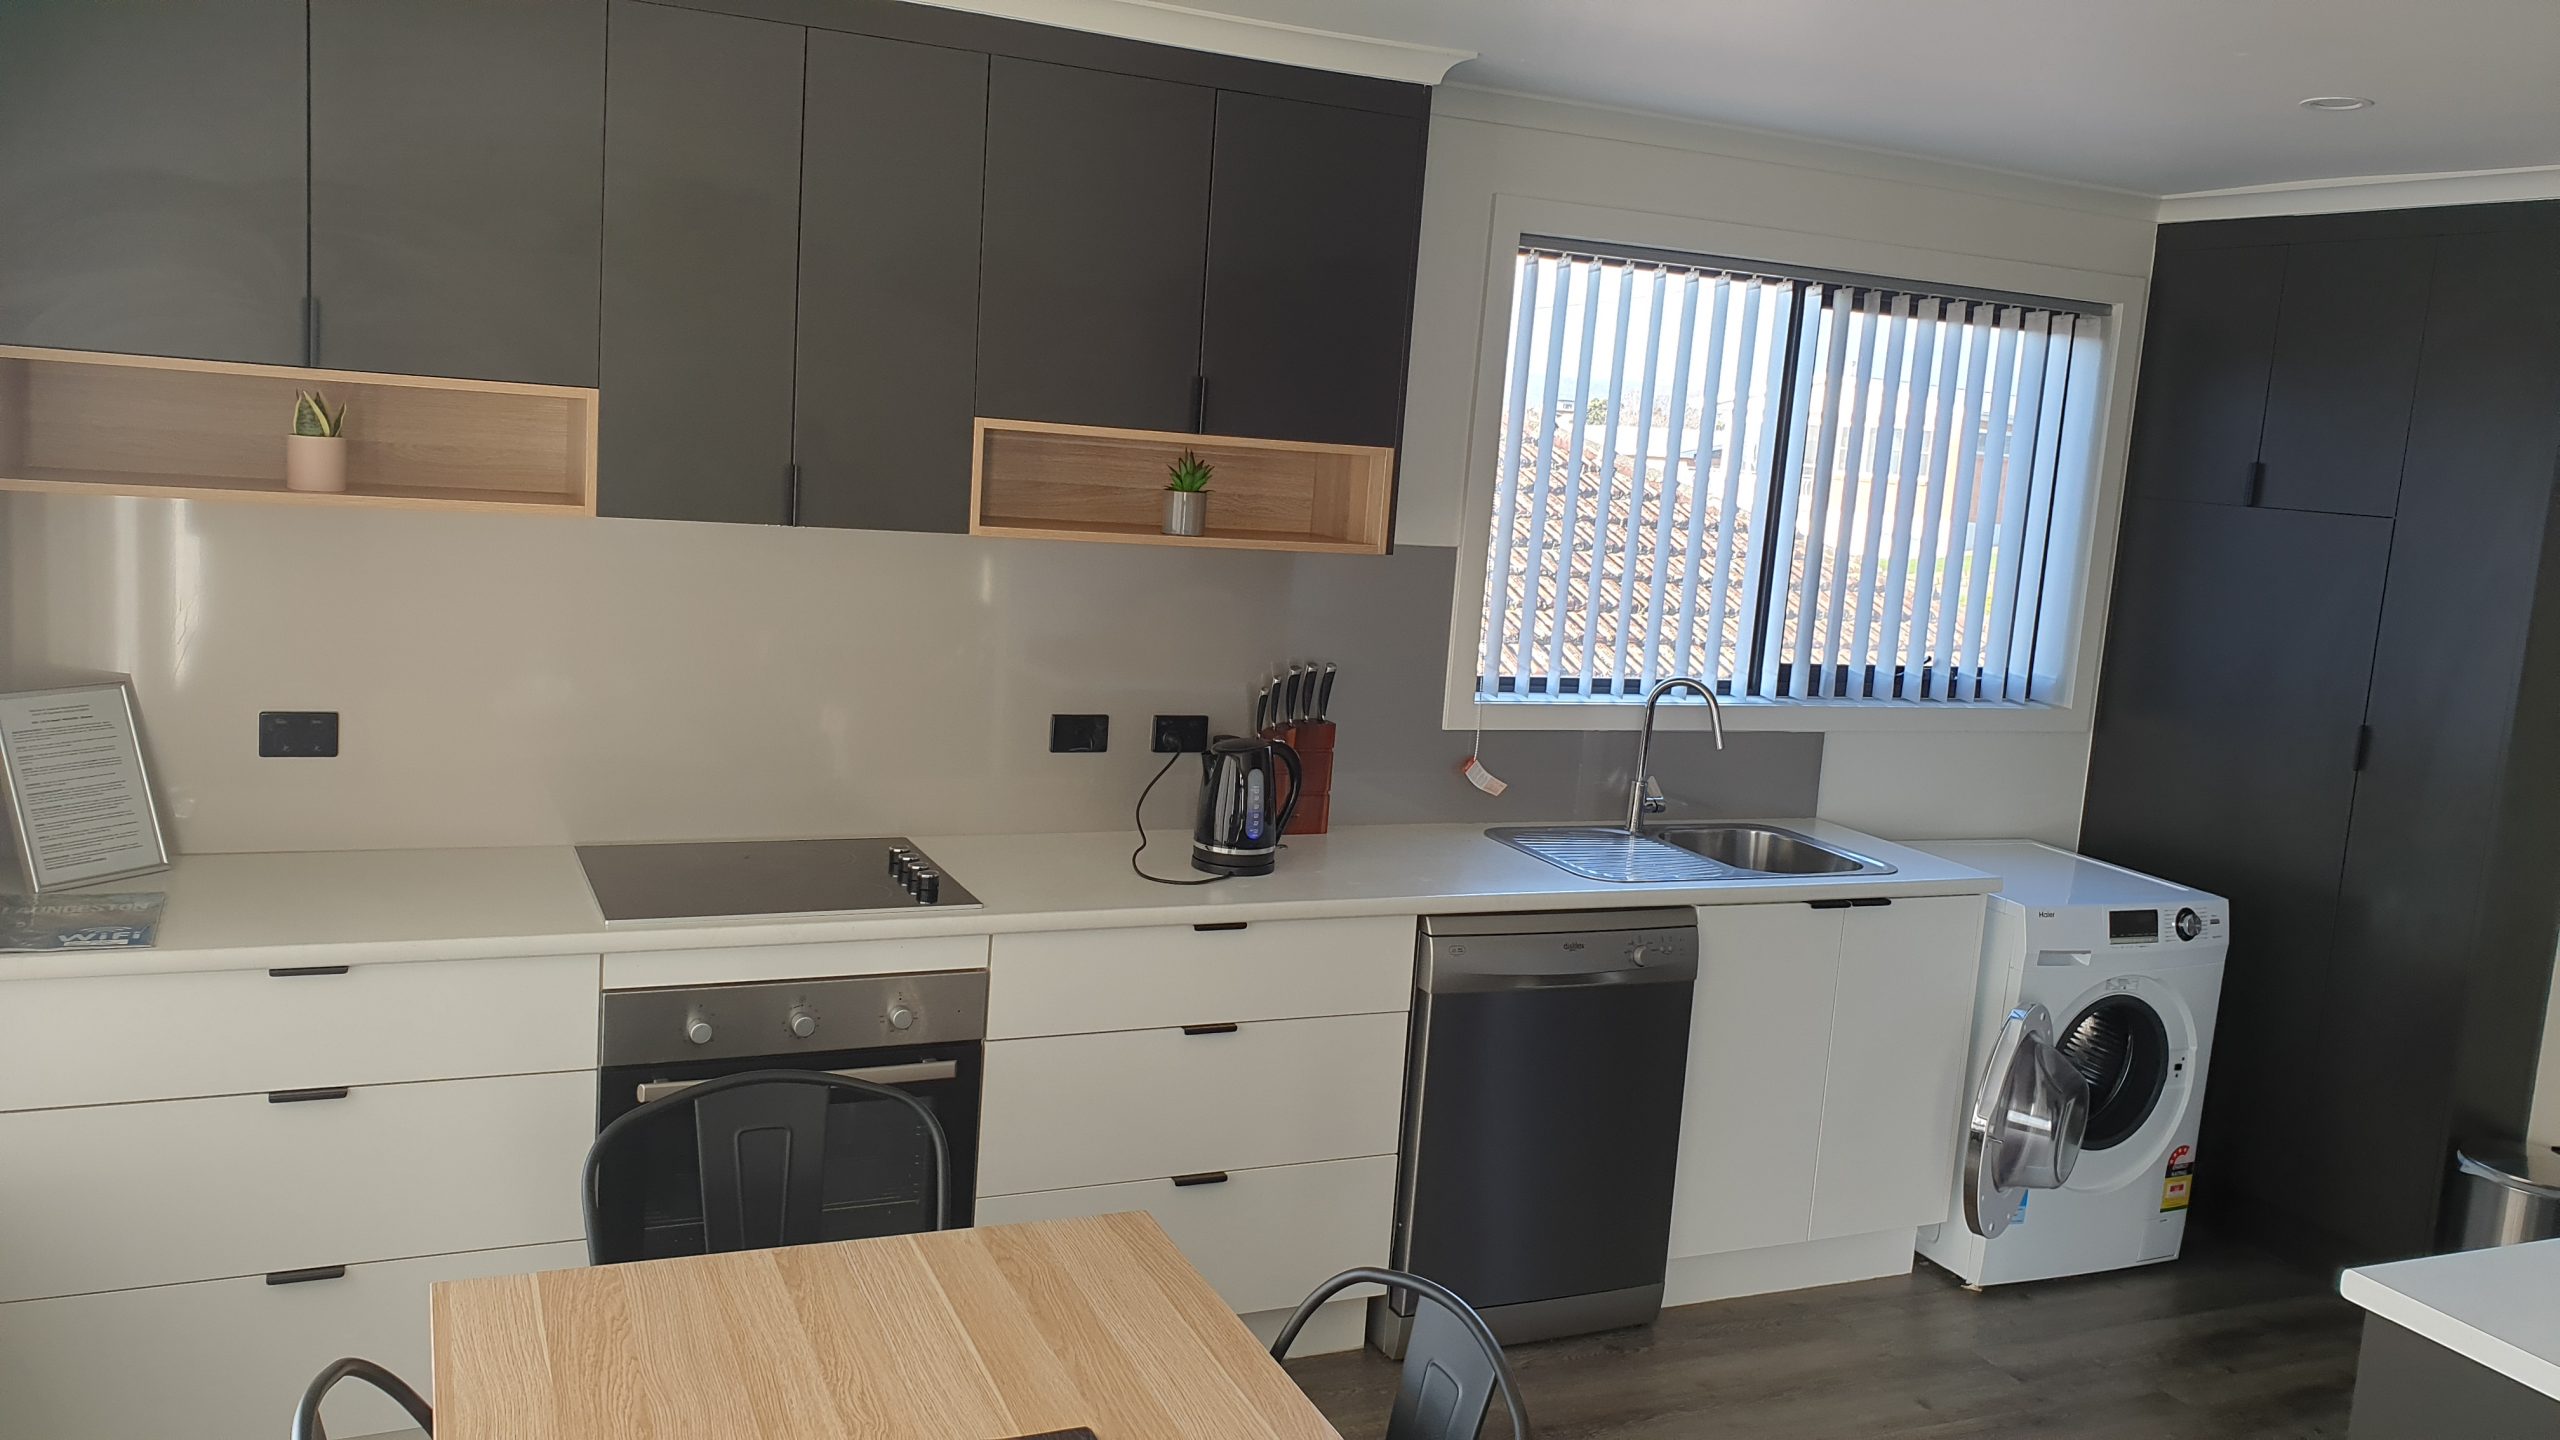
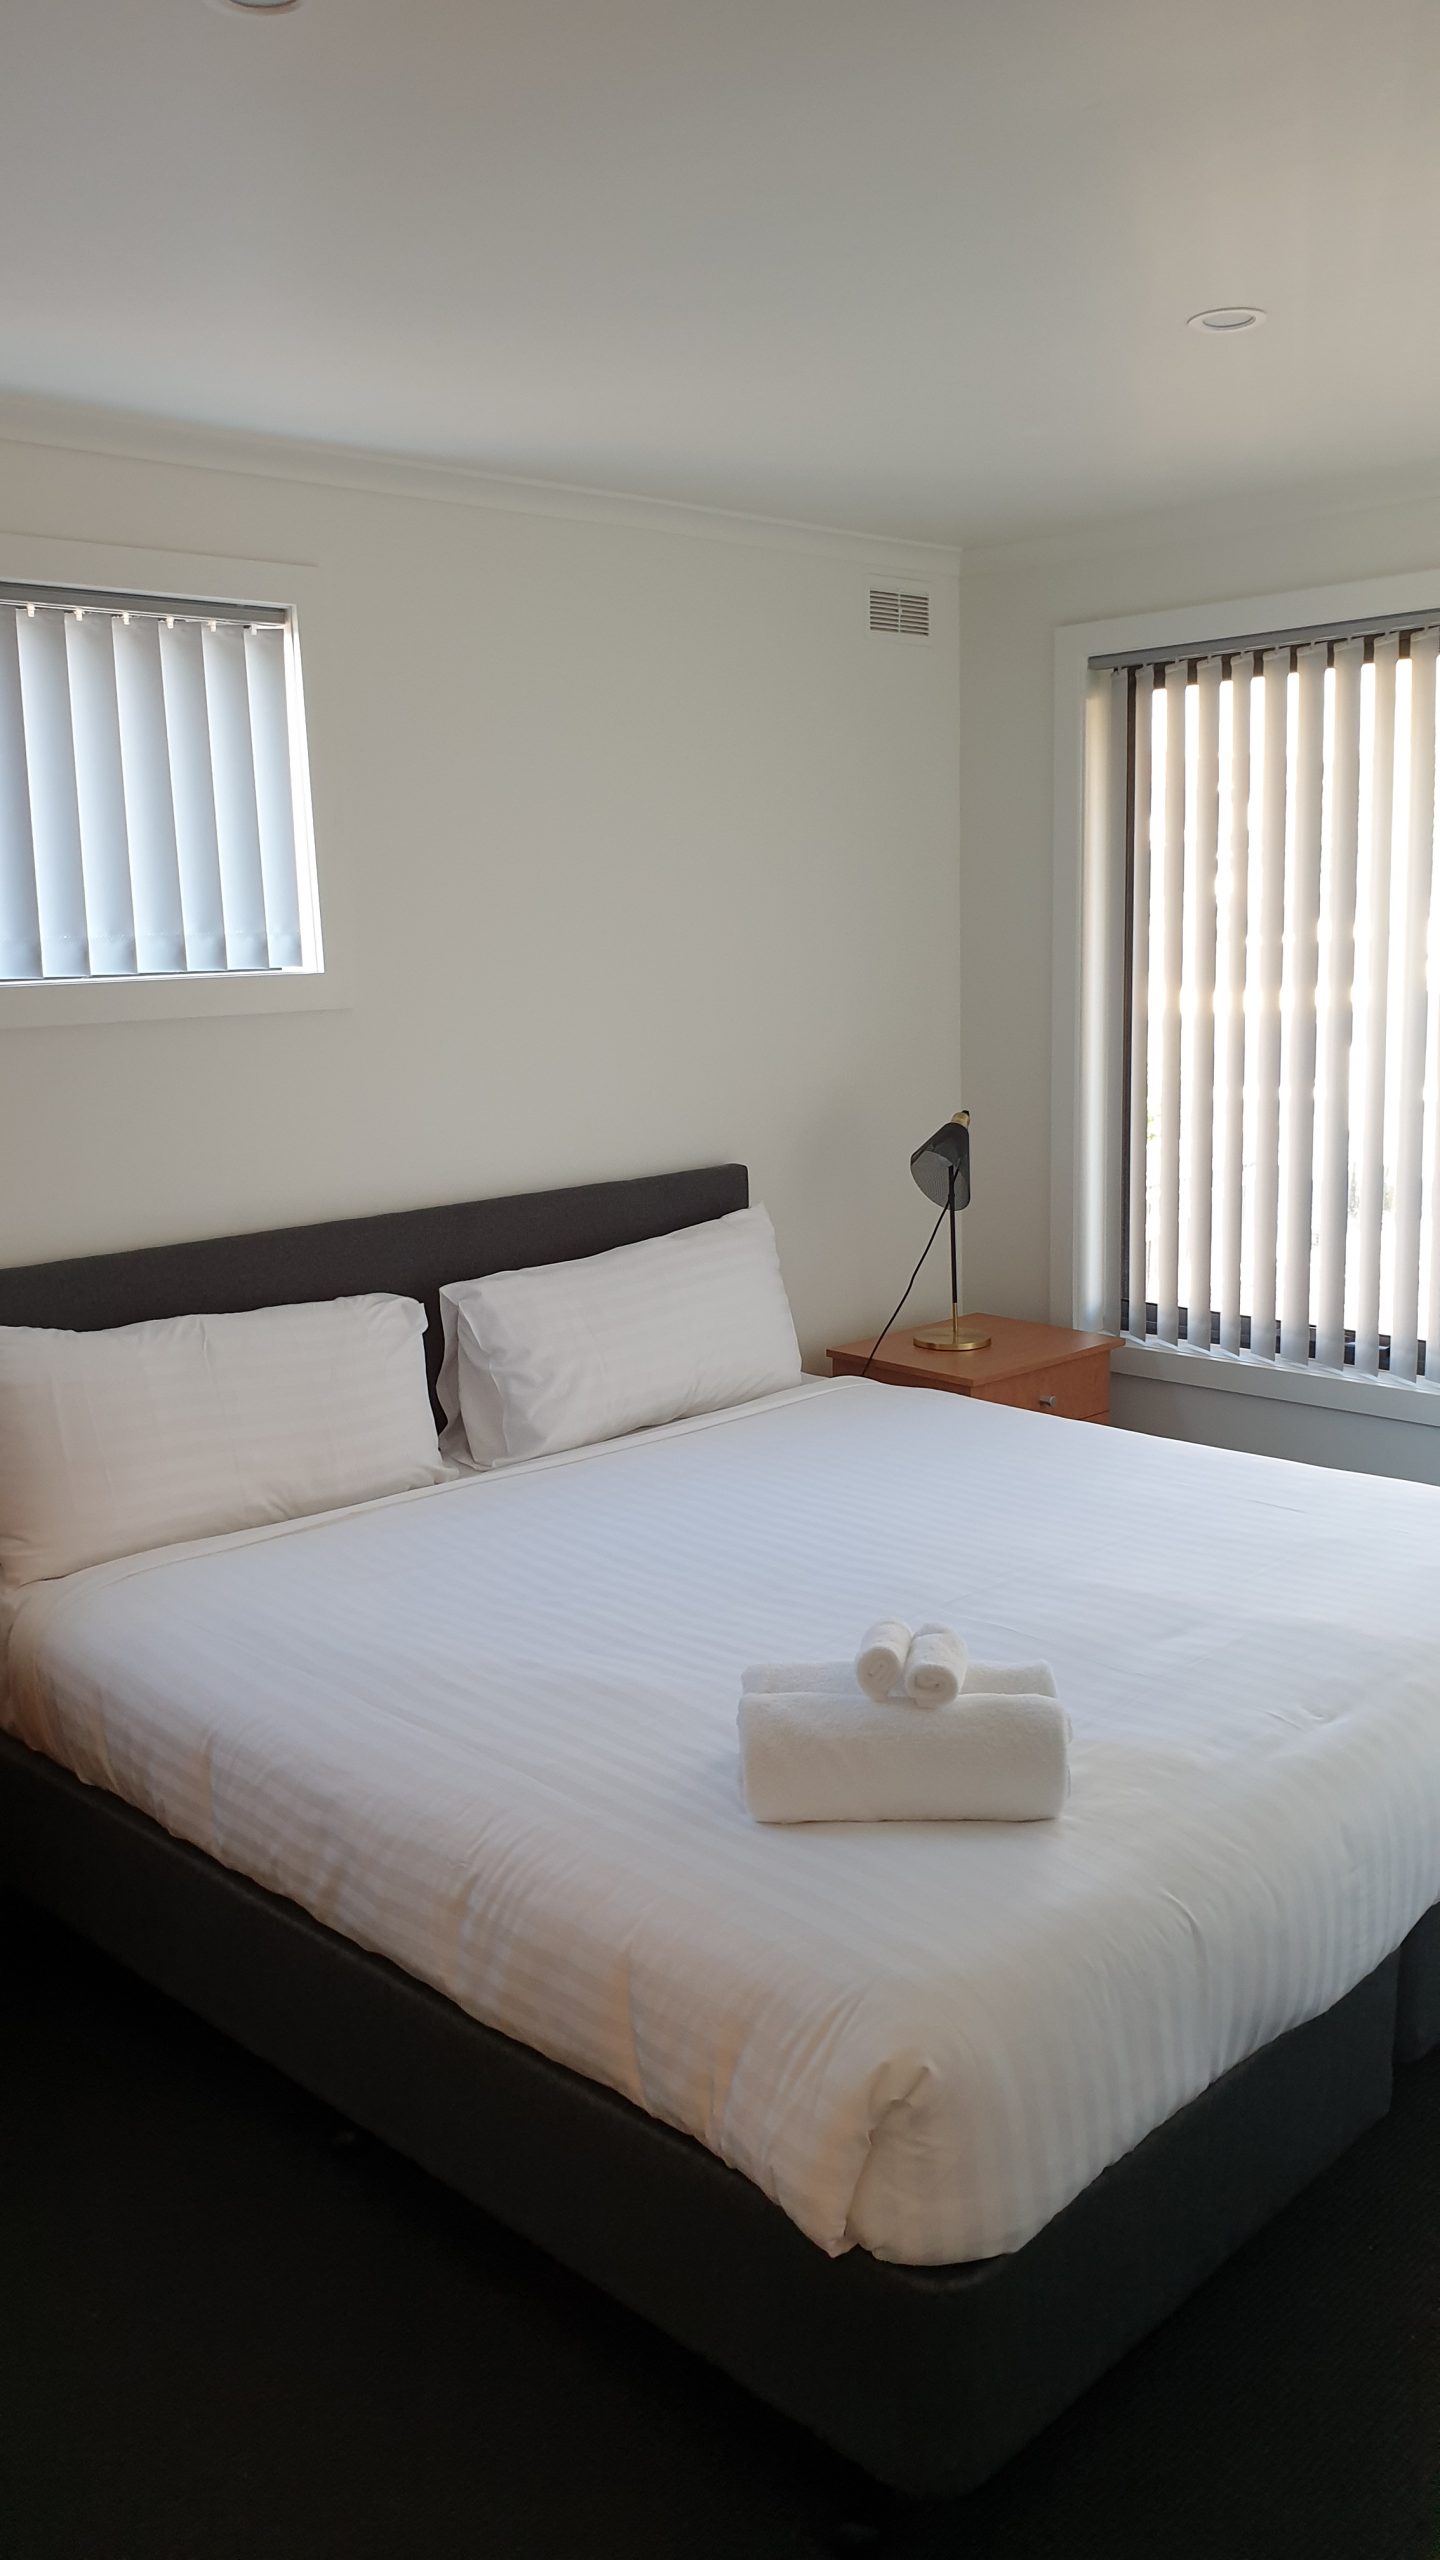
We stayed in the suburb of Youngtown, Executive Apartments. This was apartment was spacious and modern with a King bed and Separate Queen bed. The kitchen had full facilities and Laundry was only a washing machine and airer.
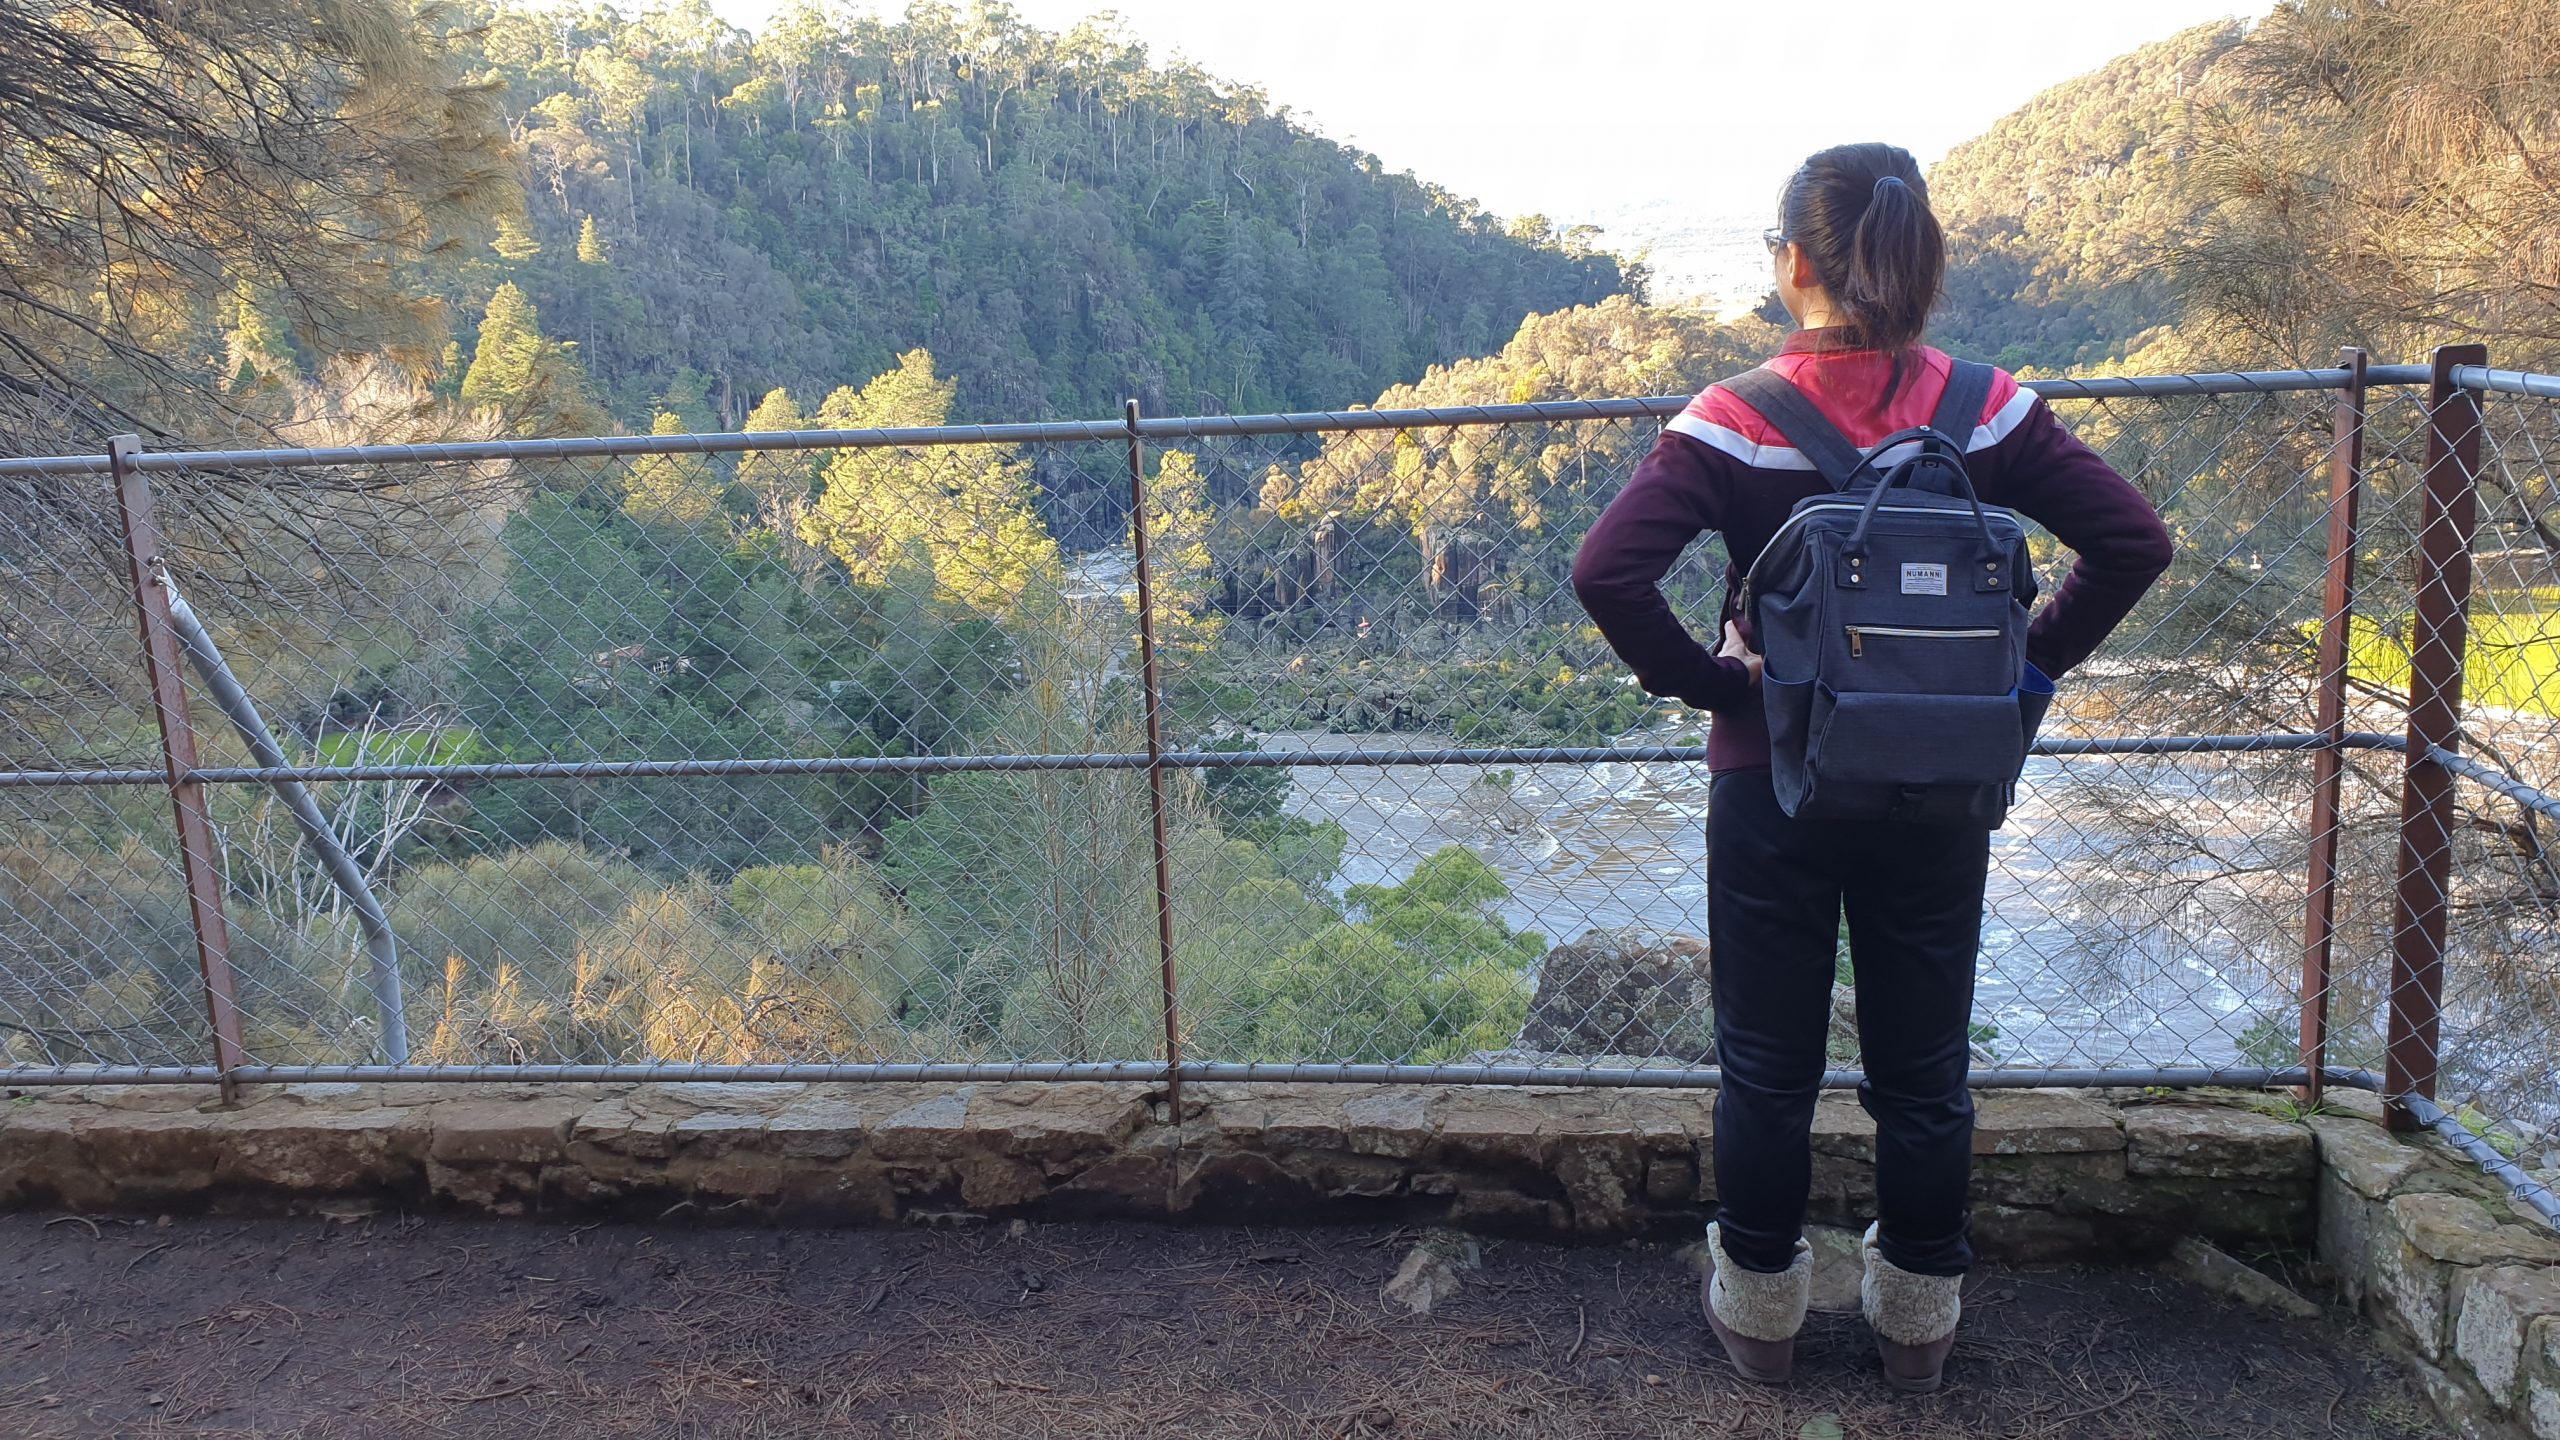
On the last day we hiked the Zig Zag hike and photographed Cataract Gorge from King’s Bridge and also the bridge itself.
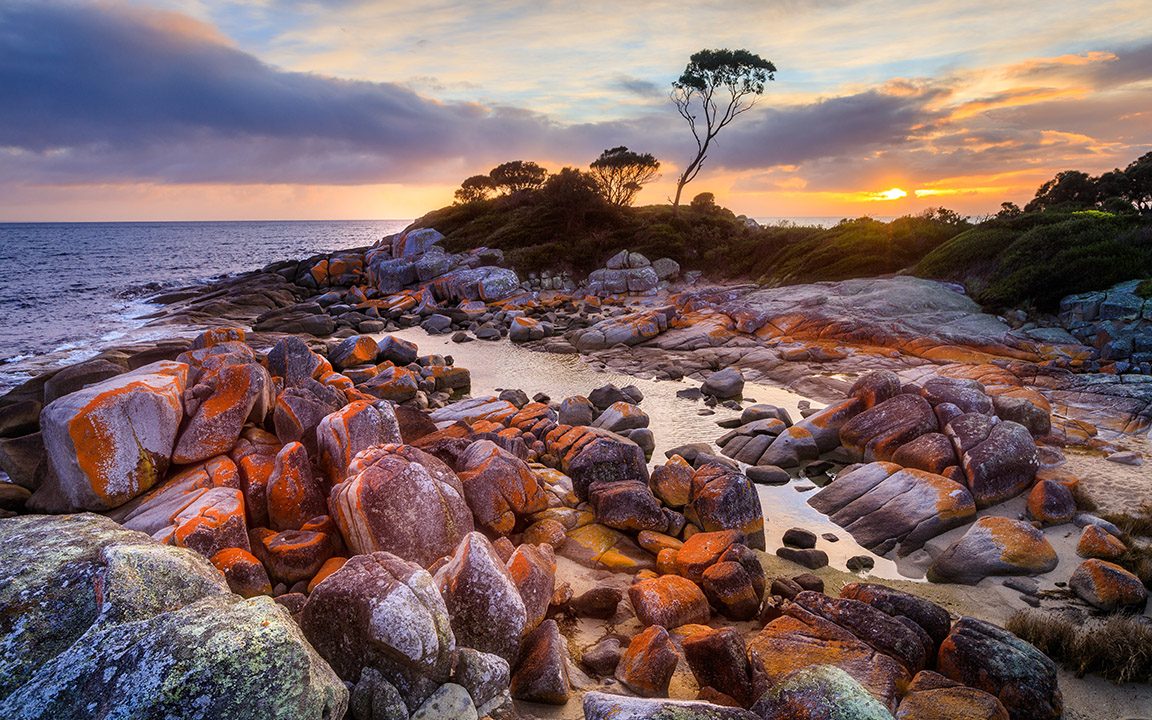
Bay of Fires
Day 9-10
We headed East towards St Helens to visit the iconic Bay of Fires. The town was small with a couple of cafes and IGA for groceries . (Not necessarily bad)
We stayed at Sweetwater Villas for two nights. The villas offered a car park and double story accommodation. There was a balcony that overlooked the lake and bbq area.
Photographing Bay of Fires
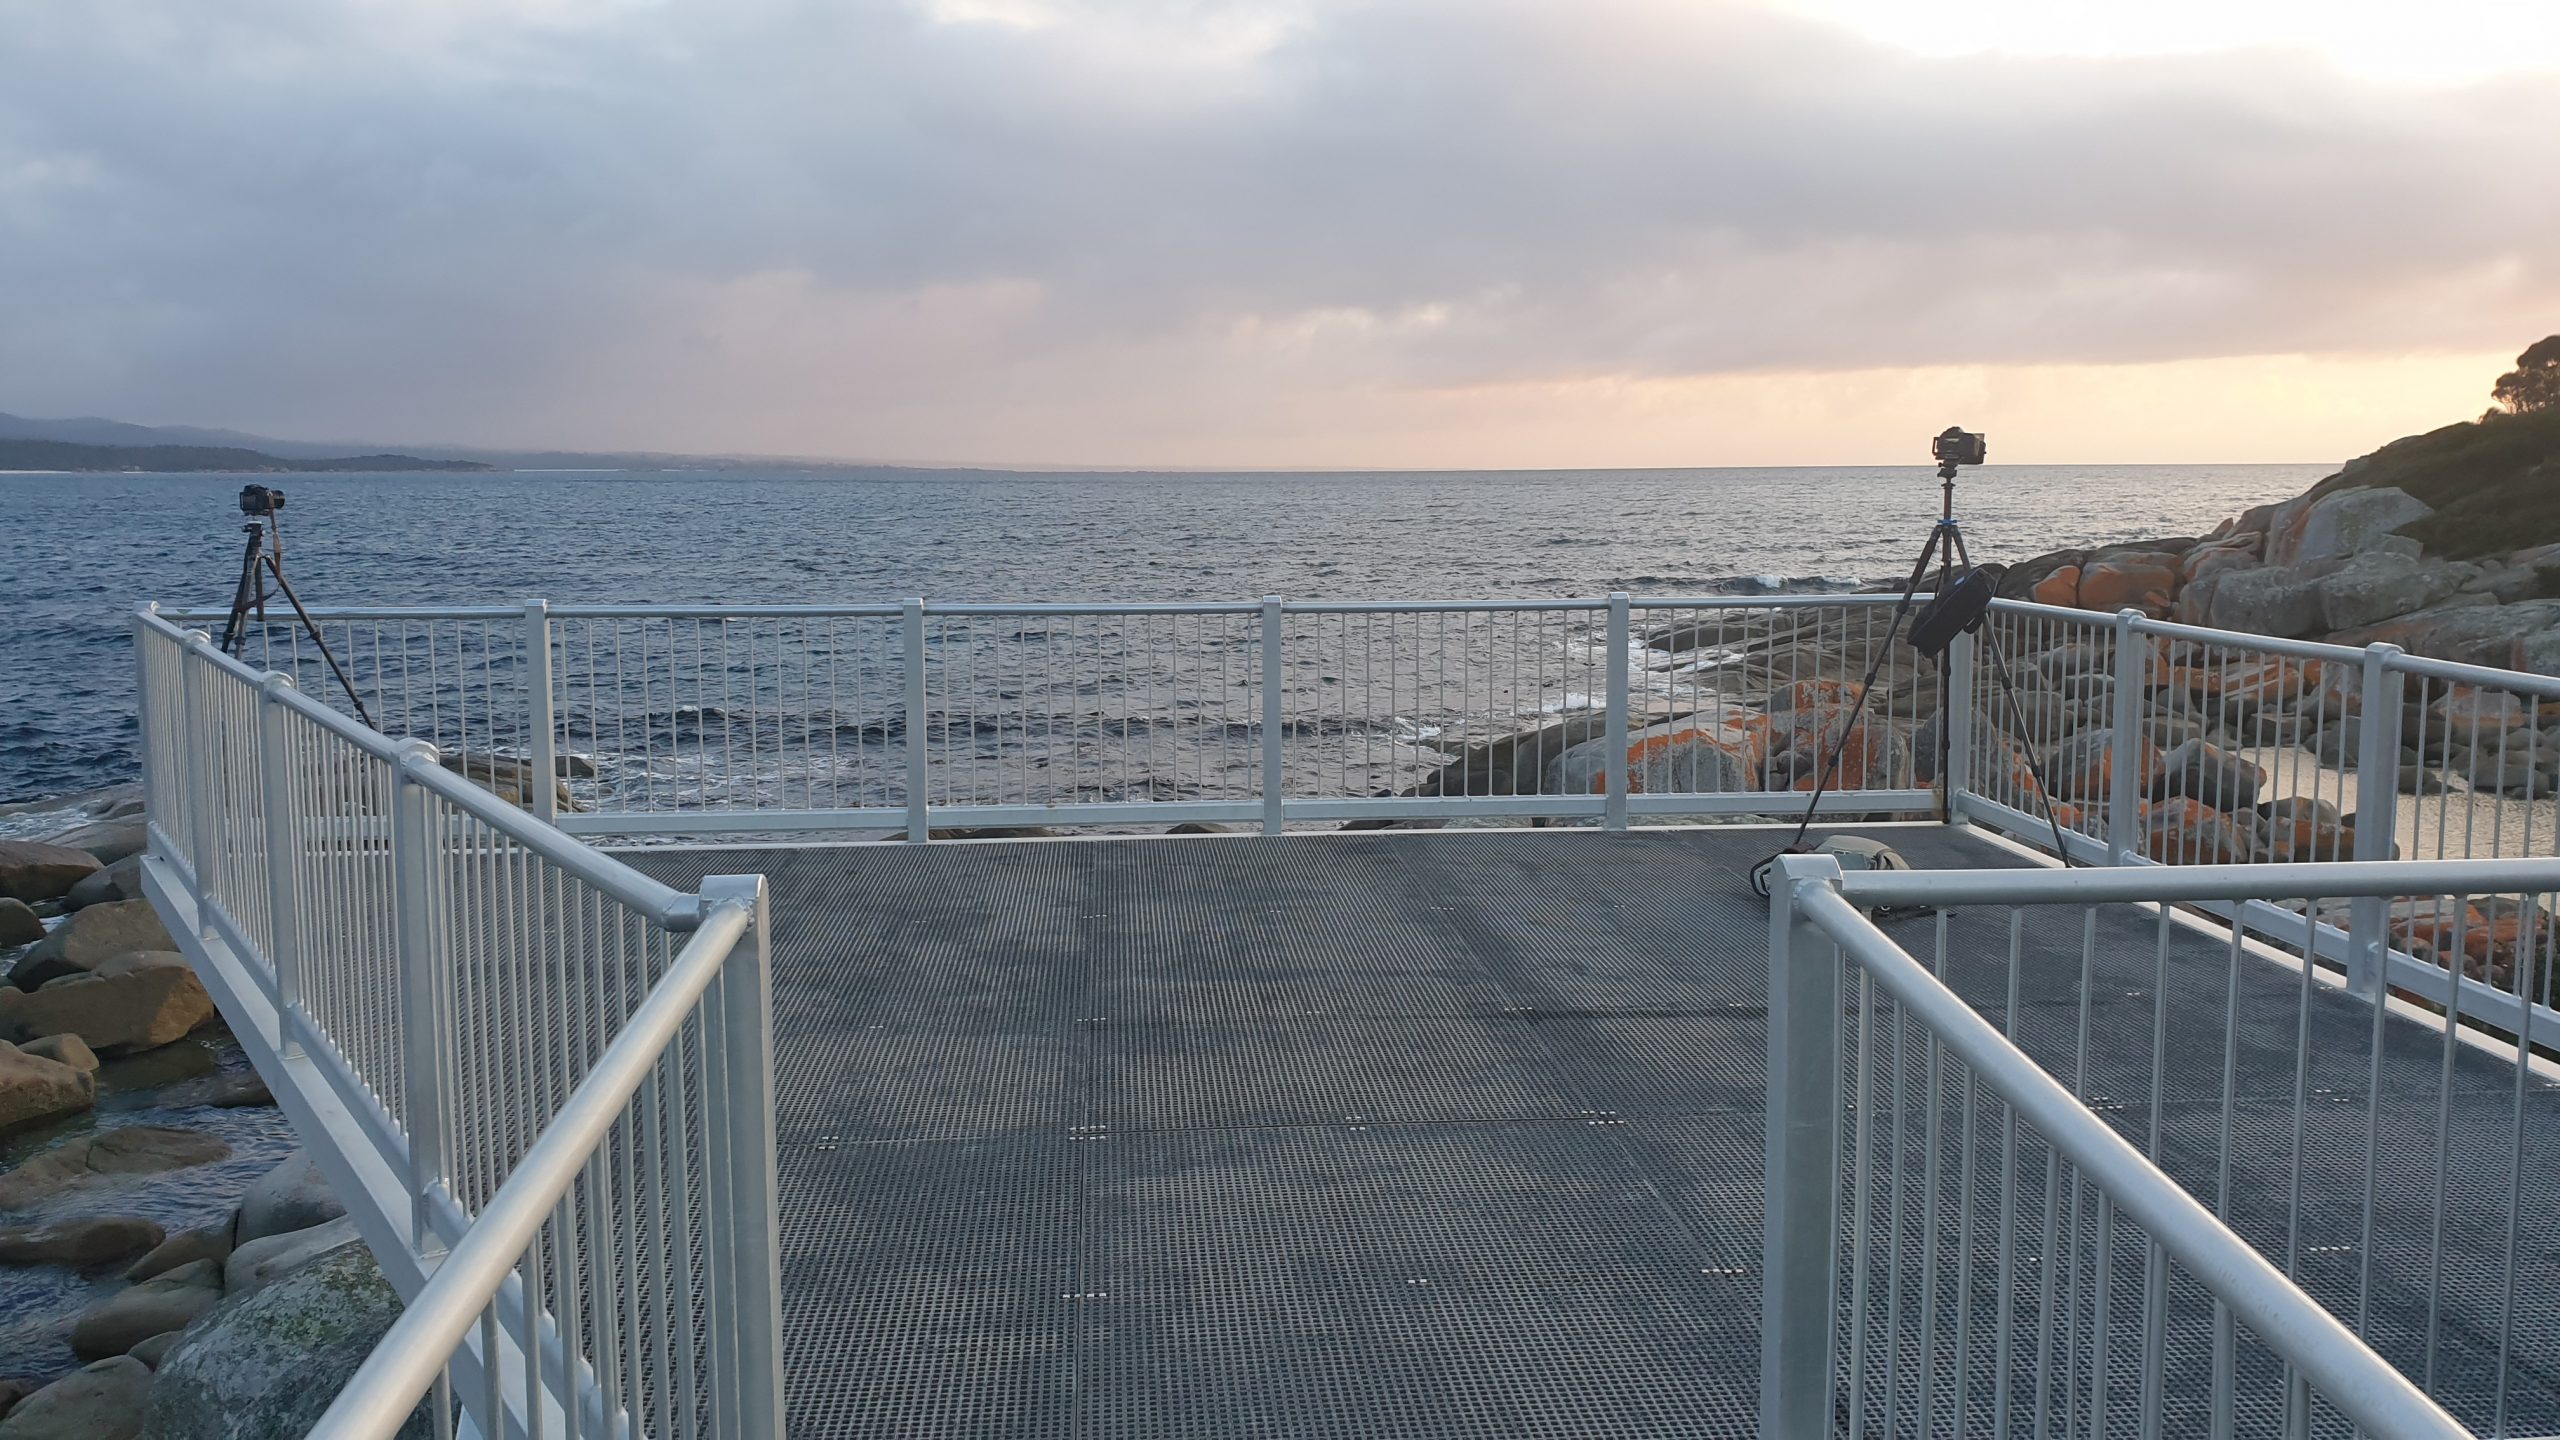
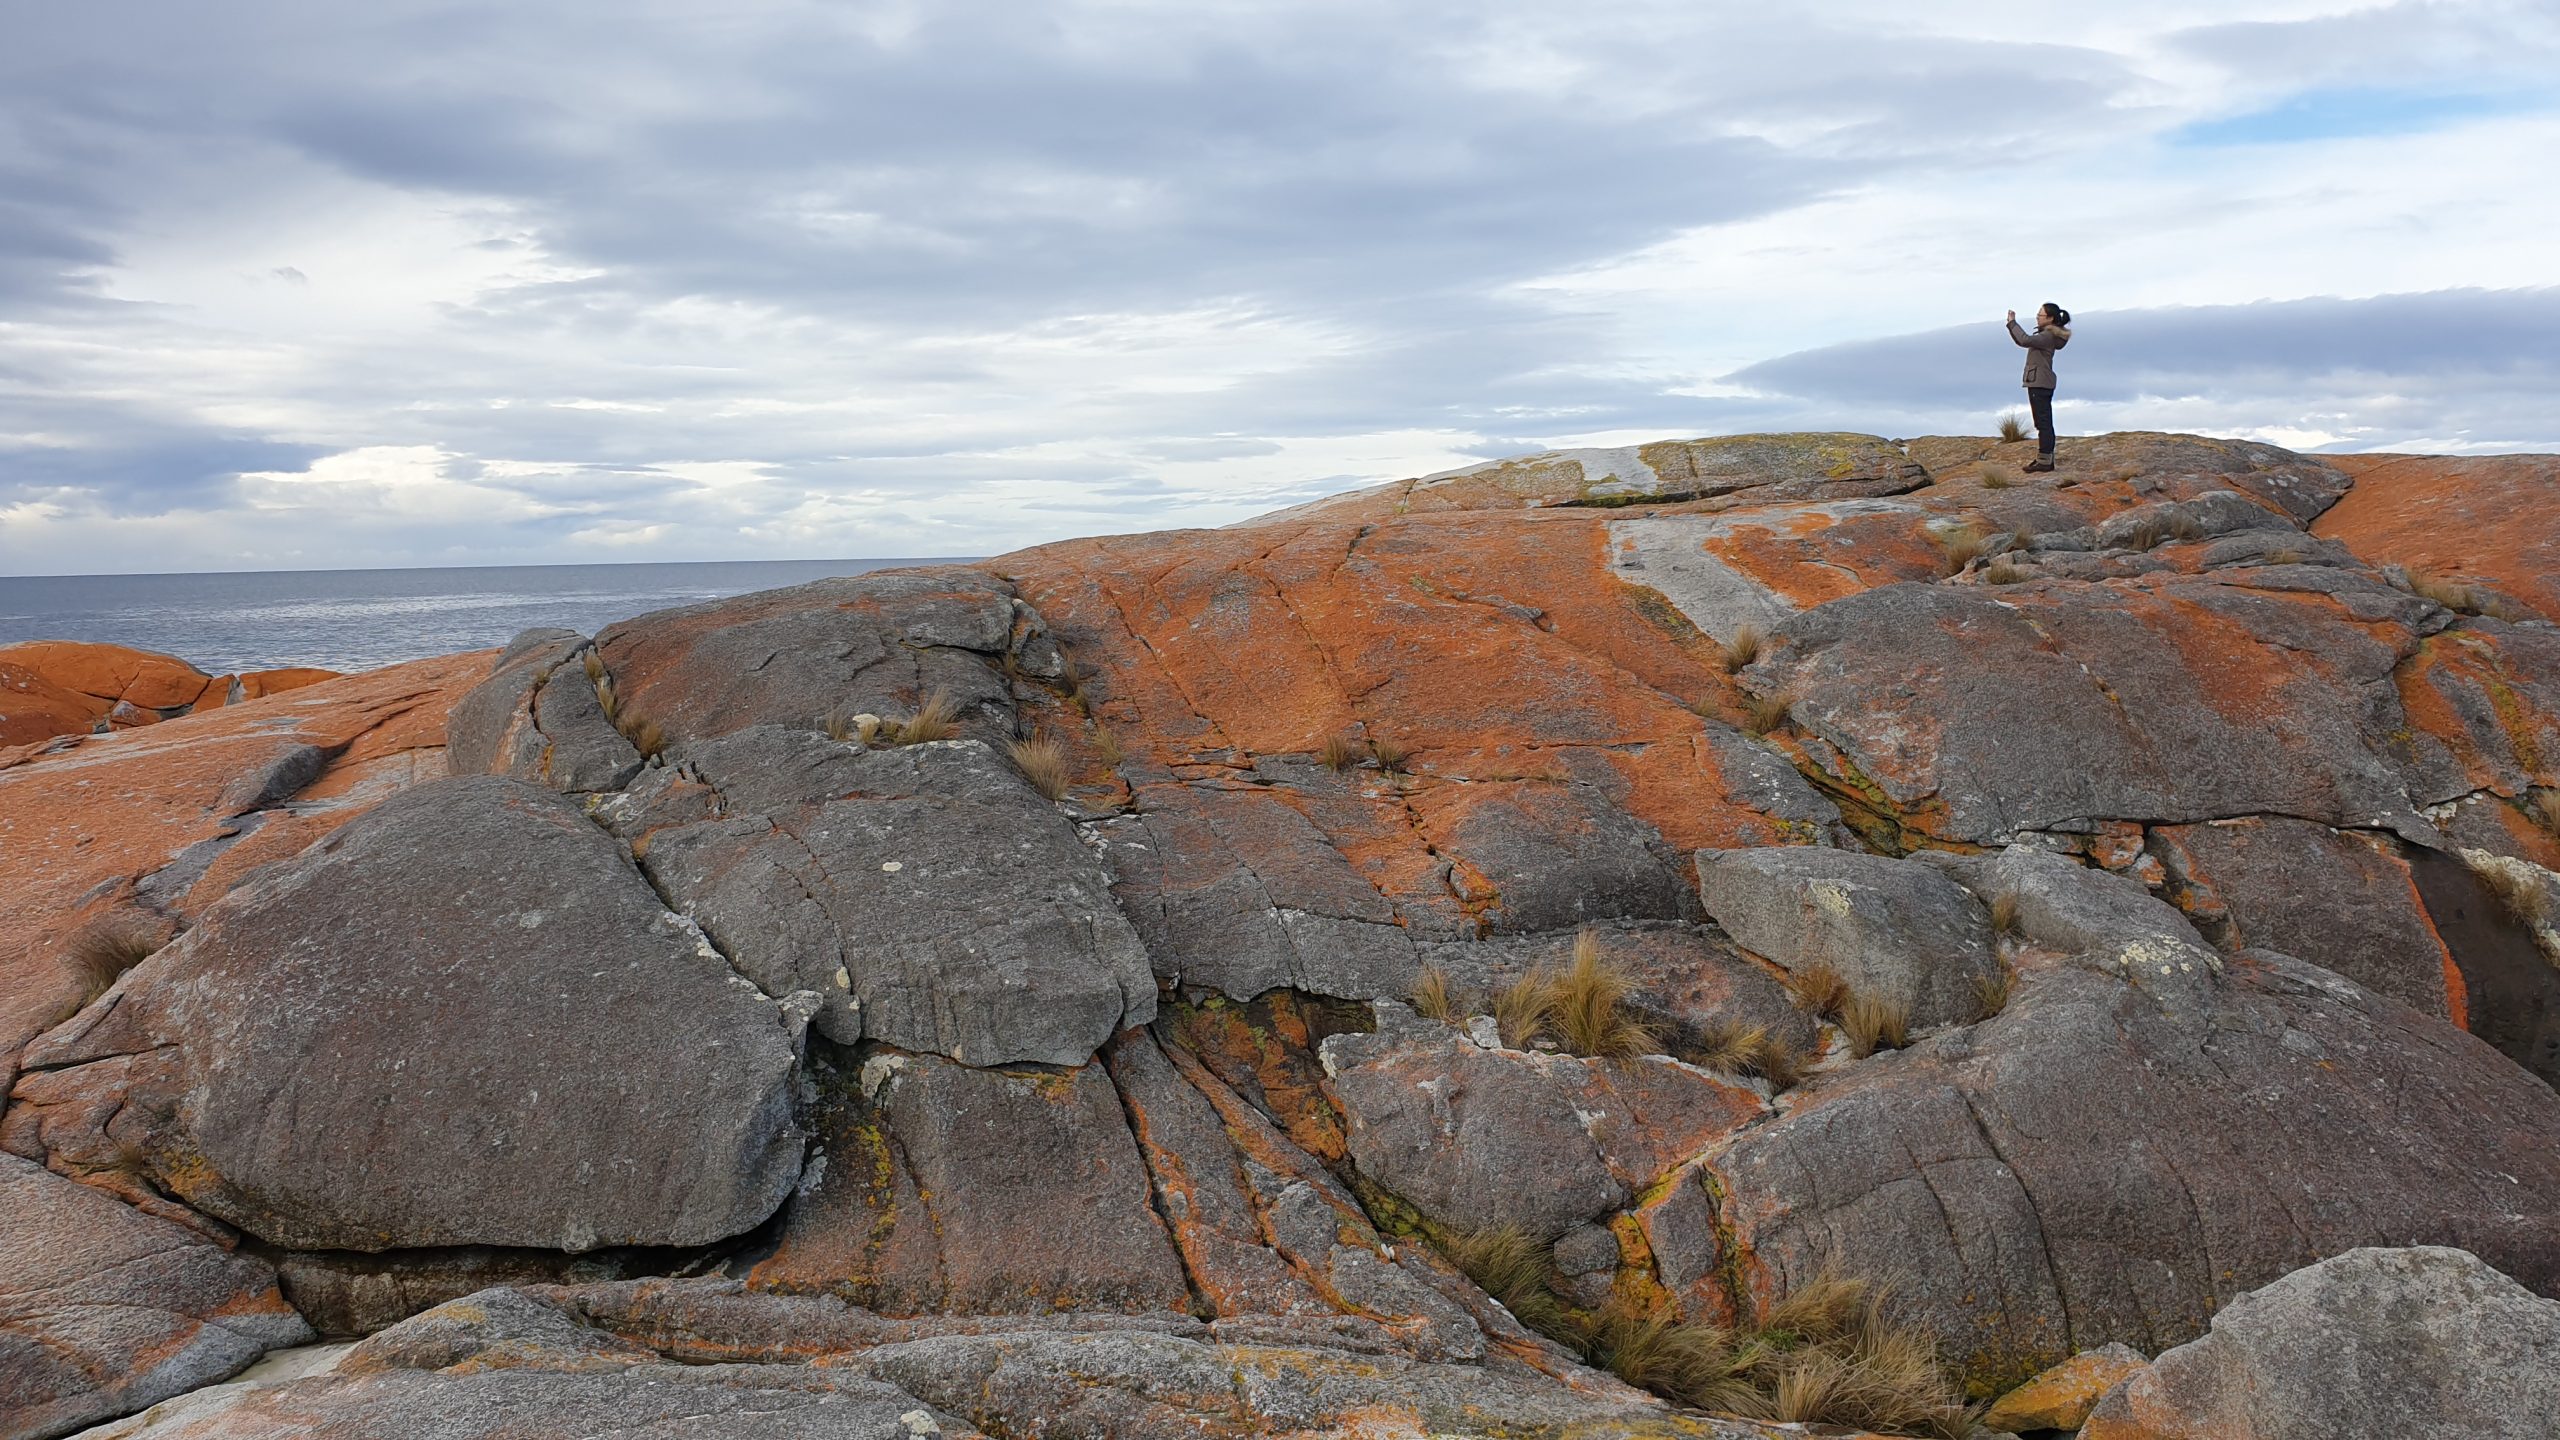
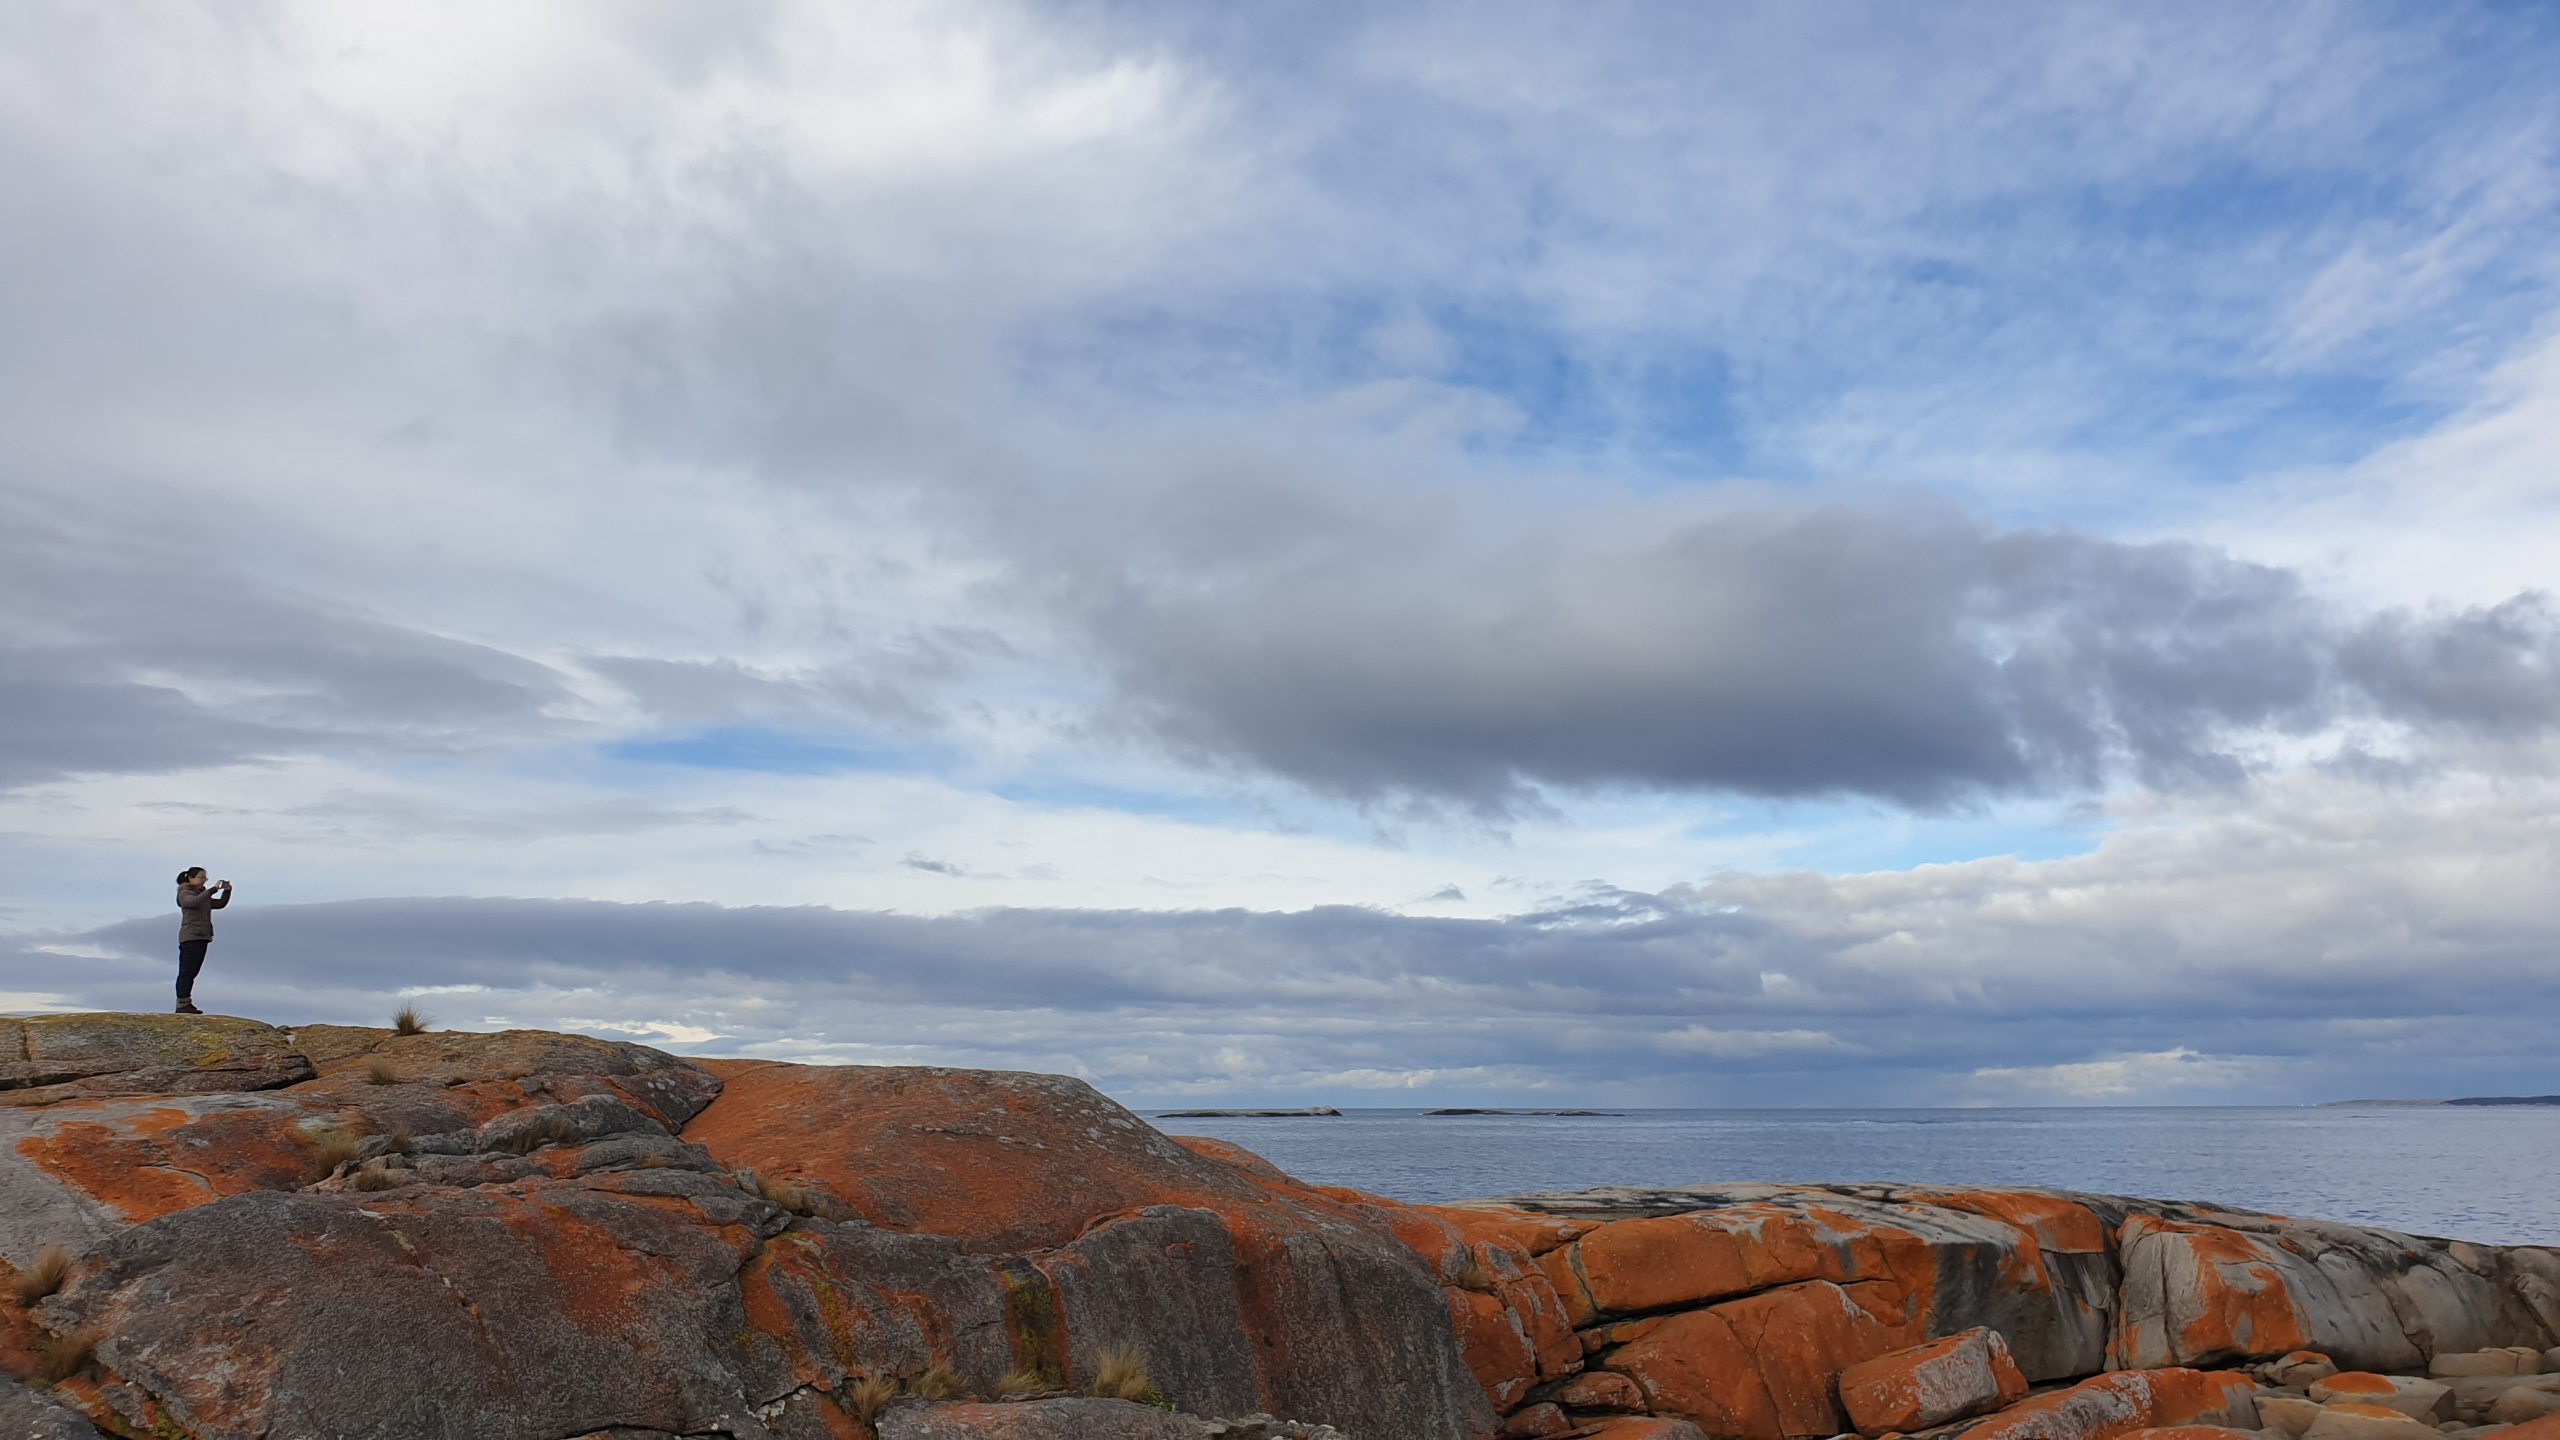
My favorite location for Bay of Fires was the viewing platform at Binalong Bay. That was about 12km a 15minute drive from the accommodation. This place lends itself to be photographed at both sunset and sunrise. If you get a clear evening, you will have the light on the front faces of the orange lichen rocks. For sunrise you may get the sun peering over the horizon behind the rocks.
You could also drive up towards the Gardens, which is off the Binalong Bay road that you would have just driven by. That is about an additional 15 minutes on the road. There are multiple stopping points to stop and walk along the bay.
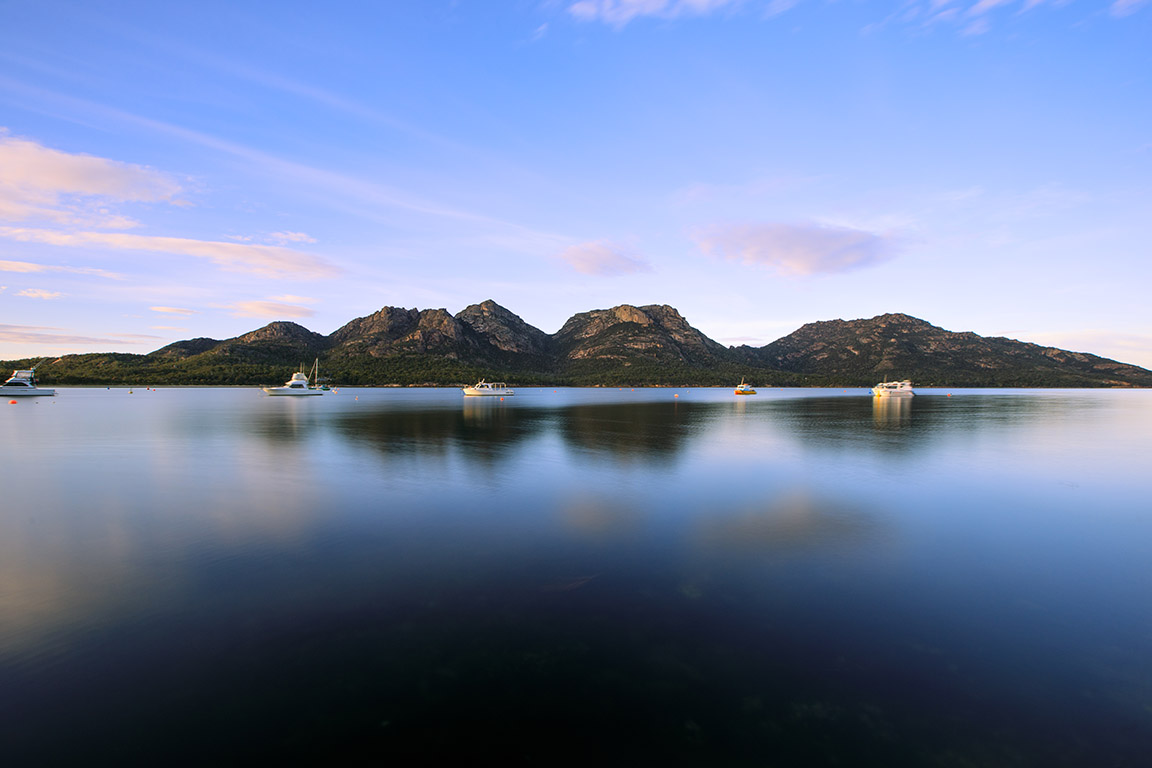
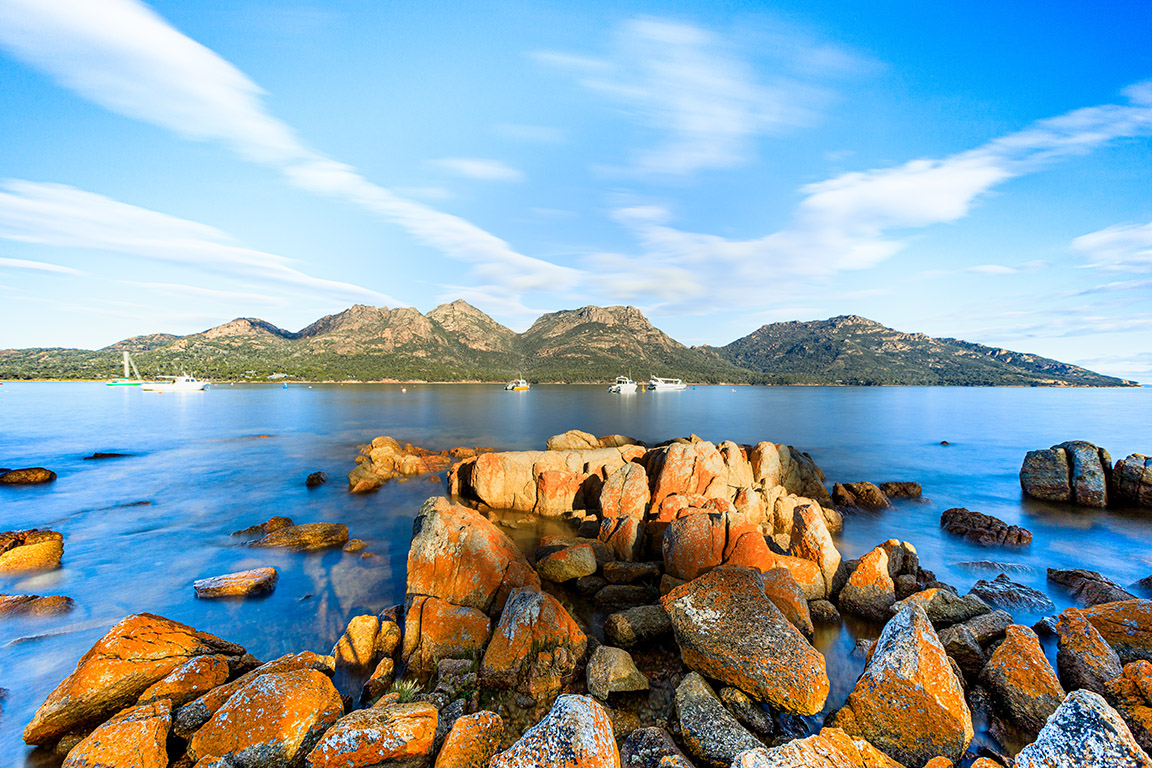
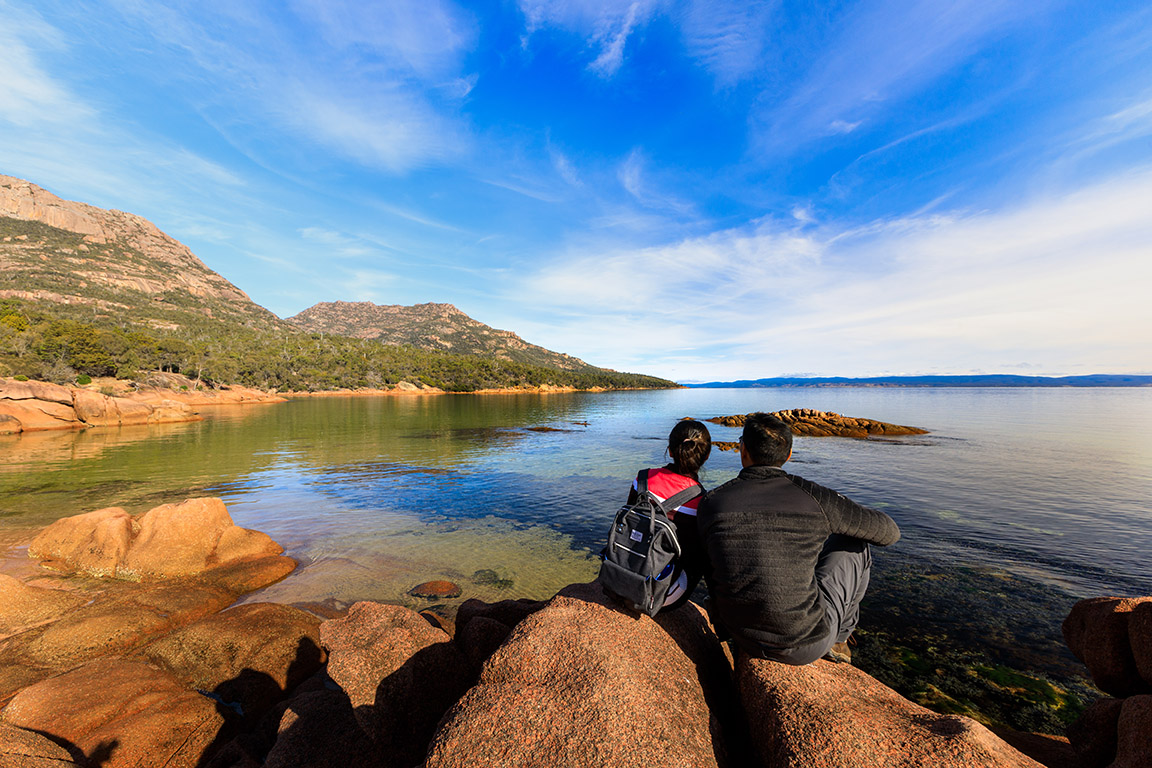
Coles Bay and Freycinet National Park
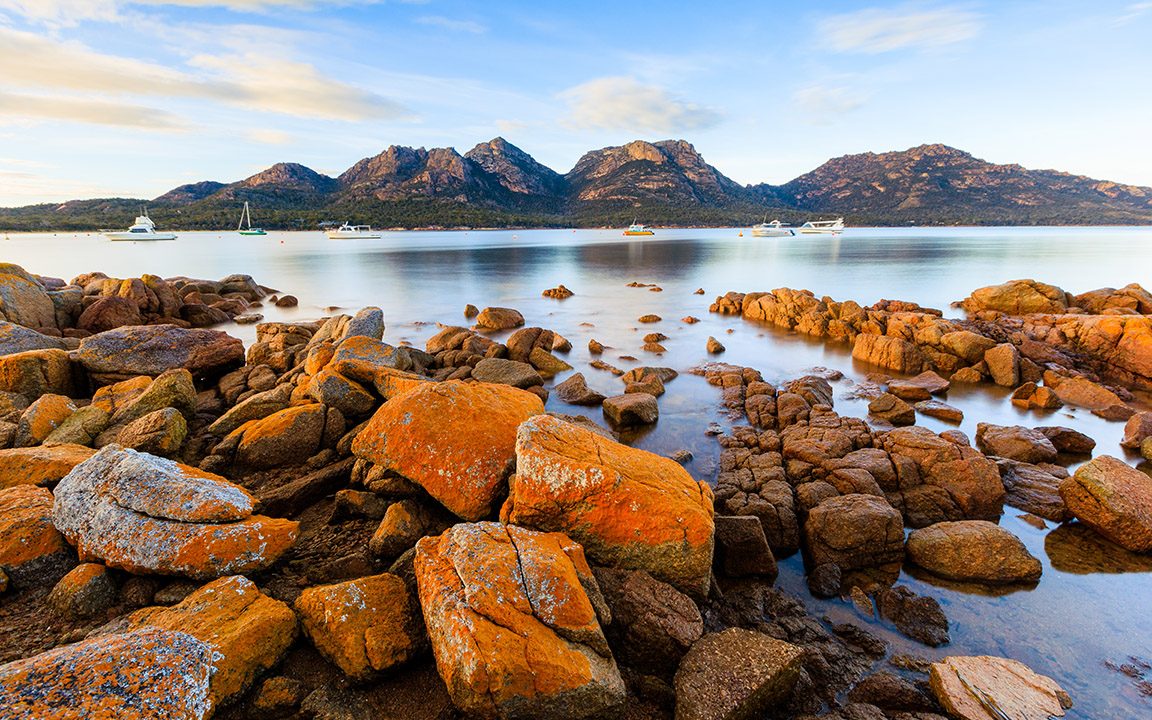
Day 11-12
For our last 2 nights of our road trip we drove down the east coast to Coles Bay, to spend time at Freycinet National Park. We were housed at Eagles Peak just outside of town.
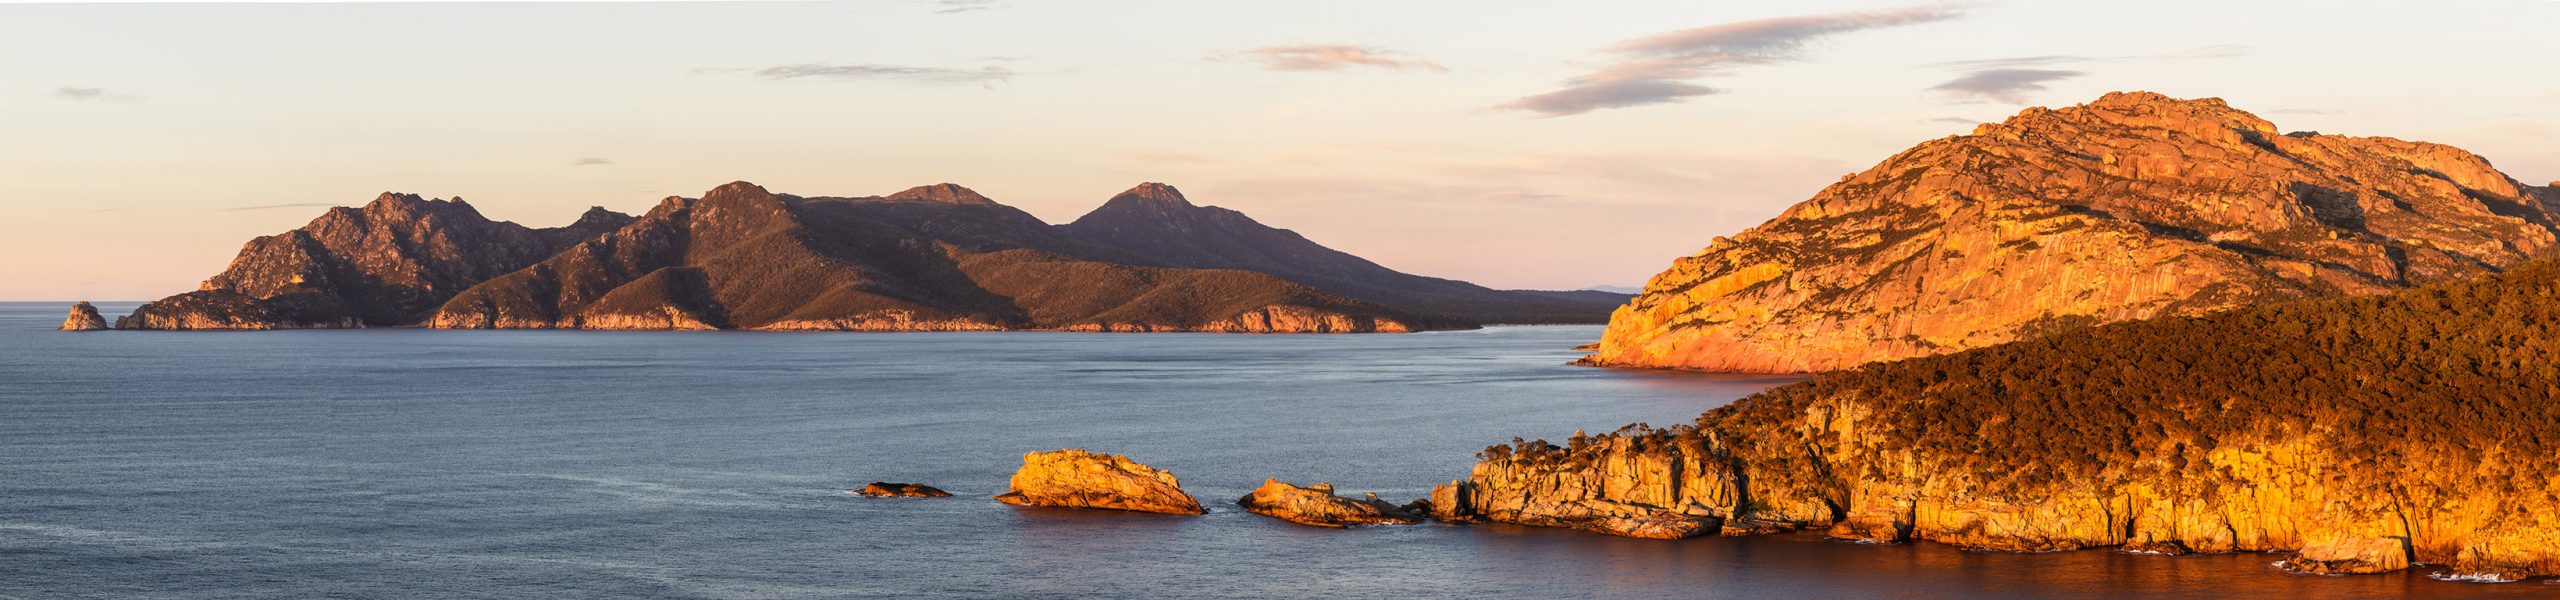
Photographing Freycinet National Park
Admittedly, the iconic viewpoint can be found by climbing to the top of Mount Atmos. This will require at least 5hours return. Unfortunately, we did not accomplish this on our trip.
You can find alternative viewpoints of the national park at the Freycinet Lookout, 1.5 hour return hike. Cape Tourville Lighthouse and Honeymoon Bay. I also found a good location in the small town of Coles Bay, along the Esplanade.
For sunrise photos, I suggest going to Cape Tourville as you will have the sun lighting the national park and behind the lighthouse. In the evening the sun will dip below a mountain peak that would put the mountains in shadow for about an hour before dark. For the evening you could go visit the other side at Honeymoon bay. I recommend bringing your polarizer for Honeymoon bay because during the still waters you may be able to capture the plant life underneath.
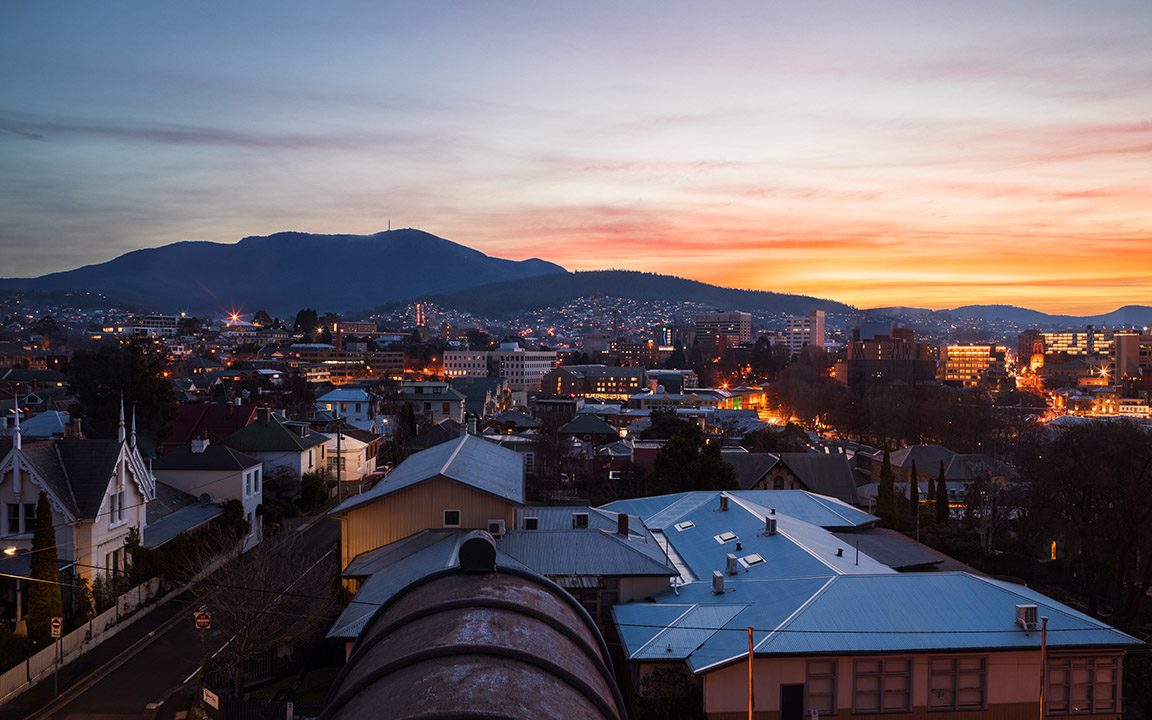
Conclusion - Return to Hobart
Day 12-14
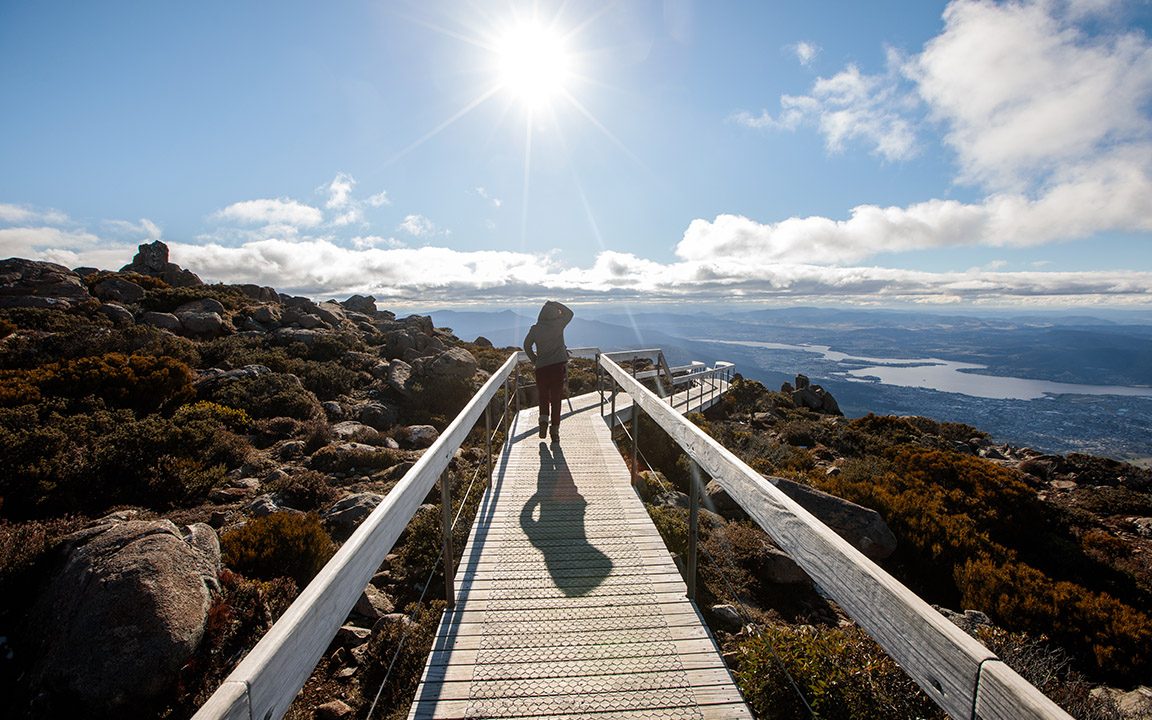
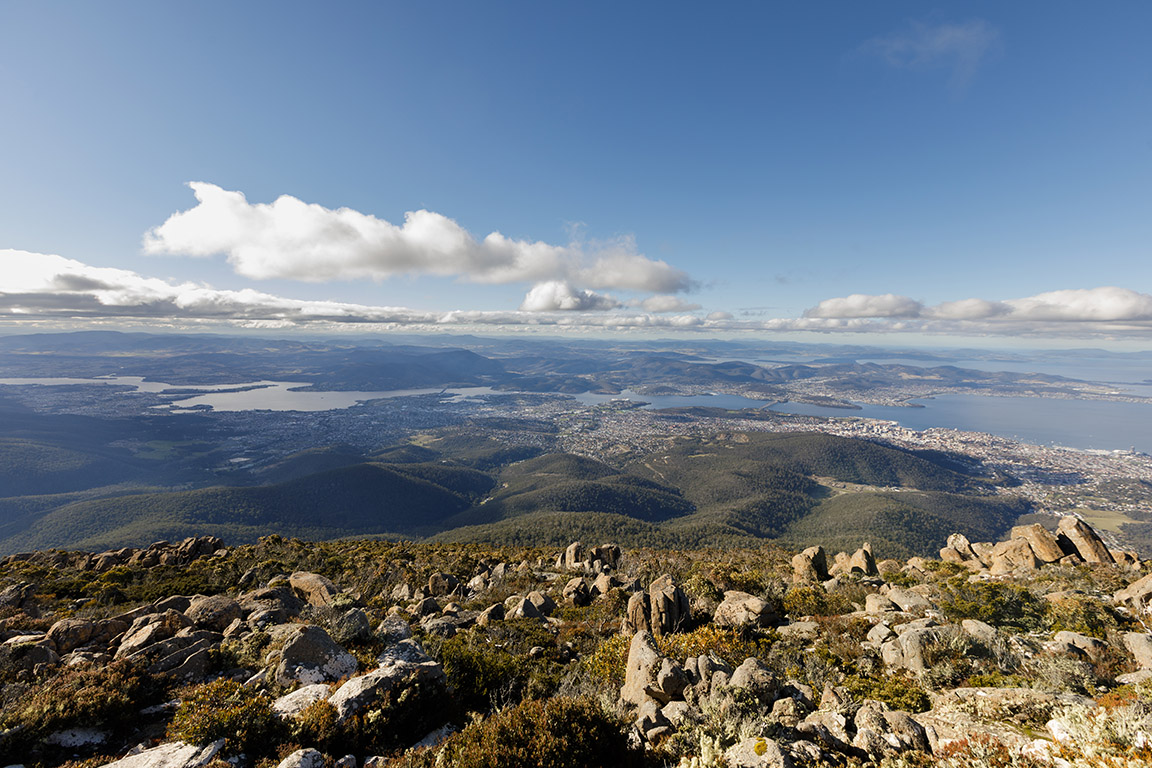
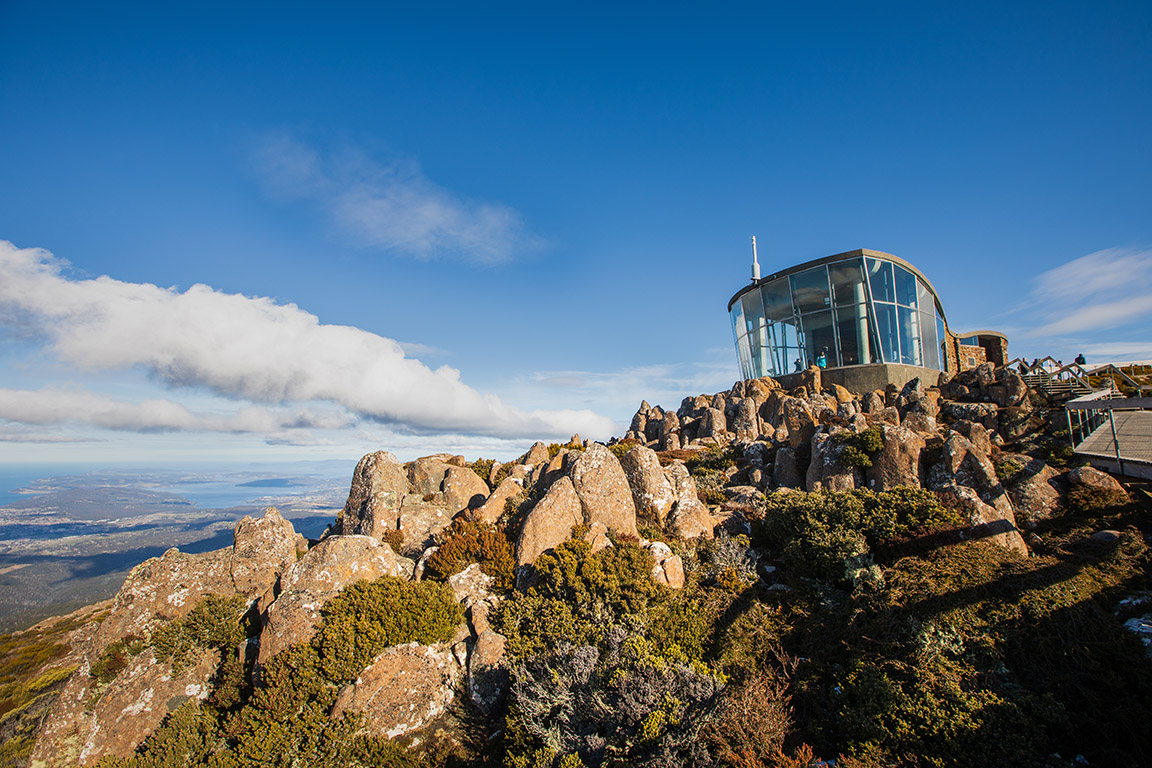
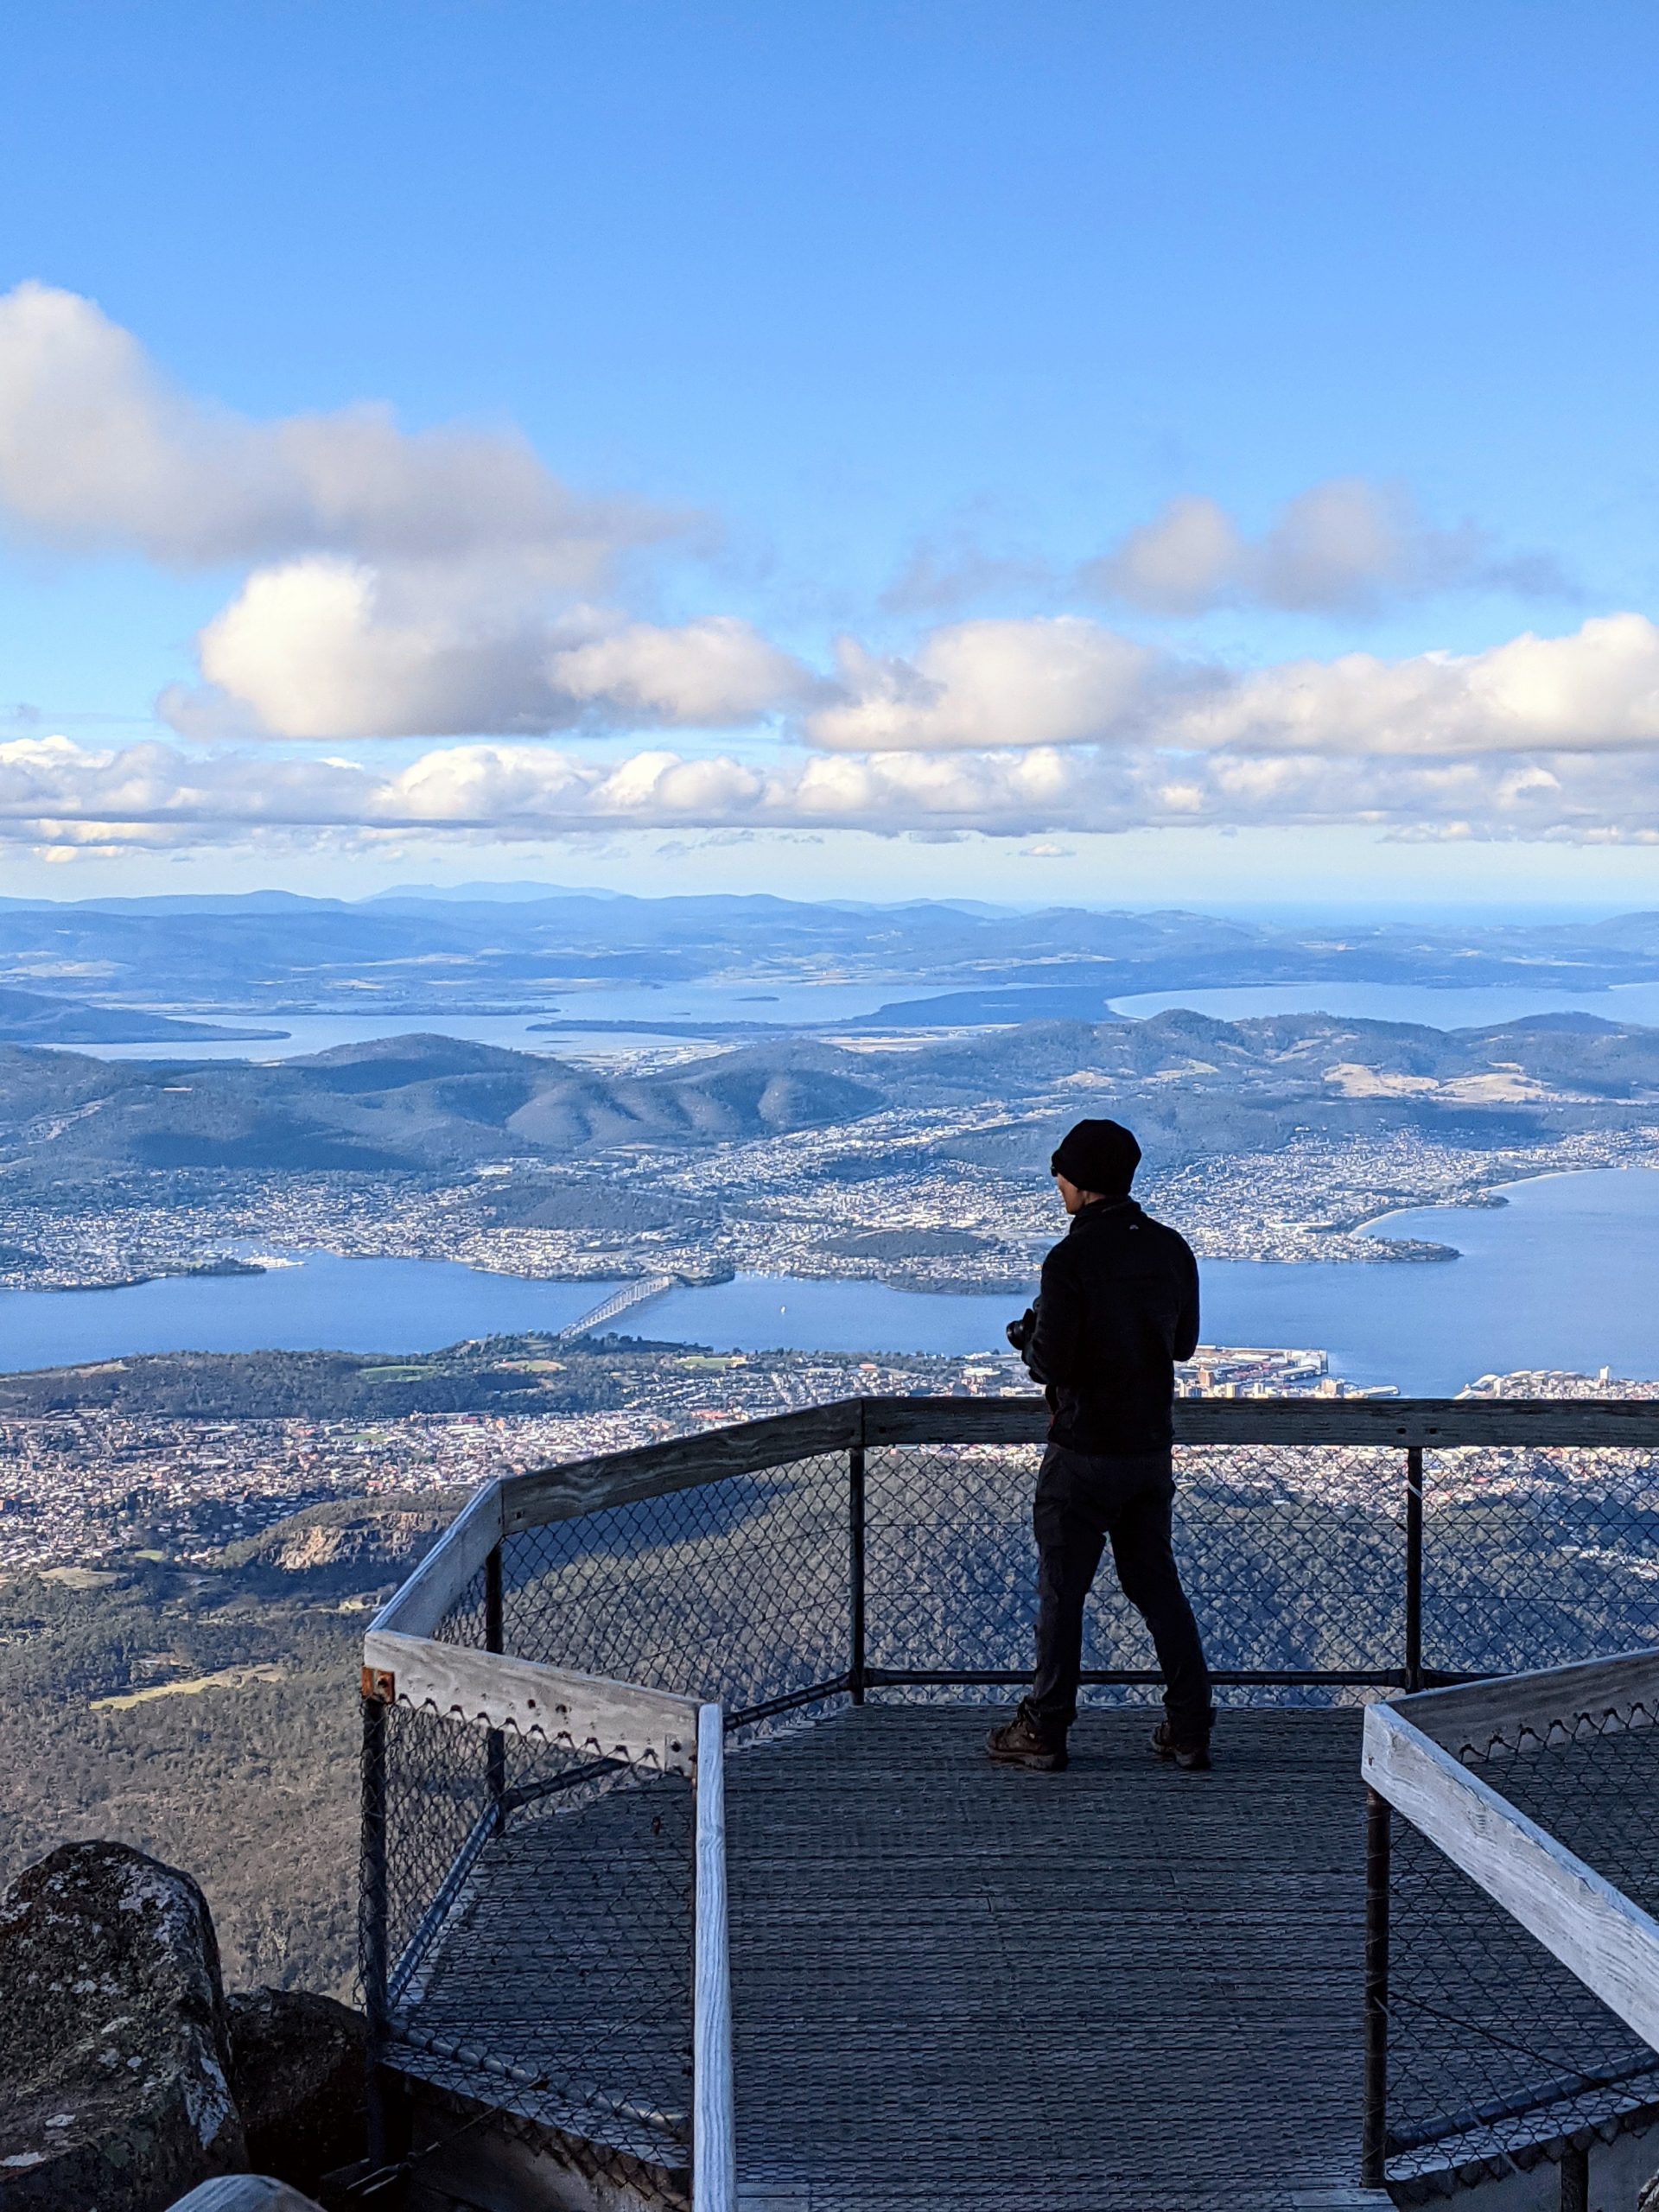
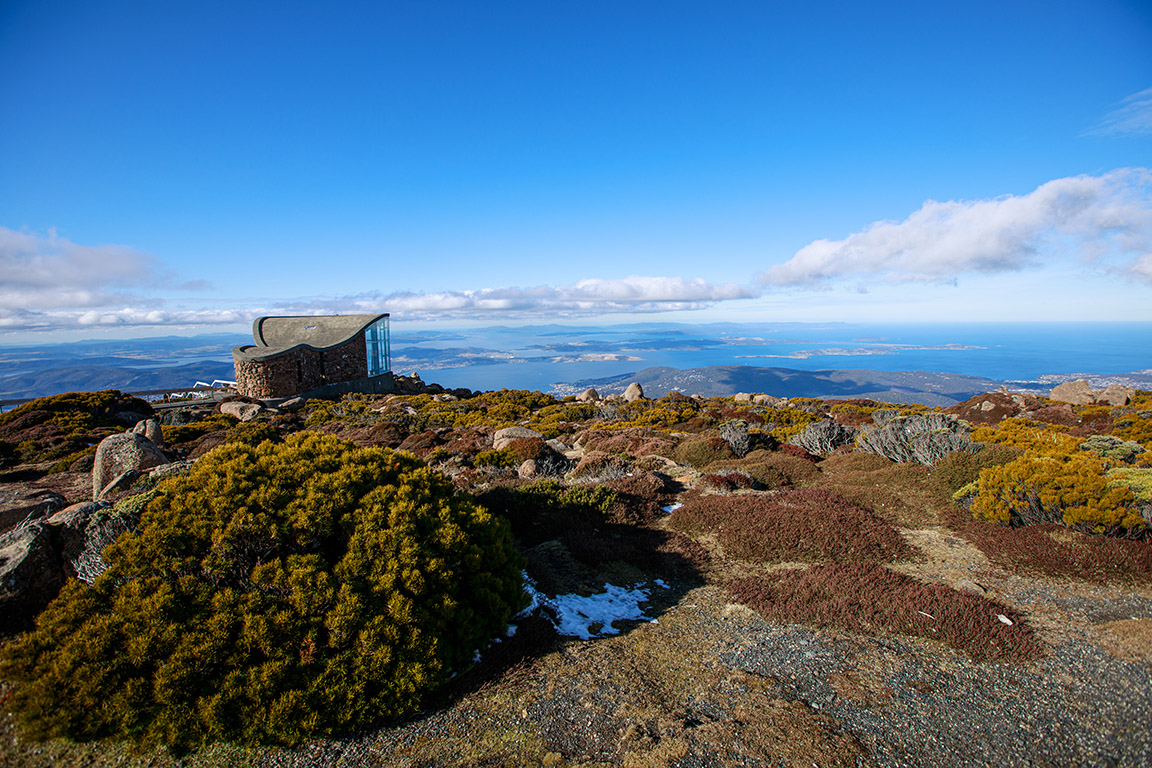
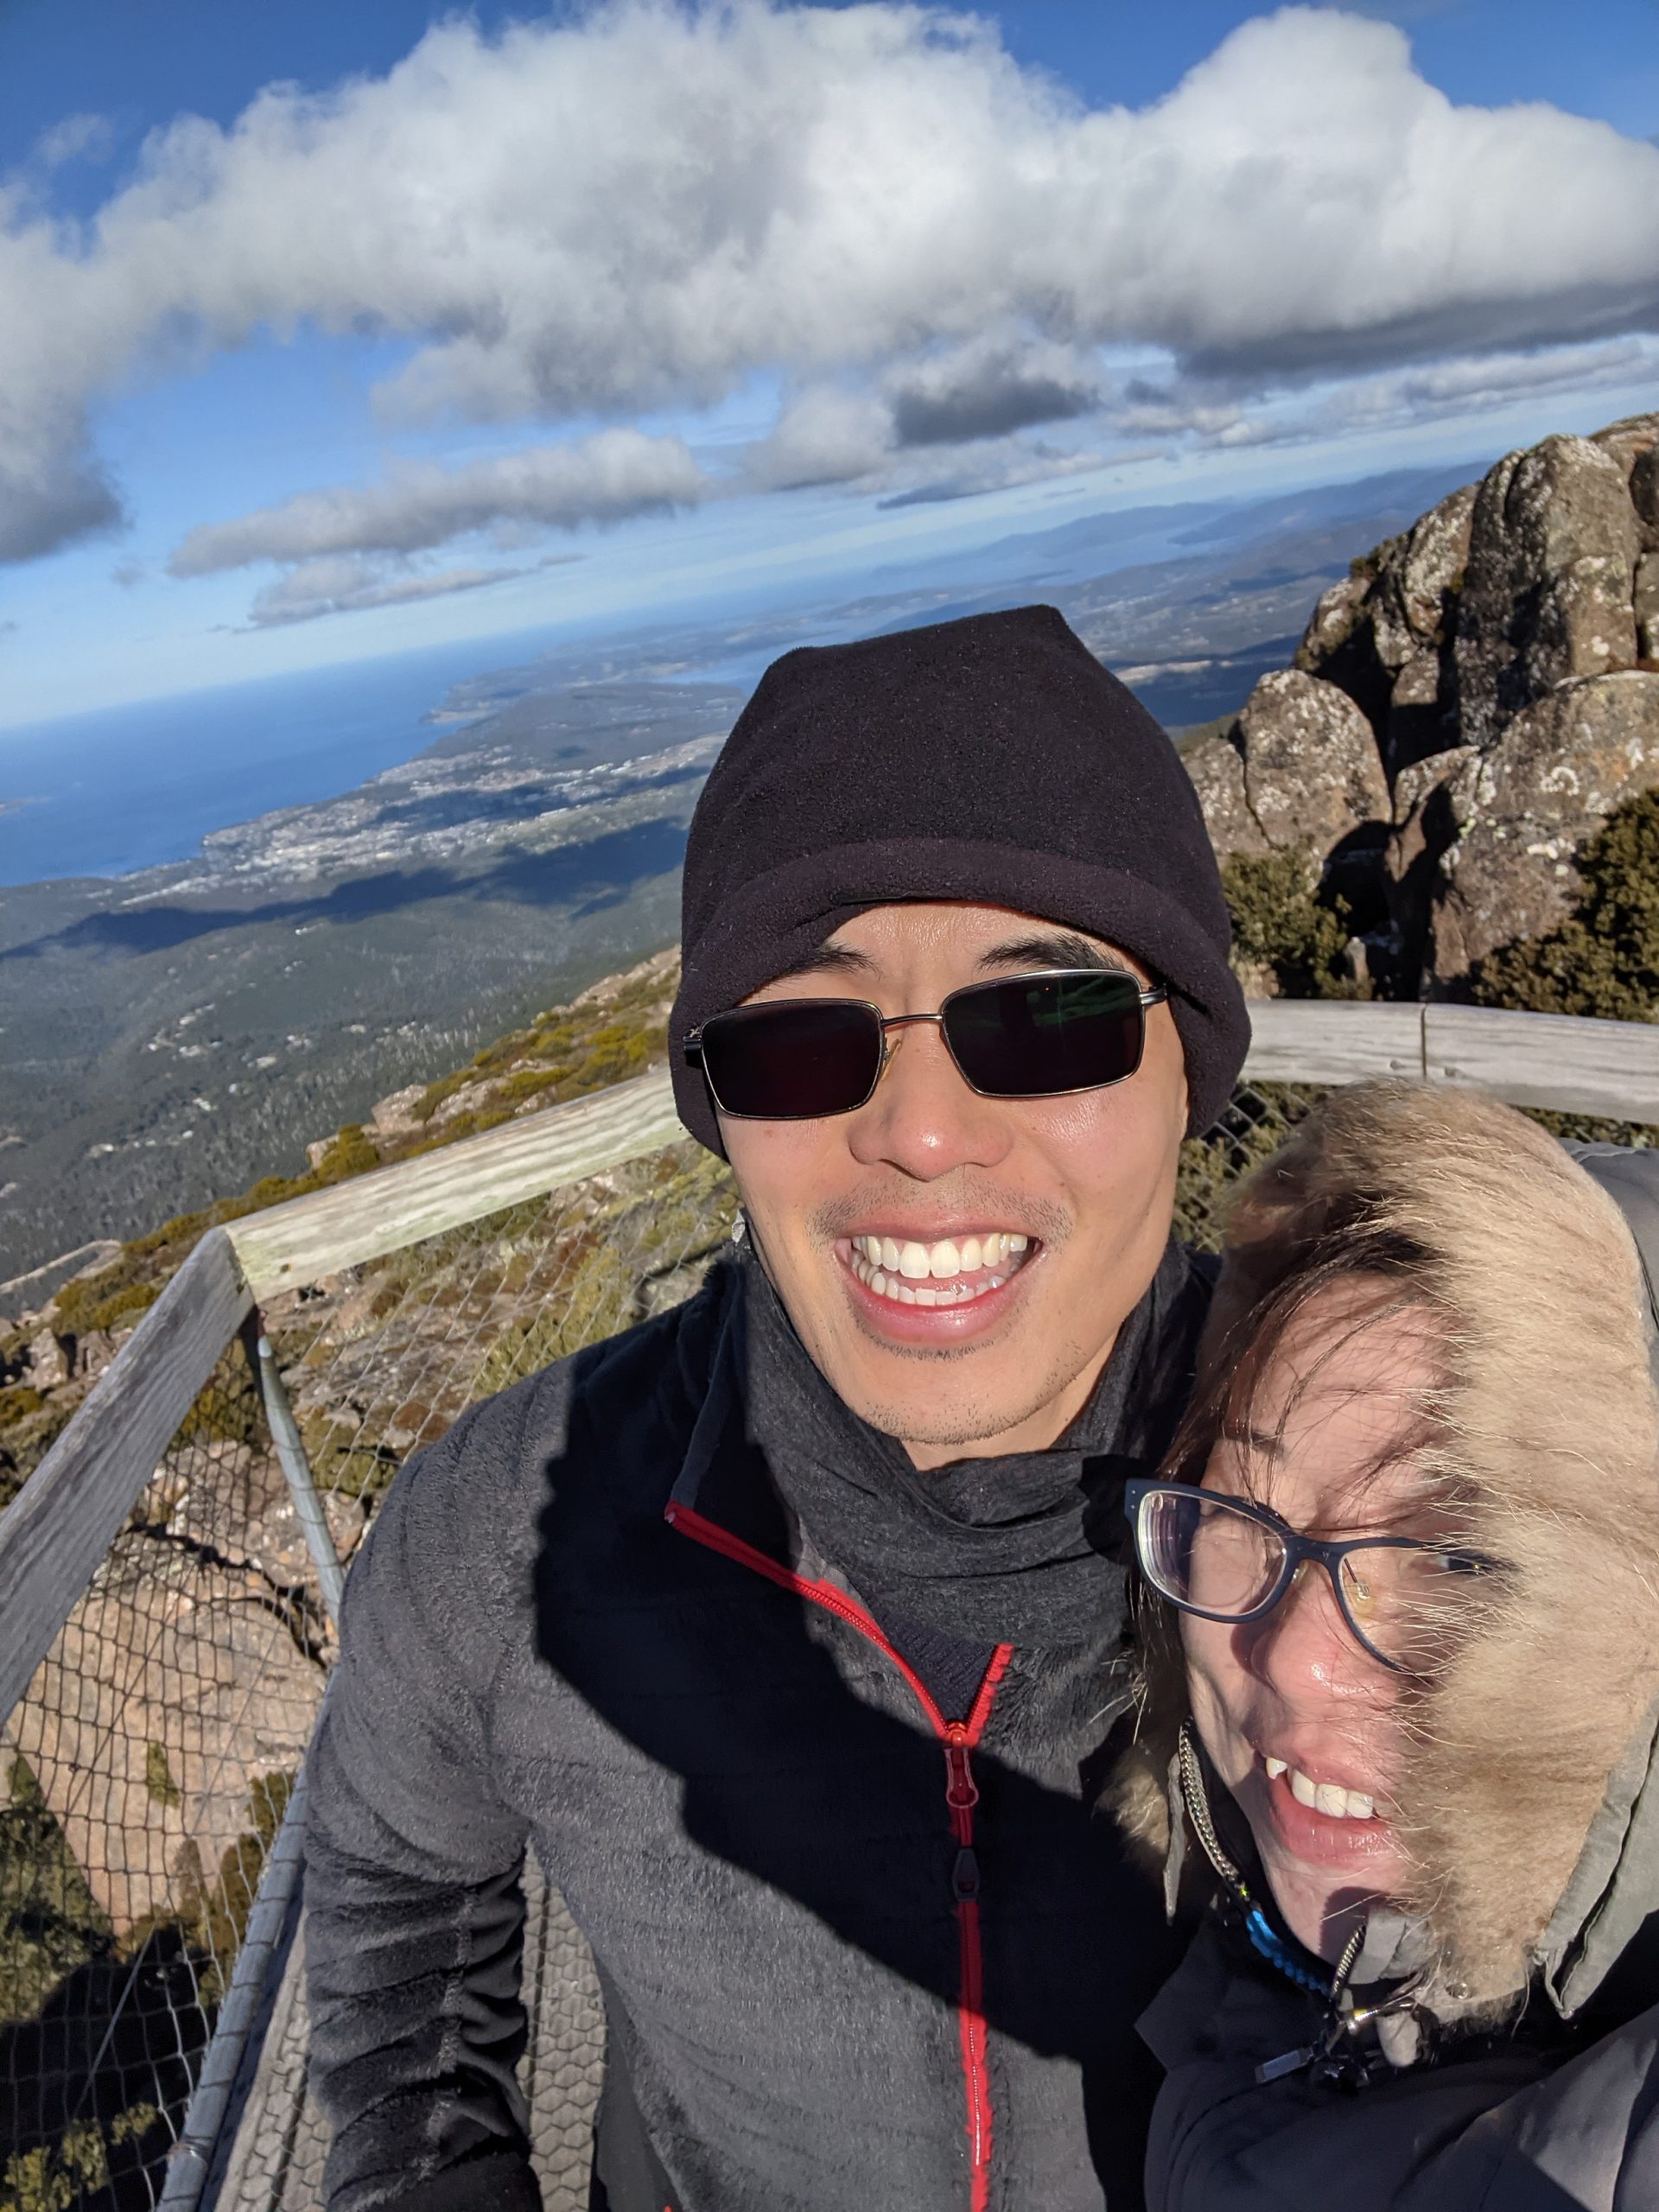
For the last 2 days we drove back towards Hobart to return the car and having another 2 nights of rest. With 3 hours to spare before needing to return the car, we drove up to the summit o Mount Wellington. The trip from the city takes about 45 minutes for traffic and some challenging road conditions.
When we arrived at the top. It was very windy and cold. The city temperature was already a cool 12 degrees but up at the observation deck, it was close to 5 degrees. Not only was the temperature low. The wind was chilly and strong. I suggest if you want to come up here for photography, make sure you have some weights to support your tripod and do bring GLOVES.
This concludes the story of our 14 day trip around Tasmania. If you have any comments or questions regarding our trip, please feel free to use the comment section below.
If you have enjoyed this blog I encourage you to subscribe to the mailing list. From there I will send you more useful information regarding travel and photography.
In the near future I want to close our story on Tasmania by creating a one page itinerary. This will be valuable for anyone who wishes to take some of this advice and experience it for themselves. The itinerary will be free for email subscribers.
I will also create another side project that will document photography notes only. This will be in the form like a recipe book for different photo locations. This guide will be essential for any photography enthusiast who demand great pictures of their travel to Tasmania.
If you are interested in these items simply subscribe below to be informed on the progress.
Till next time
Much Love
Henry and Elaine.

Recent Comments

3 thoughts on “Tasmania”
An impressive share! I have just forwarded this onto a coworker who had been conducting a little homework on this. And he actually ordered me breakfast simply because I found it for him… lol. So let me reword this…. Thanks for the meal!! But yeah, thanks for spending some time to talk about this subject here on your web page.
Yayyy, I love a good breakfast!!! I hope it was amazing and what an easy win, share my content and you get fed… LOVE IT!! :v)
This is really interesting, You’re a very skilled blogger. I have joined your rss feed and look forward to seeking more of your great post. Also, I have shared your website in my social networks!